How to Install Windows 10 on M.2 SSD | Easiest
This guide covers the process of installing Windows 10 on an M.2 SSD, including prerequisites, installation methods, and troubleshooting tips.
By Jonna Updated on June 6, 2025
Installing Windows 10 on an M.2 SSD is an excellent way to boost your system’s speed and performance. With faster read/write speeds compared to traditional SATA SSDs, M.2 drives are ideal for running Windows 10. This guide will walk you through everything you need to know to make the installing Windows on M.2 process smooth and efficient.
What to Do Before Installing Windows 10 on a New M.2 SSD?
Before installing Windows 10, there are a few essential steps to ensure the process goes smoothly:
1️⃣Check M.2 Compatibility: Ensure your motherboard supports M.2 SSDs. Some older motherboards may not support the latest NVMe drives.
2️⃣Backup Data: If you're replacing an old system drive, backup your files before proceeding to avoid data loss.
3️⃣Prepare a Bootable USB Drive: You will need a bootable USB with Windows 10 installation media. You can create this using the Windows Media Creation Tool.
4️⃣Set BIOS/UEFI Settings: You may need to adjust BIOS settings to ensure the M.2 SSD is recognized and configured properly. Check for NVMe or AHCI mode, depending on your M.2 SSD type.
5️⃣Now that you’ve prepared your system, let’s look at two common ways to install Windows 10 on your M.2 SSD with professional disk cloning software.
Two Ways to Install Windows 10 on M.2 SSD
Installing Windows 10 on an M.2 SSD is a relatively simple process, but there are different approaches you can take depending on whether you prefer a fresh installation or if you are upgrading from an existing system. Below, we’ll dive deeper into two effective methods, with a focus on AOMEI’s solution for cloning your system to a new M.2 SSD.
Let’s first discuss cloning your existing system using AOMEI’s software, as it can save time and avoid having to manually reinstall programs and data.
Way 1. Clone Windows 10 to M.2 SSD with AOMEI Cloner
If you're upgrading to an M.2 SSD but want to keep your existing Windows installation, programs, and settings, cloning your system is the easiest and fastest option. AOMEI Cloner offers a powerful and user-friendly cloning tool to help you move your entire system onto your new M.2 SSD without reinstalling Windows 10.

- OS Migration: Copy your OS to a new SSD or HDD without reinstalling Windows from scratch.
- Disk Clone: Copy entire disk, including Windows OS, programs, and personal files to another drive with one click.
- Wide Compatibility: Support various disk brands (Samsung, Intel, WD, etc.), disk types (HDD, SDD, SSHD, etc.), disk interfaces (SATA, NVMe, etc.).
- SSD Alignment: Automatically optimize performance and extend lifespan of the target SSD.
Here’s how to install Windows 10 in SSD drive:
Step 1: Download AOMEI Cloner
- First, download and install AOMEI Cloner.
Step 2: Connect Your M.2 SSD
- Attach your new M.2 SSD to your system. If it’s your first time using M.2, ensure that your motherboard has an available M.2 slot and supports the NVMe interface for faster transfer speeds.
Step 3: Launch AOMEI Cloner
- Open the program and select the Clone option from the main interface. You will be presented with several cloning options.
Step 4: Select System Clone
- Choose System Clone to clone only your operating system and essential system partitions. This is typically all you need for a smooth Windows 10 transfer.

Step 5: Select Destination
- It will automaticly choose the system related partitions as the source, and you only need to pick your M.2 SSD as the destination.
Step 6: Start Cloning
- Tick the SSD Alignment option, and click Start Clone to begin the cloning process. Once completed, AOMEI Cloner will have transferred your Windows 10 operating system to the M.2 SSD.
Step 7: Reboot and Set M.2 SSD as Boot Drive
- After cloning is finished, restart your computer and enter BIOS/UEFI settings. Change the boot order to prioritize the M.2 SSD as your main boot drive. Save and exit the BIOS, and your system should boot from the M.2 SSD.
- This method is especially convenient because it avoids the need to reinstall all your software and files, making the transition to a faster M.2 SSD seamless.
Way 2. Clean Installation of Windows 10 on M.2 SSD
If you prefer to start fresh and ensure your M.2 SSD is clean of any previous data, performing a clean installation of Windows 10 is another reliable method. This process involves erasing all existing data from the drive, so it’s best used when you’re ready to set up a new, optimized system. Here’s how you can install Windows 10 on an M.2 SSD using a clean installation:
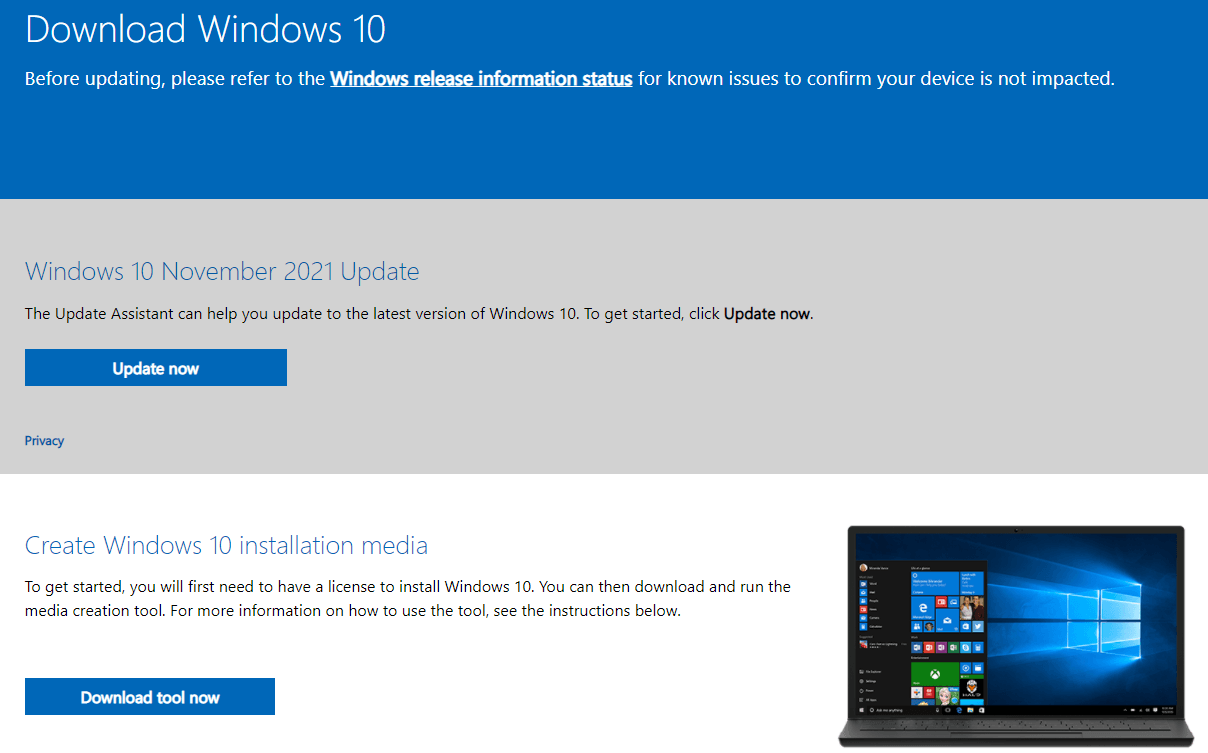
Step 1: Create Windows 10 Installation Media
- Download the Windows 10 installation tool by going to the official Microsoft website and clicking on Download tool now.
- Accept the license terms and choose Create installation media (USB flash drive, DVD, or ISO file) for another PC, then click Next. Then, select USB flash drive to create a bootable USB drive for installation.
Step 2: Insert the Bootable USB and Boot
Plug the bootable USB drive into the computer you want to install Windows 10 on SSD. Then, enter the BIOS/UEFI settings (usually by pressing F2, Delete, or Esc) and set the boot priority to USB, and boot the computer from it.
Step 3: Start Windows Installation
Once your system boots from the USB, the Windows 10 installation screen will appear. Click on Next > Install now to follow the on-screen instructions and select your preferred language and region settings. Type your product key (digital license) or skip it.
Step 4: Select the M.2 SSD for Installation
Click on Custom: install Windows only (advanced). When prompted to select a disk for installation, choose your M.2 SSD. If the drive has previously been used, you may need to format it before installation. You can do this directly from the Windows installer by selecting the Format option.
Step 5: Install Windows 10
After selecting the M.2 SSD, click Next and the installation will begin. The system will copy Windows 10 files and install the operating system. This may take a few minutes.
Step 6: Complete Setup
Once the installation is complete, your computer will reboot. Follow the prompts to set up your Windows 10 system, including creating a user account, selecting privacy settings, and connecting to a network.
The clean installation method is ideal if you want a fresh start, especially if you’ve had previous issues with your old drive or simply want to optimize your system's performance on the new M.2 SSD.
Fixed: Can't Install Windows 10 on M.2 SSD
If you encounter issues while trying to install Windows 10 on your M.2 SSD, try the following fixes:
- Check BIOS Settings: Make sure that your BIOS is set to the correct mode (AHCI or NVMe), depending on your SSD type.
- Update BIOS: If your motherboard has an outdated BIOS version, updating it can resolve compatibility issues with newer M.2 SSDs.
- Reformat the SSD: Sometimes, the SSD might not be properly formatted, especially if it was previously used. Use the disk management tool or the installation process to format the drive.
- Install NVMe Drivers: If Windows 10 doesn’t recognize your M.2 SSD, you may need to install the appropriate NVMe drivers during installation.
Conclusion
Installing Windows 10 on an M.2 SSD can significantly improve your system's performance, providing faster boot times and better overall responsiveness.
Whether you choose a clean installation or clone your existing system, ensure that your M.2 drive is properly set up, and follow the installation steps carefully. Troubleshooting tips are included for common issues like installation errors or recognition problems, so you can fix them with ease.
FAQs About How to Install Windows 10 on M.2 SSD
In this section, we'll address some common questions to further assist you in installing Windows 10 on your M.2 SSD.
1. Do I Need to Format M.2 SSD Before Installing Windows?
Yes, it's generally recommended to format your M.2 SSD before installing Windows. This ensures there are no conflicting files from previous installations, allowing for a fresh and clean installation of Windows 10.
2. How to Initialize M.2 SSD Windows 10?
To initialize your M.2 SSD, open Disk Management (press Win + X and select Disk Management). Right-click the uninitialized drive and select Initialize Disk. Choose the partition style (GPT for UEFI or MBR for legacy BIOS) and proceed.
3. How Do I Get Windows 10 to Recognize My New M.2 SSD?
If Windows 10 doesn't recognize your M.2 SSD, you may need to enable it in BIOS/UEFI or install the required NVMe drivers. You can also check the connections or try a different M.2 slot if your motherboard has more than one.