Solved: Directx Installation Failed on Windows 11 (5 Methods)
DirectX is a collection of APIs that act as an interface between games and a PC's hardware. What if Directx installation failed on Windows 11? Don't worry, here are 5 effective solutions.
By Jonna Updated on May 13, 2026
User Case: Windows 11 DirectX Installation Error
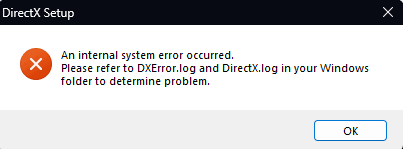
Hi. Yesterday, I upgraded from a Windows 10 Pro installation to a Windows 11 Enterprise installation. But I am having issues when trying to install DirectX; partway through the installation, it fails with the error: "An internal system error has occurred"
How do I solve Directx installation failed on Windows 11? I hope I don't have to downgrade back to Windows 10 cuz this was a fresh install, and I lost over 500GB of data for no reason then.”
DirectX is a collection of Microsoft-developed APIs designed to handle multimedia tasks, especially those related to gaming, video playback, and graphics rendering. It acts as a bridge between software and hardware, allowing applications to communicate efficiently with your GPU, sound card, and other components.
On Windows 11, DirectX 12 is built into the operating system. However, many games and older applications still rely on legacy DirectX components such as DirectX 9, 10, or 11. When these older components are missing or corrupted, DirectX installation failed or DirectX Runtime error on Windows 11 may occur. Typical reasons DirectX installation fails include:
- Version conflicts: Windows 11 already includes DirectX 12, but some apps require older DirectX runtimes.
- Corrupted system files: Damaged Windows files can block installation.
- Outdated or faulty GPU drivers: Graphics drivers play a key role in DirectX functionality.
- Missing dependencies: Visual C++ Redistributables or .NET Framework components may be absent.
- Incomplete Windows updates: A partially updated system can cause compatibility issues.
How to Resolve DirectX Installation Failed on Windows 11 with Ease
Fixing this issue doesn't require reinstalling Windows or replacing hardware. The methods below address the most common causes directly.
Way 1. Reinstall the Old Version of DirectX
Even though Windows 11 includes DirectX 12, older DirectX components are not always installed by default. Many games still depend on these legacy files. So, you can reinstall DirectX on Windows 11, which often resolves compatibility issues.
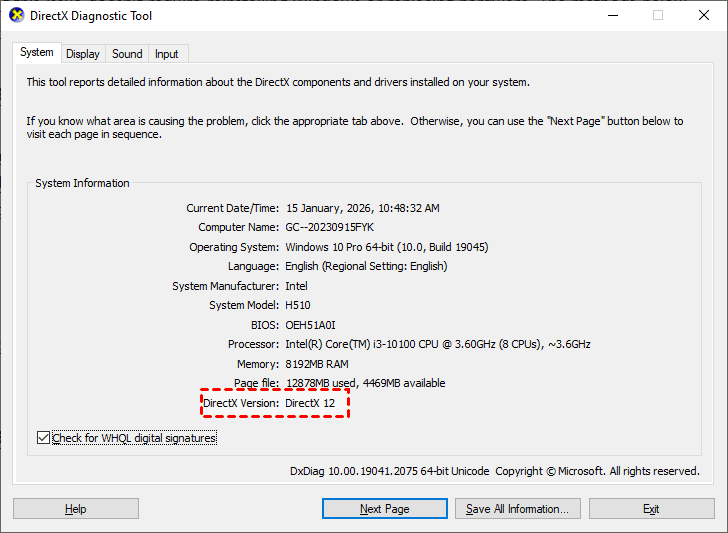
Step 1. Press Win + R keys, and then type dxdiag to open the DirectX Diagnostic Tool.
Step 2. Under the System tab, check the DirectX Version you have installed.
Step 3. If you wish to reinstall an older version, go to Microsoft’s official DirectX End-User Runtime Web Installer page, download the installer, and run it as an administrator.
Step 4. Follow the on-screen prompts to install missing DirectX components.
Way 2. Reinstall Graphic Card Driver
The graphics driver plays a major role in how DirectX functions. If it’s outdated or corrupted, DirectX won't install on Windows 11.
Step 1. Press Windows + X and select Device Manager.
Step 2. Expand Display adapters. Right-click the Intel HD adapter and choose Uninstall device.
Step 3. Restart your PC to let Windows install a basic driver. Download and install the latest driver from NVIDIA, AMD, or Intel’s official website.
Way 3. Download Visual C++ Redistributable
Many DirectX components rely on Microsoft Visual C++ Redistributable packages. If these are missing or outdated, there may be DirectX runtime not installed error.
Step 1. Open Control Panel, and select Programs and Features.
Step 2. Due to varying application requirements, multiple versions of the Microsoft Visual C++ Redistributable Package may be installed on your computer. Please check if the latest 2015 version is present.
Step 3. If not, visit Microsoft’s official Visual C++ Redistributable download page, choose the 2015 version, and select to download x86 or x64 version as needed.
Step 4. Then, install the package and check if the DirectX installation failed on Windows 11 persists.
Way 4. Run an SFC scan
Corrupted system files can interfere with DirectX installation. System File Checker (SFC) scans Windows for corrupted or missing system files and repairs them automatically. Here’s how to run it:
Step 1. Press Win + S, type cmd. Right-click Command Prompt and select Run as administrator.
Step 2. Type sfc /scannow and press Enter.
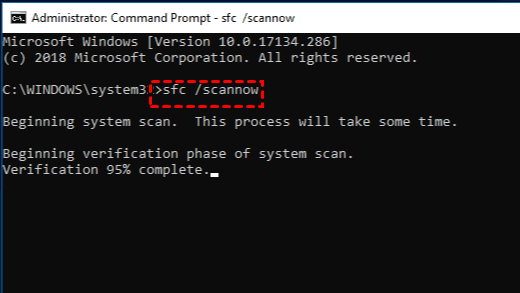
Step 3. Wait for the scan to complete (this may take some time). Restart your PC and attempt the DirectX install again.
Way 5. Install .NET Framework
Some DirectX-related installers and games require specific .NET Framework versions. Without them, the DirectX not installing on Windows 10/11 error may occur. To ensure .NET is installed:
Step 1. Ensure your computer is connected to the internet, and open Command Prompt with administrator privileges.
Step 2. Type the following command and press Enter to manually install .NET Framework 3.5 on Windows.
- DISM /Online /Enable-Feature /FeatureName:NetFx3 /All //LimitAccess /Source:E:sources\sxs
(adjusting E: if the local installation mediauses a different drive letter) and press Enter.
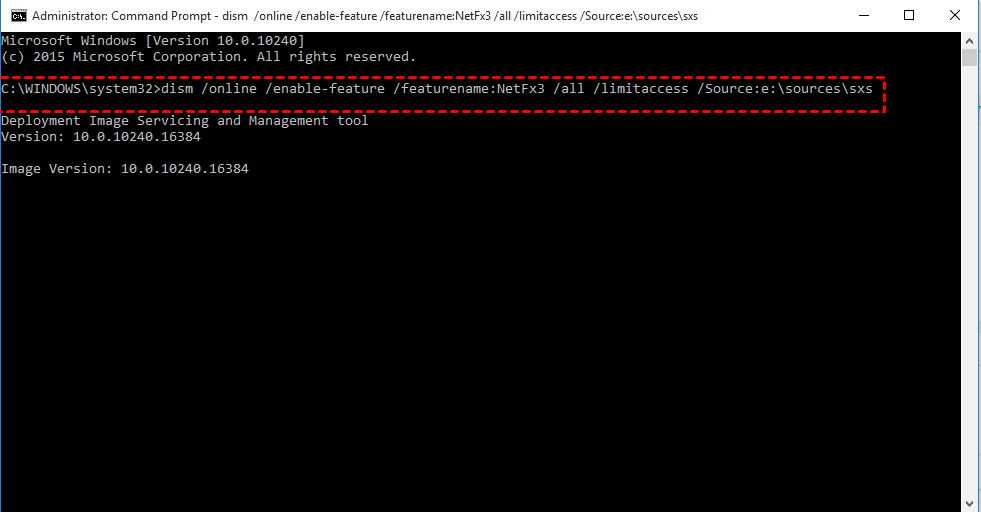
Step 3. Wait for the process to complete. Once finished, restart your system immediately.
Bonus: Easiest Way to Restore Windows 11 PC to a Previous Working State
Sometimes the DirectX issue appears after a system update, driver change, or software installation. When troubleshooting becomes time-consuming, restoring the system to a known working state can be the fastest solution. A full system restore avoids reinstalling Windows and preserves your data while rolling back problematic changes.
AOMEI Backupper Standard is a comprehensive Windows backup and recovery tool designed for stability and ease of use. It’s especially useful when dealing with recurring system errors or failed installations. Its standout features include:

- Full backup options: It offers to create system backup, disk backup, partition backup, file backup, and so on.
- Bootable media: It allows creating a bootable media to restore system in WinPE, useful when Windows system crashed suddenly.
- Quick restore: Quickly roll back PC to a known good state within a few clicks.
Restoring your system using a system backup image is straightforward and reliable. Here is how to restore Windows 11 using AOMEI Backupper:
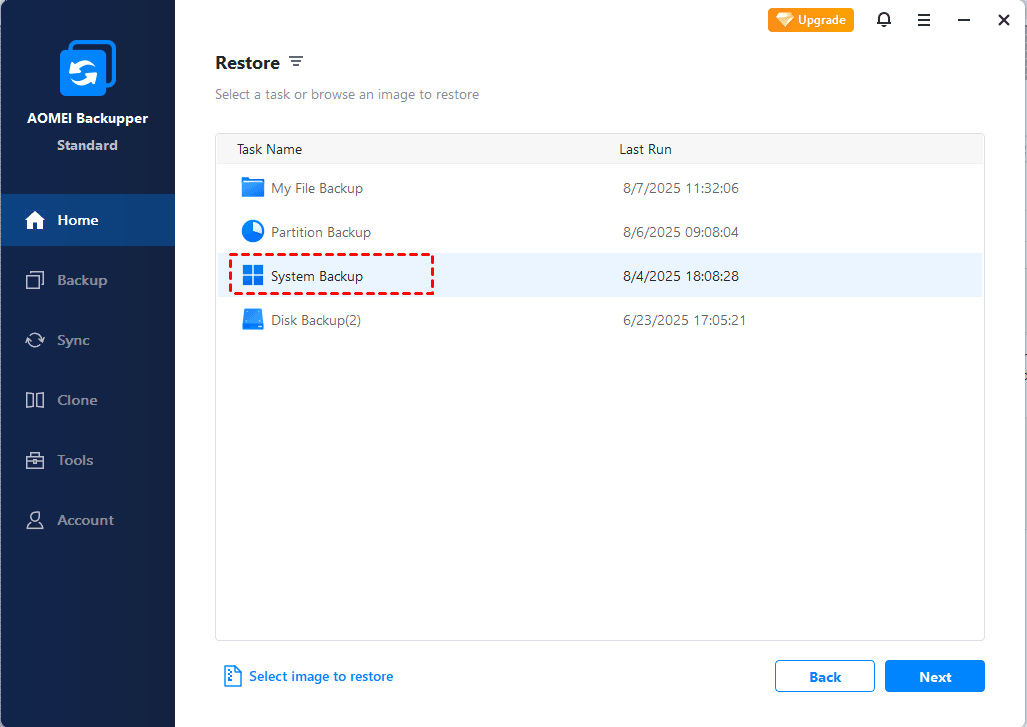
Step 1. Install and launch AOMEI Backupper. Click Home > Restore from the left.
Step 2. Select the target task or click Select image to restore to find the system backup image.
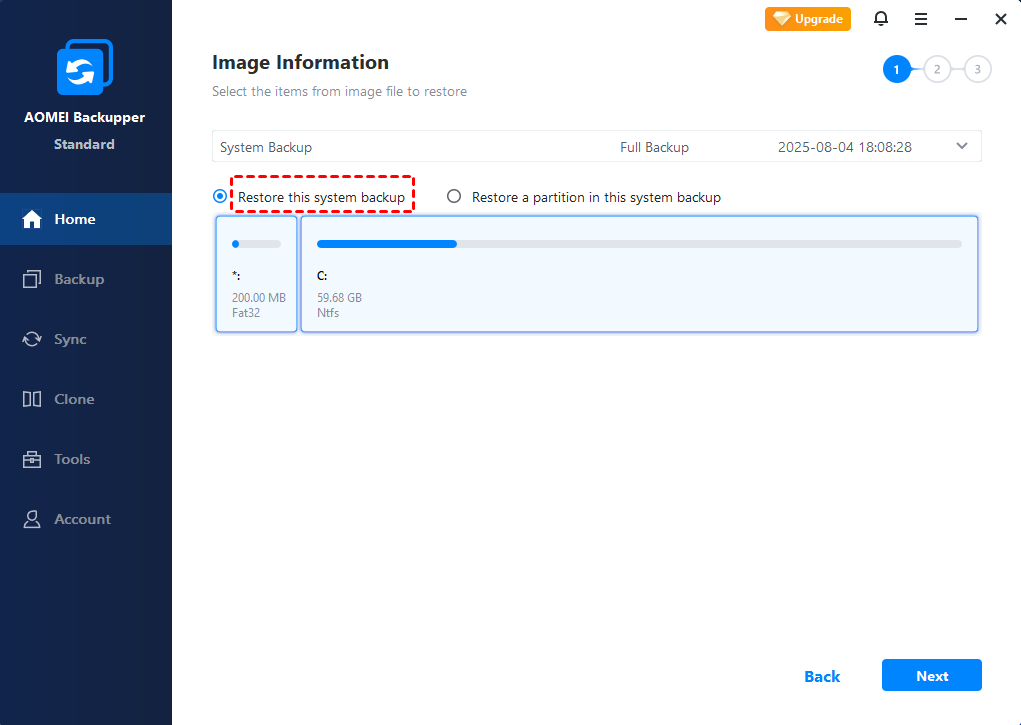
Step 3. Choose to restore the entire backup or a part of it and click Next.
Step 4. Then, click Start Restore.
In the End
Errors during DirectX installation on Windows 11 may prevent games and applications from running, but this issue is not insurmountable. In most cases, the problem stems from missing legacy components, outdated drivers, or incomplete system dependencies rather than corruption within DirectX itself.
And if the problem is tied to deeper system changes, restoring Windows 11 to a previous working state offers a clean and efficient solution. And AOMEI Backupper makes this process simple and secure for everyone. Also, it provides sync and cloning functions to sync folders between computers and clone HDD to SSD, etc.