5 Ways to Fix Windows 11 Installation Assistant Not Working
Install Assistant is the best option to install Windows 11 on your device, but some users have found that Windows 11 Installation Assistant does not work or does not complete the installation properly. Here are 5 tips you can try to fix it.
By Teresa Updated on October 23, 2025
If your Windows 11 Installation Assistant isn’t working or fails to complete the upgrade, try these five proven fixes:
-
Check if your device meets Windows 11 requirements.
-
Run the Installation Assistant as administrator.
-
Temporarily disable antivirus software.
-
Use System File Checker (SFC) to repair system files.
-
Set the program to run in compatibility mode.
Before making any changes, it’s highly recommended to back up your important data or system to avoid unexpected loss.
A professional tool like AOMEI Backupper makes it easy to back up, clone, or sync your Windows 11 system, ensuring your data stays safe and you can recover or migrate smoothly whenever needed.
Troubleshooting the Windows 11 Installation Assistant
After the official release of Windows 11, many users whose devices meet the system requirements have successfully upgraded and started using it. Although the initial market feedback was not satisfactory, after a few months of improvements and enhancements, Windows 11 is gradually becoming enjoyable and entering a smooth development phase.
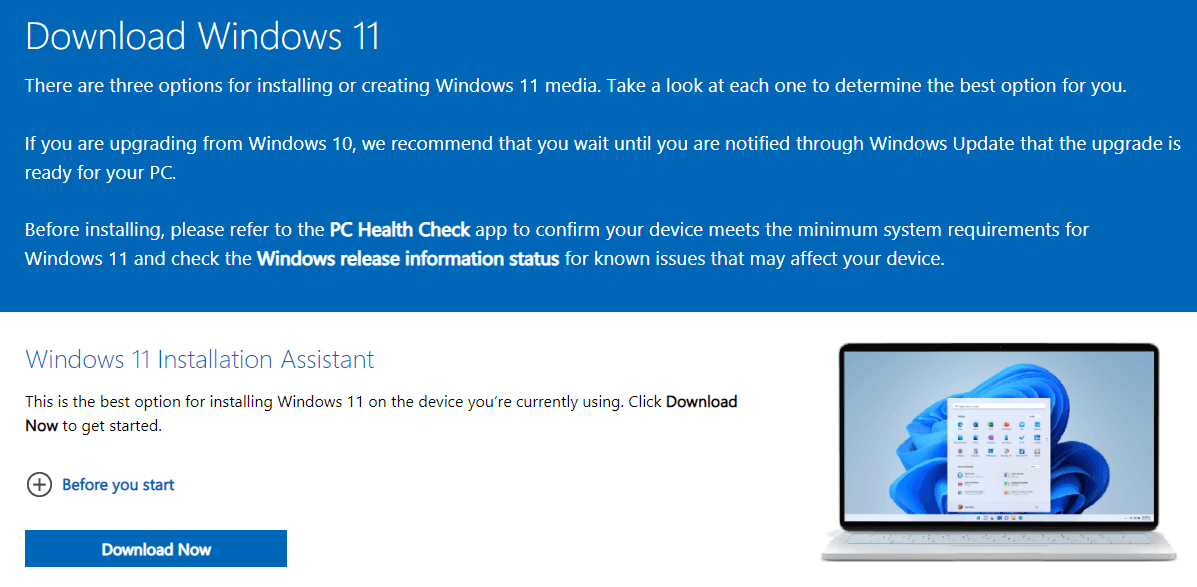
If you are interested in the new operating system, now is a good time to upgrade. Microsoft also offers several ways to update, among which, Install Assistant is officially promoted as the best option to install Windows 11 on your device.
However, some users have found that Windows 11 Installation Assistant does not work or does not complete the installation properly. Why is this, and how can you fix it?
Here are a few options you can try.
1. Check if your device meets the requirements
The role of the Installation Assistant is to upgrade a Windows 10 PC to Windows 11. To run it, you first need to meet the following conditions:
- You have a Windows 10 license.
- Your computer has Windows 10 version 2004 or higher installed in order to run the Installation Assistant.
- Your computer meets the Windows 11 device specifications for upgrade requirements and supported features. Some features may require additional hardware.
- Your computer has at least 9 GB of free disk space to download Windows 11.
- Failure to meet any of the above conditions may result in Windows 11 Installation Assistant not working correctly.
In addition to the above conditions, please also note that:
- The Windows 11 Installation Assistant does not work on ARM-based computers. It is only supported on computers with x64 processors.
If you need to install media in order to install Windows 11 on another computer, you can try creating a Windows 11 installation media.
2. Run Installation Assistant as administrator.
Windows 11 Installation Assistant needs to be run as an administrator. So, after downloading it from the Microsoft website, please find and right-click on the executable file and select "Run as administrator".
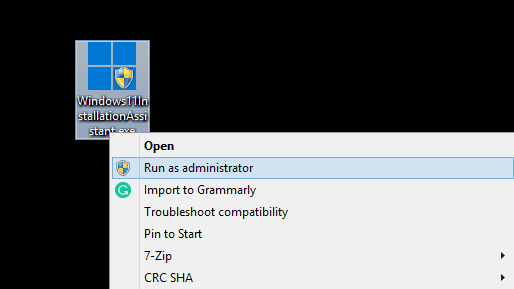
A dialog box will pop up asking for your permission. Click "Yes" to confirm and start the installation.
After that, please complete each step as required, such as accepting the license terms, restarting your computer, etc.
3. Disable anti-virus software.
Anti-virus software, especially third-party software, is likely to be the cause of such problems. So you can try to temporarily disable it for troubleshooting.
Whatever you are using, you can usually find the corresponding icon on the taskbar and disable it with the relevant option.
If you can use the Installation Assistant normally in this case, then the antivirus is the source of the problem you are experiencing. You can choose another antivirus product that is compatible with Windows 11 when you have completed the installation.
4. Run System File Checker
Press Windows + S to open the search bar, then type "cmd" and run "Command Prompt" in the search results as an administrator.
Type or paste the following command, and then press Enter to run it:
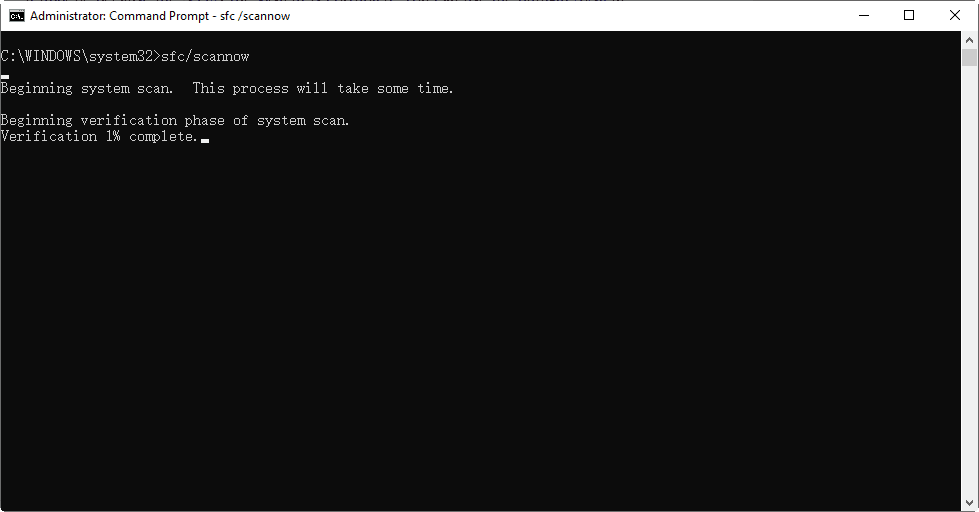
This command will scan all protected system files and replace corrupted files with a cached copy. You just need to wait for the process to finish and restart your computer to see if the Windows 11 Installation Assistant now works properly.
5. Set compatibility mode
If the Windows 11 Installation Assistant does not work because of compatibility issues, then you can try to fix it in this way.
After downloading the Installation Assistant from the Microsoft website, find the executable file, right-click it, and select "Properties".
Navigate to the "Compatibility" tab, check "Run this program in compatibility mode for:" and select "Windows 7".

Click Apply to save the changes, then run the executable file normally and see if the window stays open long enough to perform your task.
Protect Your Data Before Fixing Windows 11 Installation Issues
If your Windows 11 Installation Assistant still doesn’t work or the upgrade keeps failing, it’s a good idea to back up your system and files before trying again. This helps protect your important data in case something goes wrong during the installation.
You can use a reliable tool like AOMEI Backupper, an all-in-one Windows backup and cloning solution that works perfectly on Windows 11 and Windows 10. It allows you to:
-
Backup your system or entire disk in just one click.
-
Clone your Windows 11 drive to another SSD or HDD without reinstalling everything.
-
Sync important folders automatically to external drives or cloud storage.

This ensures your data and system are always safe, and you can easily restore or migrate Windows whenever needed. Having a complete backup before reinstalling or upgrading Windows 11 is one of the smartest ways to avoid unexpected data loss.
👉 Tip: Once you’ve created a backup with AOMEI Backupper, you can safely retry the Windows 11 installation or even perform a clean install with peace of mind.