
How to Create Windows 11 Bootable USB Drive (2 Ways)
Whether to upgrade Windows 10 to Windows 11, do a fresh installation, or access to advanced boot options, a USB bootable drive is a popular way to go. Here are 2 ways to create it in Windows 11.
By Delia Updated on December 10, 2024
Whether you want to upgrade your computer to Windows 11 or do a fresh install if something goes wrong with your system, a USB bootable drive is a popular way to go. After all, it is far more convenient than burning a DVD and can be used in more situations. All you need to do is download Media Creation Tool from the Microsoft website and make one.
In a broader sense, there is another bootable USB drive, the recovery drive, which uses the tools that come with Windows and contains the Windows recovery environment as well as the installation files (optional) and can be used for system troubleshooting or reinstallation.
Below you will find the two ways to create bootable USB in Windows 11.
Create bootable Windows 11 installation USB drive
A bootable Windows 11 USB drive is the best way to install Windows 11. However, if you are upgrading from Windows 10 to Windows 11, please check if your PC meets the system requirements for Windows 11 first. If not, you can search for ways to bypass the requirements, but Microsoft has said it will not guarantee subsequent updates for unsupported PCs, plus there may be security or compatibility issues.
To create a bootable Windows 11 USB drive, you first need a computer running Windows 10 or 11, and a USB drive larger than 8 GB.
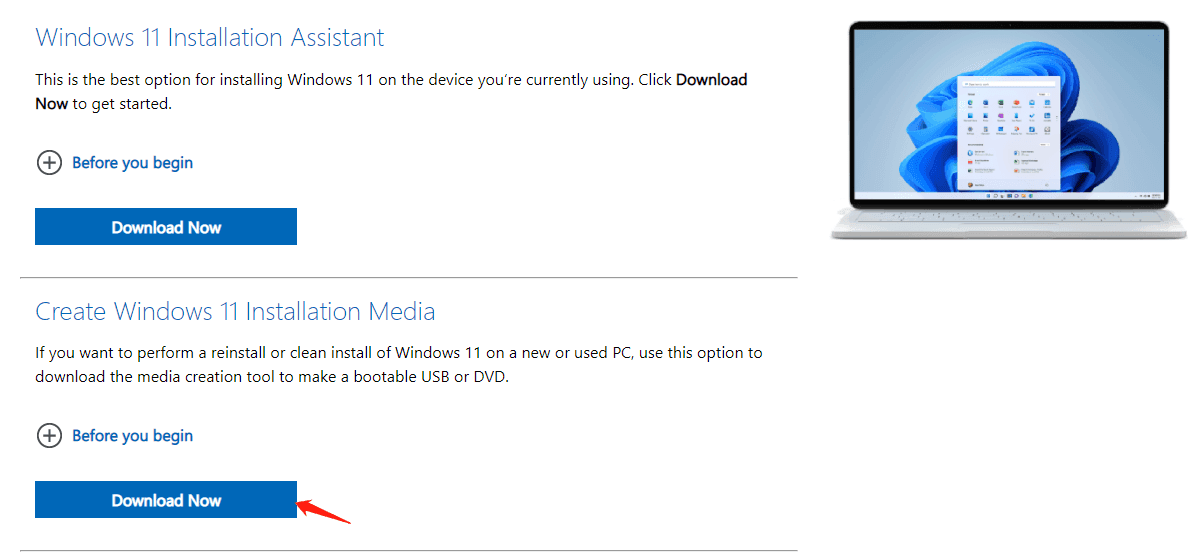
1. Open Microsoft's download page, scroll down to find the "Create Windows 11 Installation Media " section and click the "Download Now" button below.
2. When the download is complete, open the file called "MediaCreationToolW11.exe". Click on it to start the installation.
Tip: It’s recommended to backup your computer (at least important files) before installation.
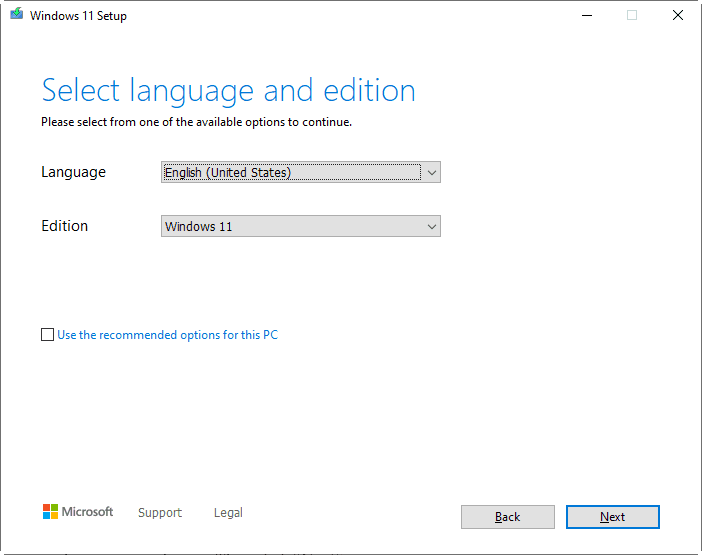
3. First "Accept" the terms and conditions, you will be given options to select language and edition. Uncheck the "Use the recommended options for this PC" box and you can make your own choices. Then click “Next”.
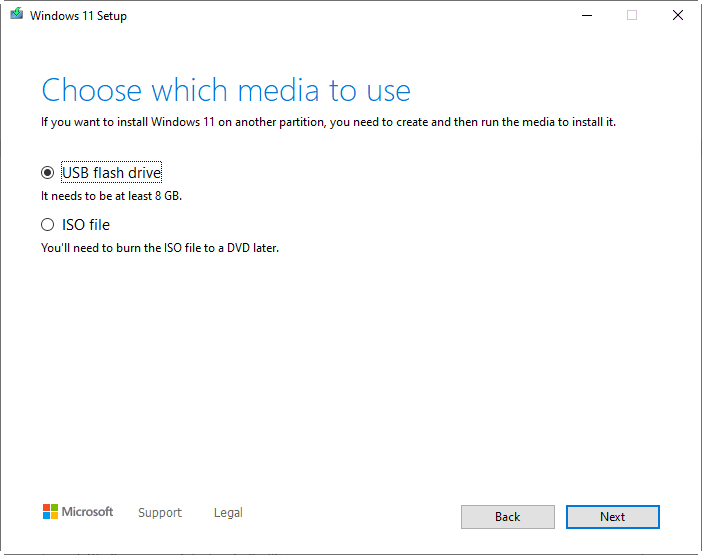
4. Choose which media to use. To create a bootable USB, make sure that "USB flash drive" is selected, and then click “Next”.
Note: Using Windows Media Creation Tool will erase all the contents of the USB drive. If there’s any important data in it, please make a backup first.
5. Select the desired USB drive, then click “Next” and wait for the tool to download Windows 11. The time it takes depends on your internet speed. When it’s down, click “Finish”.
Your bootable Windows 11 USB drive is now ready to go. If you want to use the drive to install Windows 11, you can easily change the boot order in the BIOS to boot from it for installation.
Create bootable Windows 11 recovery USB drive
To start creating a recovery USB drive to troubleshoot or reset Windows 11, prepare a USB drive of at least 16 GB and follow the steps below.
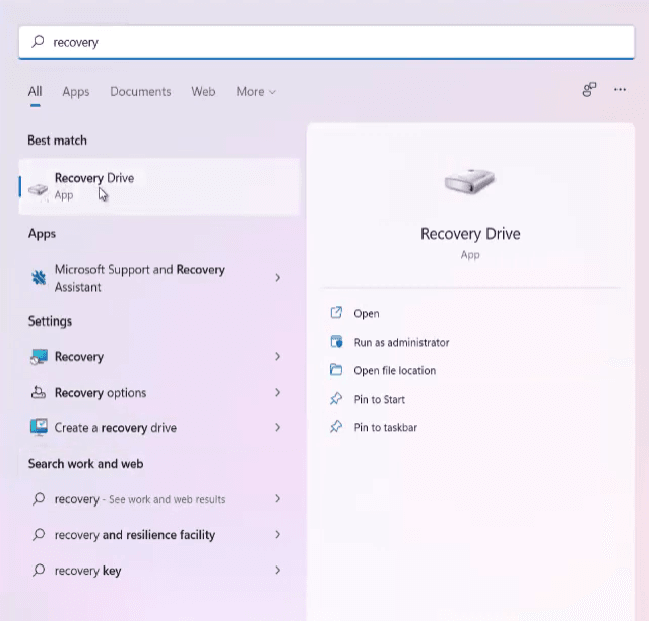
1. On your Windows 11 PC, click Start, then type “recovery drive” in the search box and open it from the result. Or you can launch the recovery option via “Control Panel” >> “All Control Panel Items” >> “Recovery” >> “Advanced Recovery Tools” >> “Create Recovery Drive”.
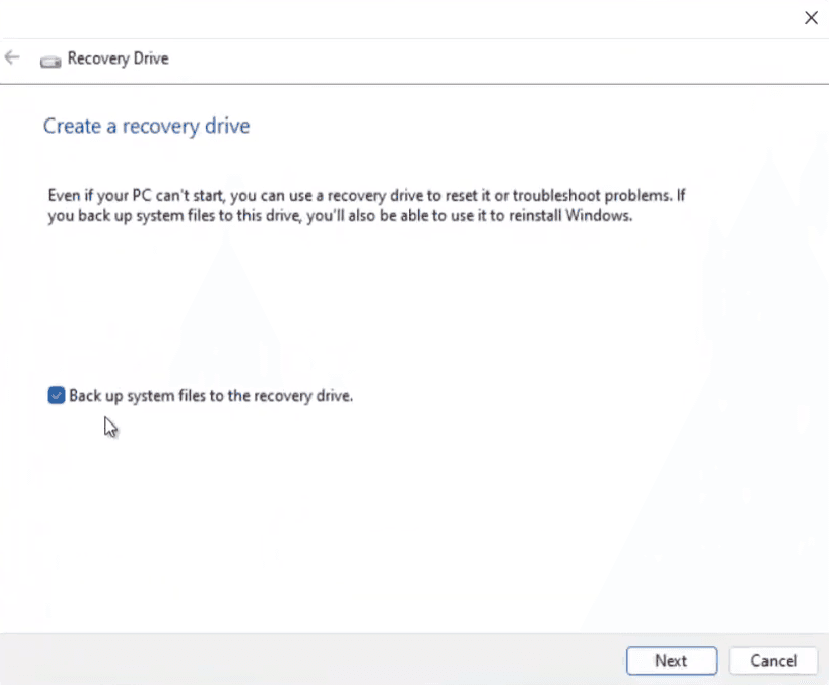
2. In the Create Recovery Drive window, select the option to “Back up system files to the recovery drive”. Thus even if your Windows 11 computer cannot boot, you can use the recovery USB drive to reinstall Windows 11.
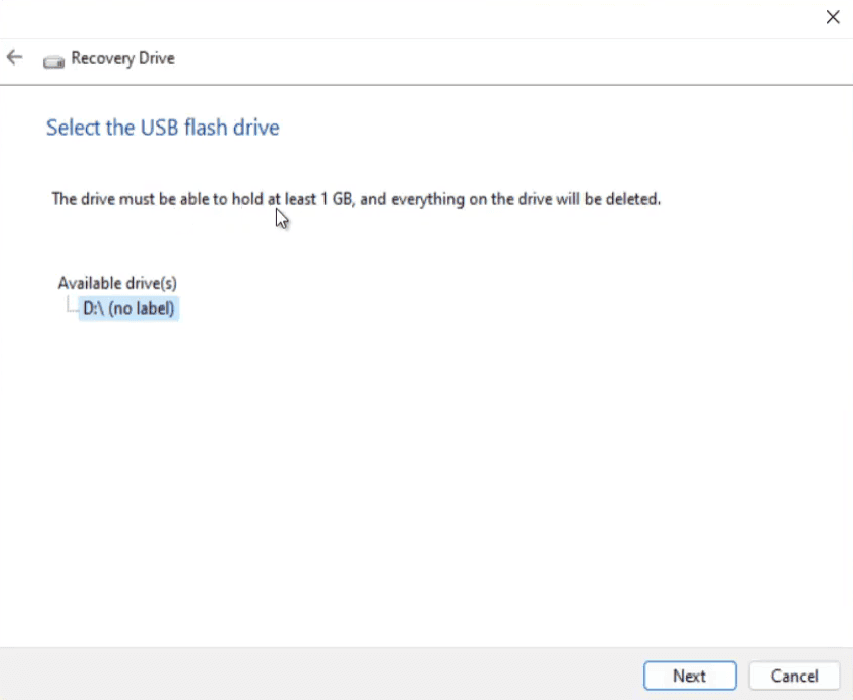
3. Click “Next” to continue. The Recovery Drive Wizard will automatically select the USB drive you inserted. Click “Next”.
4. A warning will alert you that "Everything on the drive will be deleted. If you have any personal files on this drive, make sure you’ve backed up the files". If the drive contains personal files and data, make sure you back them up before erasing them. Then click “Create”.
Depending on the speed of your computer, the Windows 11 Recovery drive creation process may take minutes to hours. After that, the drive should be created and ready to use.
How to reinstall Windows 11 using the recovery drive:
After creating the recovery drive in Windows 11, you can use it to reinstall Windows 11 or to recover a system image in Windows 11.
Just insert the USB drive when you need it. The recovery disk will help you boot into Windows Advanced Options. If not, please press the specific key to enter BIOS and set the USB as the first boot option. Then you should be able to enter Windows Recovery Environment for further operation.
