
How to Import iPhone Photos to External Hard Drive on PC/iOS/Mac
Learn how to import iPhone photos to external hard drive on PC, iOS, and Mac. 5 easy methods to free up space and backup thousands of photos safely. Read more!
By Kelsey Updated on May 26, 2026
How do I import photos from an iPhone to an external hard drive?
Hi, friends! I'm getting into trouble when I tried to import 2000 photos on my 256GB iPhone 15 Pro Max to an external 2TB Seagate hard drive. How do I deal with thousands of photos transfer?"
- Question from Reddit
If you are staring at a similar "Storage Almost Full" warning while holding a brand new external hard drive, you are in the right place. Moving thousands of high-resolution photos off your iPhone is essential for maintaining performance, but doing it wrong can lead to missing files or corrupted data. This guide shows you exactly how to import iPhone photos to external hard drive using five proven methods, whether you are on Windows, iOS, or Mac.
Why You Need to Import iPhone Photos to an External Hard Drive?
Your iPhone is a powerful camera, but it's not a permanent archive. Offloading your media to dedicated storage is a smart habit. Here is why you should export iPhone photos to external hard drive regularly:
- Backup and Preserve Precious Memories: An external hard drive provides a physical, offline backup. Unlike cloud services, it isn't vulnerable to hacking or subscription fees, ensuring the long-term preservation of your photos.
- Free Up Critical iPhone Storage: 4K videos and high-resolution photos are storage hogs. By transferring photos from iPhone to external hard drive, you reclaim valuable space for new apps, iOS updates, and future memories.
- Easy Accessibility Across Devices: With your photos stored on an external drive, you can access, edit, and share them on any computer—Windows or Mac—without needing your iPhone present. This is perfect for organizing and editing large libraries.
How to Import iPhone Photos to External Hard Drive on Windows PC
For Windows users, there are three reliable ways to move photos from your iPhone to an external drive. The best method depends on whether you prioritize speed, control, or using built-in tools.
Method 1. Transfer Photos from iPhone to External Drive with AOMEI FoneBackup
When dealing with thousands of photos, you need a tool that offers speed and selective control. AOMEI FoneBackup is the easiest way to import iPhone photos to external hard drive on Windows. It transfers data directly via USB, bypassing slow cloud uploads and giving you granular control over which files move.
Why AOMEI FoneBackup is the Best Choice:
-
Selective Backup: Don't dump your entire camera roll. Browse and select specific photos, albums, or file types (Live Photos, bursts, etc.) to save space on your drive.
-
HEIC to JPG Conversion: Newer iPhones use HEIC format. AOMEI FoneBackup includes a built-in converter to automatically change photos toJPG/PNGso you can view them on any device without compatibility issues.
-
Direct to External Drive: You can set your external hard drive as the destination folder before the transfer starts, saving you the step of moving files later.
Step 1. Download and install AOMEI FoneBackup on your Windows PC.
Step 2. Connect your iPhone to the PC using a USB cable. Unlock your iPhone and tap "Trust This Computer."
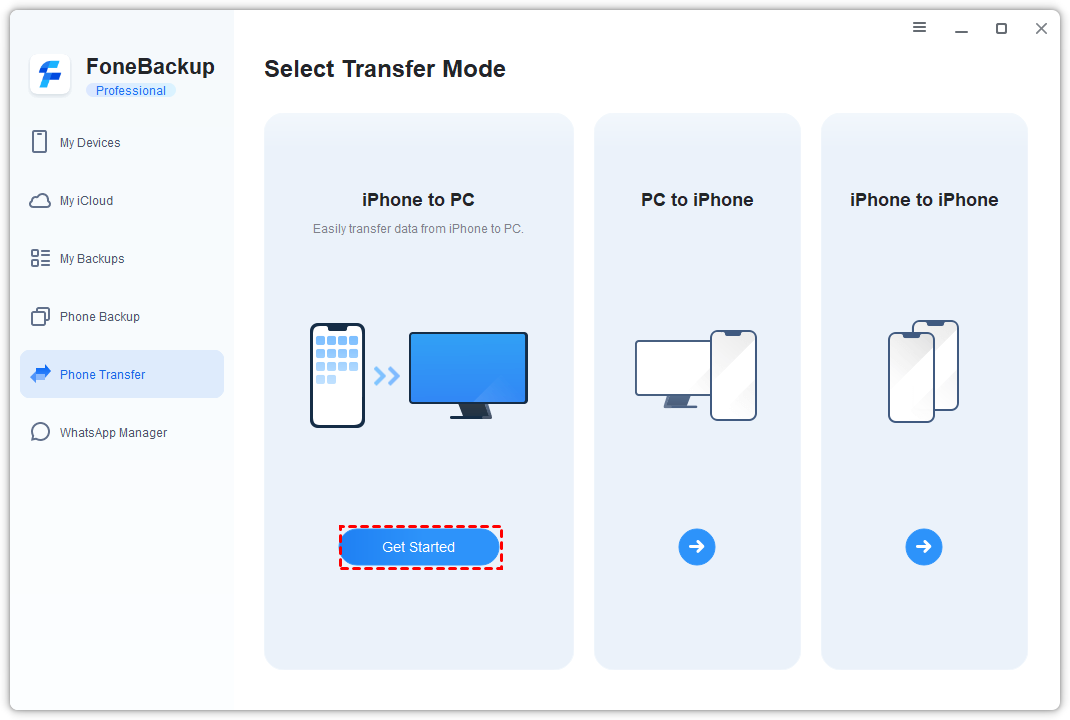
Step 3. Launch AOMEI FoneBackup. On the home screen, select "Phone Transfer" > Choose "iPhone to PC" mode > Click "Start Transfer."
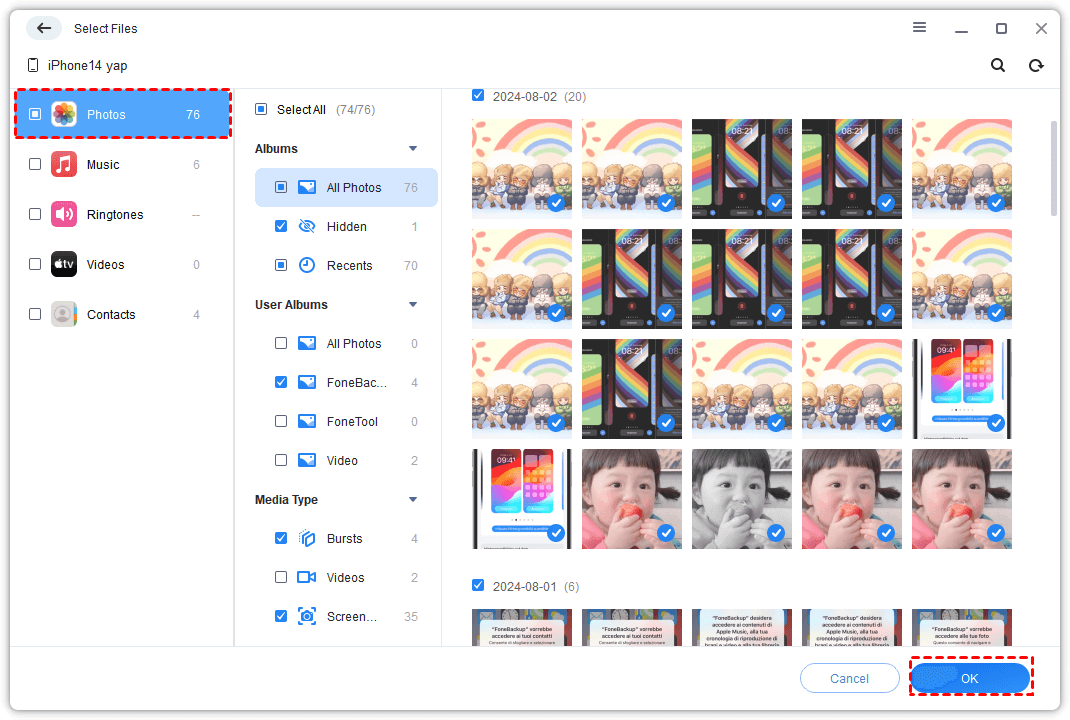
Step 4. Click the "+" (Plus) icon > Select the "Photos" icon. You can choose "Select All" or manually pick the specific photos you want to transfer. Click "OK" to confirm.
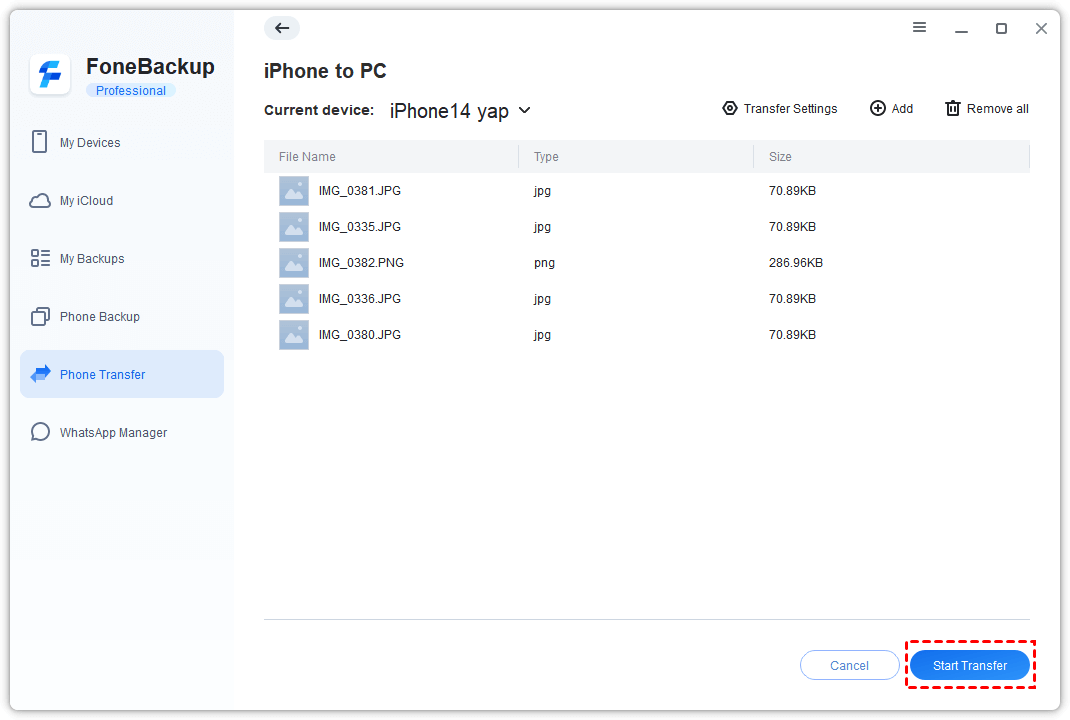
Step 5. Before starting, click "Transfer Settings." Browse and select your external hard drive (e.g., D:\ or E:) as the destination folder. Then, click "Start Transfer" to begin moving your photos.
Method 2. Import Photos via Windows Photos App
If you prefer not to install third-party software, the built-in Windows Photos app offers a straightforward way to export iPhone photos to external hard drive. It guides you through the import process step-by-step.
Step 1. Connect both your iPhone and your external hard drive to your Windows PC. Ensure both are recognized (you should see the drive in File Explorer).
Step 2. Open the Photos app on your computer (search for it in the Start menu).
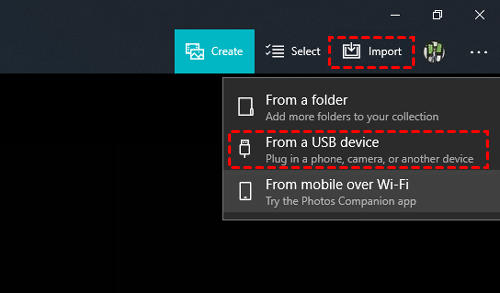
Step3. Click the "Import" button at the top right, then select "From a USB device." The app will scan your iPhone for photos.
Step 4. The app will display all detected photos (usually with all selected by default). Manually deselect any photos you don't want to transfer.
Step 5. Click "Import Settings." Under destination, choose "Change import destination" and navigate to your external hard drive to select it as the save location.
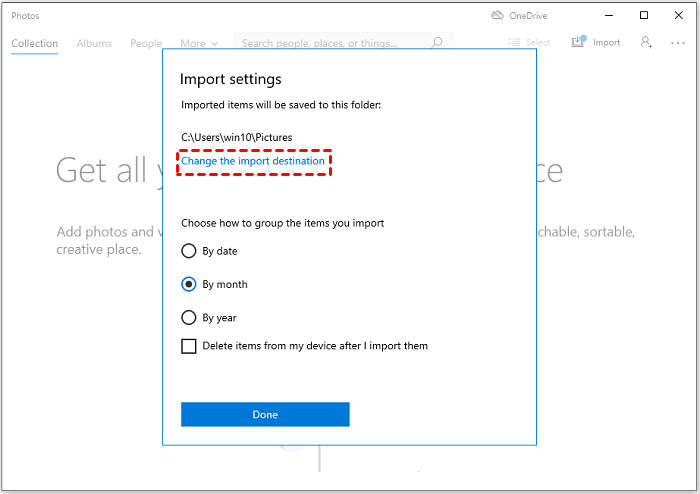
Step 6. Click "Import Selected." The photos will be copied directly from your iPhone to the external drive.
Method 3. Copy & Paste with Windows Explorer
For users who prefer a simple drag-and-drop approach, Windows Explorer (File Explorer) allows you to access your iPhone's internal storage directly, just like a digital camera.
Step 1. Connect your iPhone to your PC using a USB cable. Unlock the device and tap "Trust This Computer."
Step 2. Press Windows + E to open File Explorer. Click on "This PC" in the left sidebar. You should see your iPhone listed under "Devices and drives."
Step 3. Double-click your iPhone > Double-click "Internal Storage" > Open the "DCIM" folder. This is where all your camera photos and videos are stored.

Step 4. Inside the DCIM folder, you'll see subfolders (like 100APPLE, 101APPLE). Open these to find your photos.
Step 5. Select the photos you want to transfer. Right-click and choose "Copy" (or press Ctrl+C).
Step 6. Navigate to your external hard drive in File Explorer. Open the folder where you want to save the photos, right-click, and choose "Paste" (or press Ctrl+V).
Method 4. Import Photos to External Hard Drive Directly from iPhone
If you are using iOS 13 or later, you can connect external storage directly to your iPhone using a Lightning to USB adapter (or USB-C if you have an iPhone 15 + series). This allows you to transfer files without a computer.
Step 1. Connect your external hard drive to your iPhone using the appropriate adapter or cable.
Step 2. Open the Files app on your iPhone. Tap "Browse" at the bottom right. Under "Locations," you should see your external drive listed.
Step 3. Navigate back to the home screen and open the Photos app. Tap "Select" in the top right corner and choose the photos you wish to transfer.
Step 4. Tap the "Share" button (the square with an upward arrow). Scroll down and choose "Save to Files."
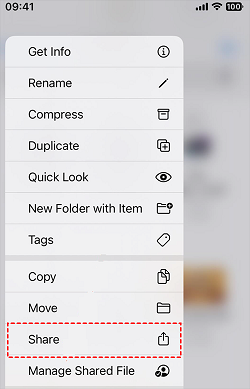
Step 5. In the Files menu, navigate to and select your external hard drive as the destination. Tap "Save." The photos will be copied directly to the drive.
Method 5. Export iPhone Photos to External Hard Drive on Mac (Image Capture)
For Mac users, the built-in Image Capture app is the most efficient tool for this task. It's designed specifically for importing media from cameras and iPhones directly to a specified folder or drive.
Step 1. Connect both your iPhone and your external hard drive to your Mac using appropriate cables.
Step 2. Open Image Capture (you can find it in the Applications folder or by searching with Spotlight, Cmd+Space).
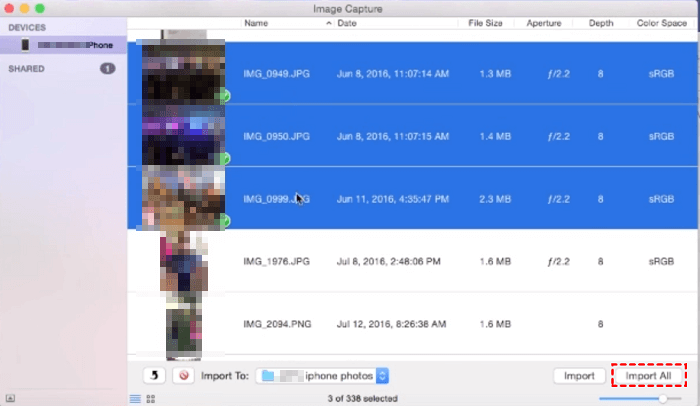
Step 3. In the Image Capture window, select your iPhone from the "Devices" list on the left.
Step 4. At the bottom of the window, find the "Import To" dropdown menu. Click it and select your external hard drive as the destination.
Step 5. You can choose to import all photos by clicking "Import All," or hold the Cmd key to select specific photos and click "Import."
The Bottom Line
Learning how to import iPhone photos to external hard drive is essential for anyone looking to free up space and secure their digital memories. Whether you are dealing with 2,000 photos like the Reddit user above, or just want a regular backup, the method you choose matters.
-
For Windows users dealing with large libraries, AOMEI FoneBackup offers the best combination of speed, selective control, and useful features like HEIC conversion.
-
For a quick, no-software solution, the Windows Photos app or File Explorer gets the job done.
-
For Mac and direct iOS transfers, Image Capture and the Files app provide reliable, native options.
Choose the method that fits your workflow, and get those photos safely stored today!