
How to Backup iPhoto Library: Proven Top Guide (2026)
Learn how to backup iPhoto library with three proven methods - iCloud, Time Machine, and manual copy. Plus a bonus tip for backing up iPhone photos to PC. Step-by-step.
By Kelsey Updated on May 14, 2026
If you've been using a Mac for any length of time, you probably have an iPhoto library sitting somewhere—maybe on your current machine, maybe on an external drive, maybe gathering digital dust. iPhoto was Apple's original photo management app before Photos came along, and for many users, it still holds years of memories.
The question is: Is that library safely backed up? Because if something happens to your Mac, those photos could vanish. This guide covers exactly how to backup iPhoto library to iCloud, to an external drive, and with Time Machine. Plus, a bonus for iPhone users who want to keep their photos safe, too.
How to Backup Your iPhoto Library to iCloud (The Built-in Way)
The simplest way to keep your iPhoto photos safe is to let Apple handle them. If you have iCloud storage space, you can sync your entire library to the cloud.
Step 1. On your Mac, click the Apple menu (top-left corner) and select System Settings (or System Preferences on older macOS).
Step 2. Click Apple ID (if you're in System Preferences, click iCloud).
Step 3. In the sidebar, click iCloud, then scroll down and click Photos.
Step 4. Toggle on "Sync this Mac." Your iPhoto library will begin uploading to iCloud.
-
This uploads your photos to iCloud Photos, not as a separate backup. If you delete a photo from your Mac, it also deletes from iCloud. For true backup, combine this with one of the local methods below.
How to Backup Your iPhoto Library Locally (Essential for Safety)
Even if you use iCloud, a local backup gives you a safety net that doesn't depend on internet connections or subscription fees. Here are two reliable ways to back up your iPhoto library locally.
Method 1. Use Time Machine to Backup iPhoto Library
Time Machine is Apple's built-in backup tool. Once configured, it automatically backs up your entire Mac, including your iPhoto library to an external drive.
An external hard drive with enough space to hold your Mac's data (at least double your Mac's storage is recommended).
Step 1. Connect your external drive to your Mac. If prompted, choose to use it as a Time Machine backup disk.
Step 2. Go to System Settings > General > Time Machine. Click Add Backup Disk and select your external drive.
Step 3. Time Machine will start backing up automatically. Your iPhoto library is included.
-
If your iPhoto library is stored on an external drive, don't use that same drive for Time Machine backups. The permissions can conflict.
Method 2. Manually Copy Your Library to Computer
If you prefer total control, you can manually copy your iPhoto library to an external drive. This is as straightforward as drag-and-drop.
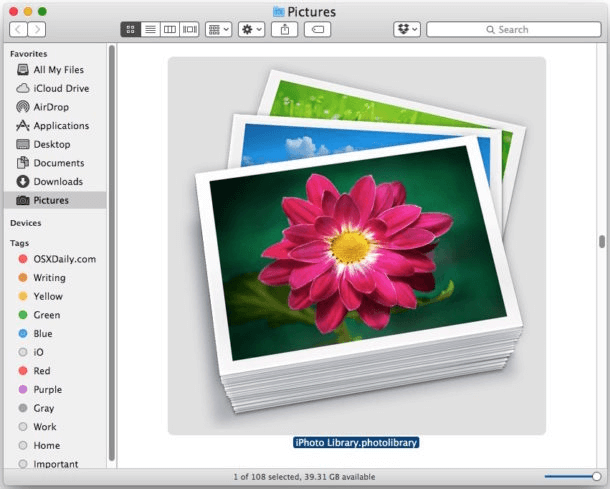
By default, it's in your Pictures folder. Look for a file called "iPhoto Library" (it has a camera icon).
Step 1. Connect an external drive to your Mac.
Step 2. Open Finder, go to your Pictures folder, and locate your iPhoto library.
Step 3. Drag the library file to your external drive. Wait for the copy to complete.
Step 4. (Optional) If you have multiple photo libraries, repeat for each one.
-
This method only backs up photos stored inside your library. If you have referenced files (images stored outside the library), they won't be included. You can consolidate them first: in Photos, go to Preferences > General and click "Consolidate."
Bonus Tip: Backup iPhone Photos to PC
If you're also an iPhone user, your photo situation is even more complex. Those photos exist separately from your iPhoto library, but they're just as precious. AOMEI FoneBackup is a Windows tool that lets you back up iPhone photos directly to your computer—selectively, quickly, and without quality loss.

- Pick What to Save: Preview your photos and choose only the ones you need.
- Keep Original Quality: No compression, no re-encoding, just the original files.
- Fast Transfer: Back up hundreds of photos in minutes.
- Wide Format Support: JPG, PNG, HEIC, RAW - it handles them all.
- Works with all iPhones: iPhone 4 up to the latest iPhone model and iOS version.
Step 1. Download and install AOMEI FoneBackup on your Windows PC. Connect your iPhone with a USB cable and tap "Trust This Computer" when prompted.
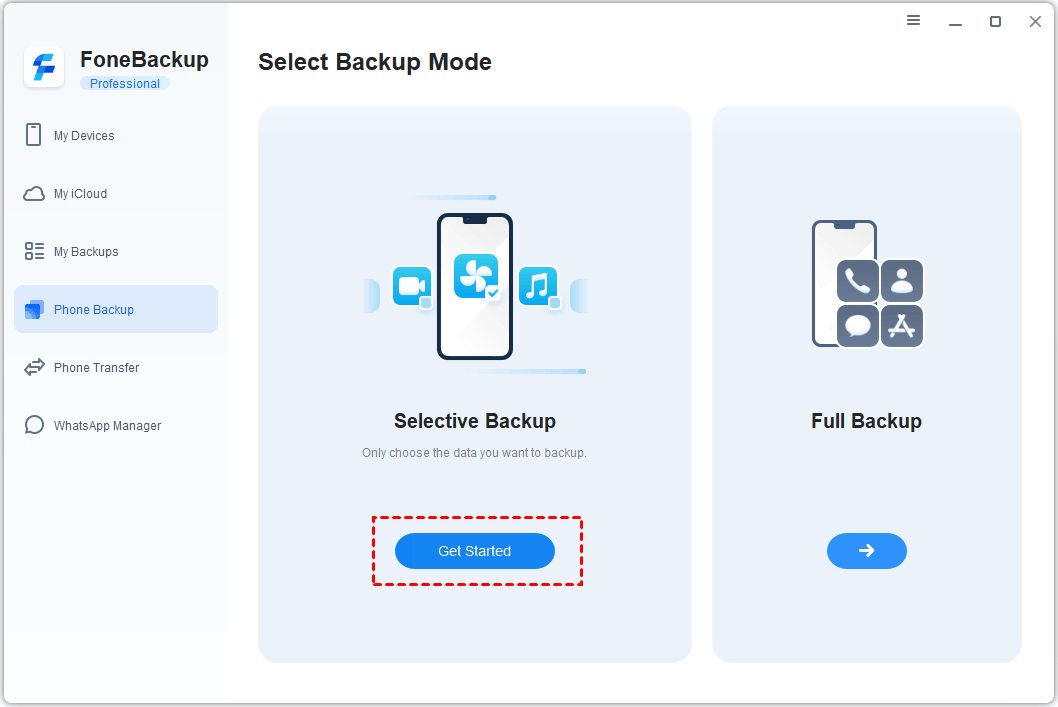
Step 2. Open AOMEI FoneBackup. Click Phone Backup on the main interface, then choose Selective Backup and click Get Started.
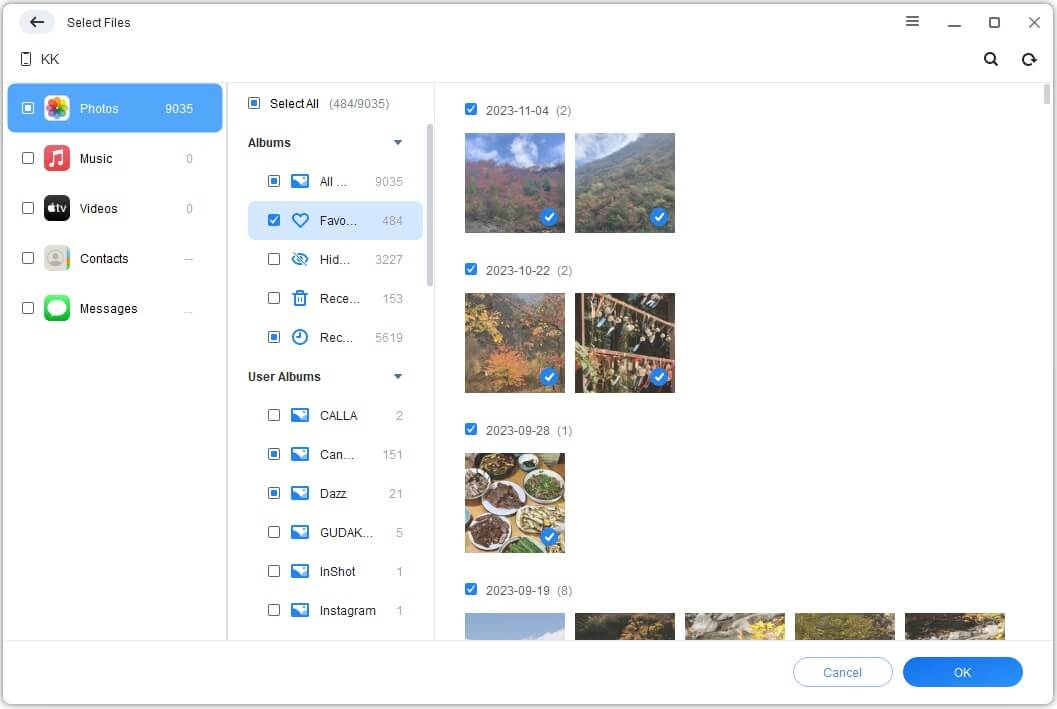
Step 3. Click the Photos icon. You'll see a preview of all your photos. Select the ones you want to back up. Click OK.
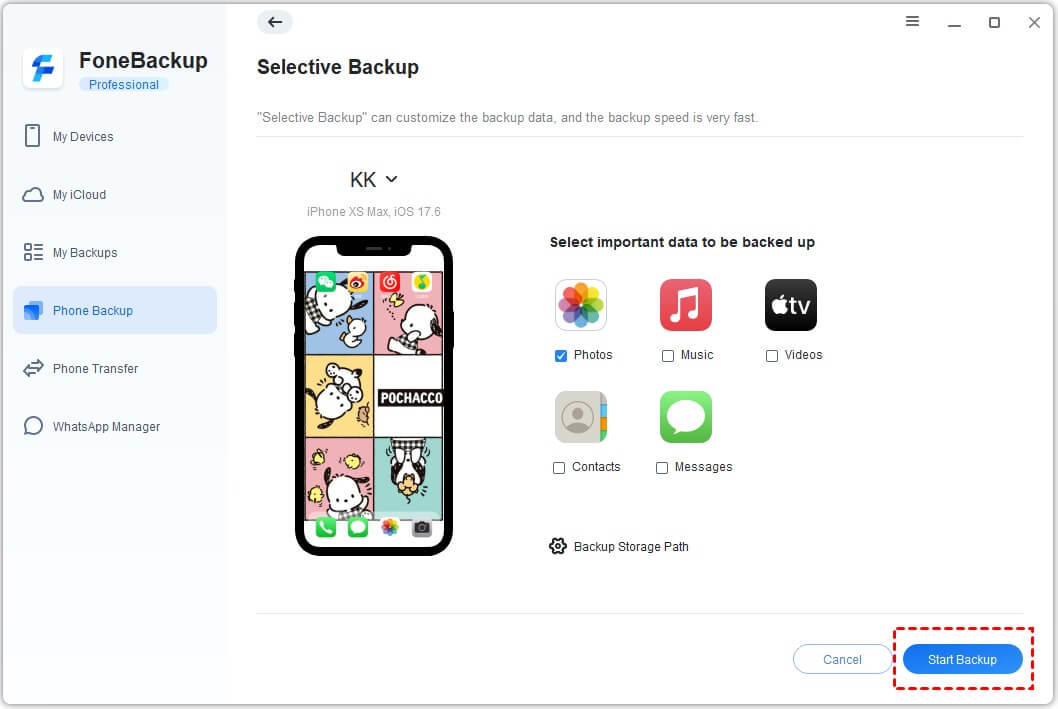
Step 4. Choose a folder on your computer to save the backup. (You can change this in Backup Storage Path.)
Step 5. Click Start Backup. Your photos are now safely on your PC.
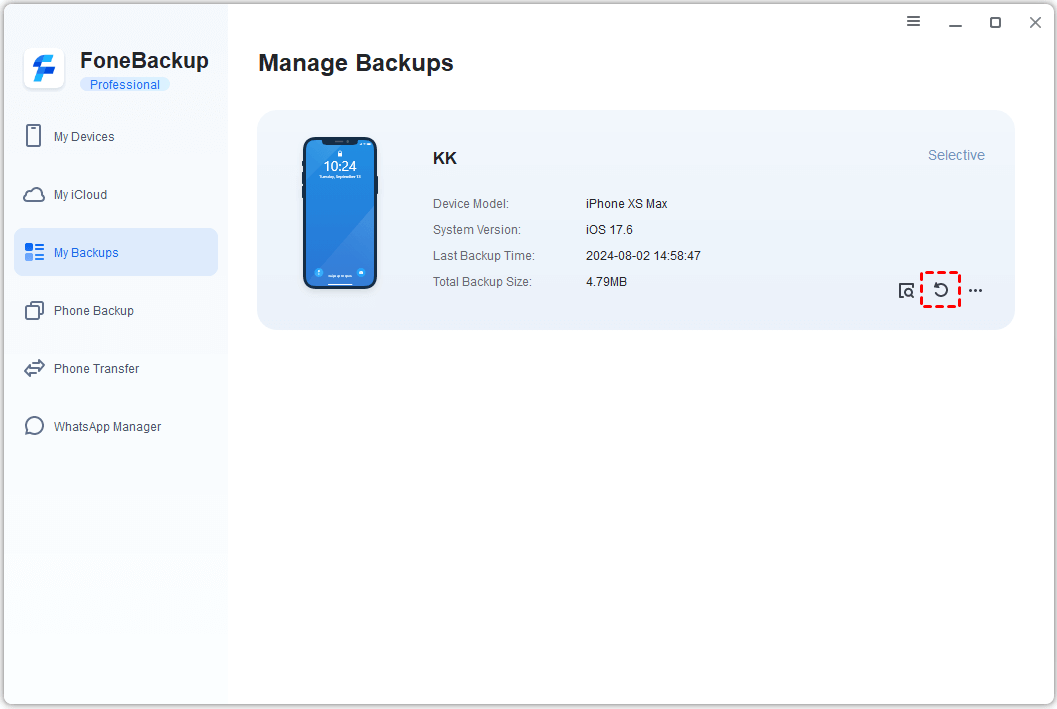
When the backup finishes, go to "My Backups" in the toolbar to view, restore, or delete your backup files anytime.
Final Words
Your iPhoto library holds memories that can't be replaced. Whether you choose iCloud for convenience, Time Machine for automation, or manual copying for total control, the important thing is to have some backup in place. And if you're also juggling iPhone photos, AOMEI FoneBackup offers a straightforward way to keep those safe too. Download it here and give your photos the protection they deserve.