




Windows File Recovery Failed to Create Destination Folder: What to Check First
When Windows File Recovery failed to create destination folder appears, start by checking where recovered files will be saved. Identify an available destination, test access, and choose between correcting your command and using guided recovery.

By Ivy Updated on September 9, 2026


The “Windows File Recovery failed to create destination folder” error means winfr couldn’t create its output folder at the selected location. Start by confirming that the destination drive exists, is accessible, and is different from the partition containing your deleted files.
A correct-looking command can still fail when its example drive letter doesn’t match your computer. Once you have a usable destination, you can retry winfr or use AOMEI FastRecovery to recover deleted files through a graphical interface.
📌 Not sure where to start? Use this guide to choose your next action.
| 🧩 Your situation | ✅ Start here | 👍 What it addresses |
|---|---|---|
| The command uses a drive letter you can’t find | Verify the destination drive | An incorrect or unavailable destination |
| You can open the destination but can’t create a folder | Check write access | A locked, restricted, or unusable location |
| Your destination works, but you prefer guided recovery | AOMEI FastRecovery | Recovering deleted files without commands |
| You want to continue with winfr.exe | Check the winfr command | Syntax, filtering, and mode selection |
Method 1: Verify the Destination Drive Before Changing the Command
👍 Best for: Checking copied commands and single-drive setups; you still need a separate destination.
The source is where the files were lost. The destination is where recovered copies will be saved. A different folder on the source partition is invalid - winfr requires a distinct destination drive.
Step 1. Connect the destination drive (if it is external) to your PC. Then, open File Explorer > This PC, identify the drive where your files were originally saved and the drive where you want to save the recovered files. Write down both drive letters.
Step 2. Replace the drive letter in the winfr command with your actual letter. If you deleted files from an external drive, make sure it's the source, not the destination.
For example, a USB drive labeled “BACKUP (G:)” must be referenced as G:. Typing E: does not create or connect an E: drive.
Method 2: Test Write Access on the Destination Drive
👍 Best for: Diagnosing why a visible destination drive rejects new files (e.g., full, locked, or restricted).
Test only the destination drive. Do not create test files on the drive containing deleted data.
Step 1. Open the destination drive in File Explorer. Right-click an empty area and select New > Folder. Name it “RecoveryTest”.
Step 2. If Windows refuses to create the folder, note the exact message. A locked drive, write-protection warning, and permission error need different responses. For a password-protected external drive, unlock it using its normal software and your credentials.
Step 3. Right-click the destination drive and select Properties to check free space. If it is full or remains unwritable, use another available drive rather than repeatedly retrying winfr.
Creating the test folder successfully is a useful sign, but it does not prove every application can write there. If winfr still fails, continue with the command checks below.
Method 3: Recover Deleted Files from Hard Drive with AOMEI FastRecovery
👍 Best for: Recovering accidentally deleted files through a graphical interface; a writable destination is still required.
AOMEI FastRecovery is a Windows file recovery software that can scan the drive where your documents, photos, or other files were stored. Its guided interface lets you select the drive where you want to recover data and browse results without typing winfr commands.
For accidental deletion, Quick Scan runs first. If the required files are missing from those results, Deep Scan provides a more thorough search. Search, filter, sort, and thumbnail previews help narrow your selection.
 AOMEI FastRecovery
Windows hard drive data recovery software
-
Prepare a separate drive to save the recovered data, effectively preventing overwriting.
-
The free edition can recover up to 500 MB. Recovery beyond that allowance and full preview require an upgraded edition.
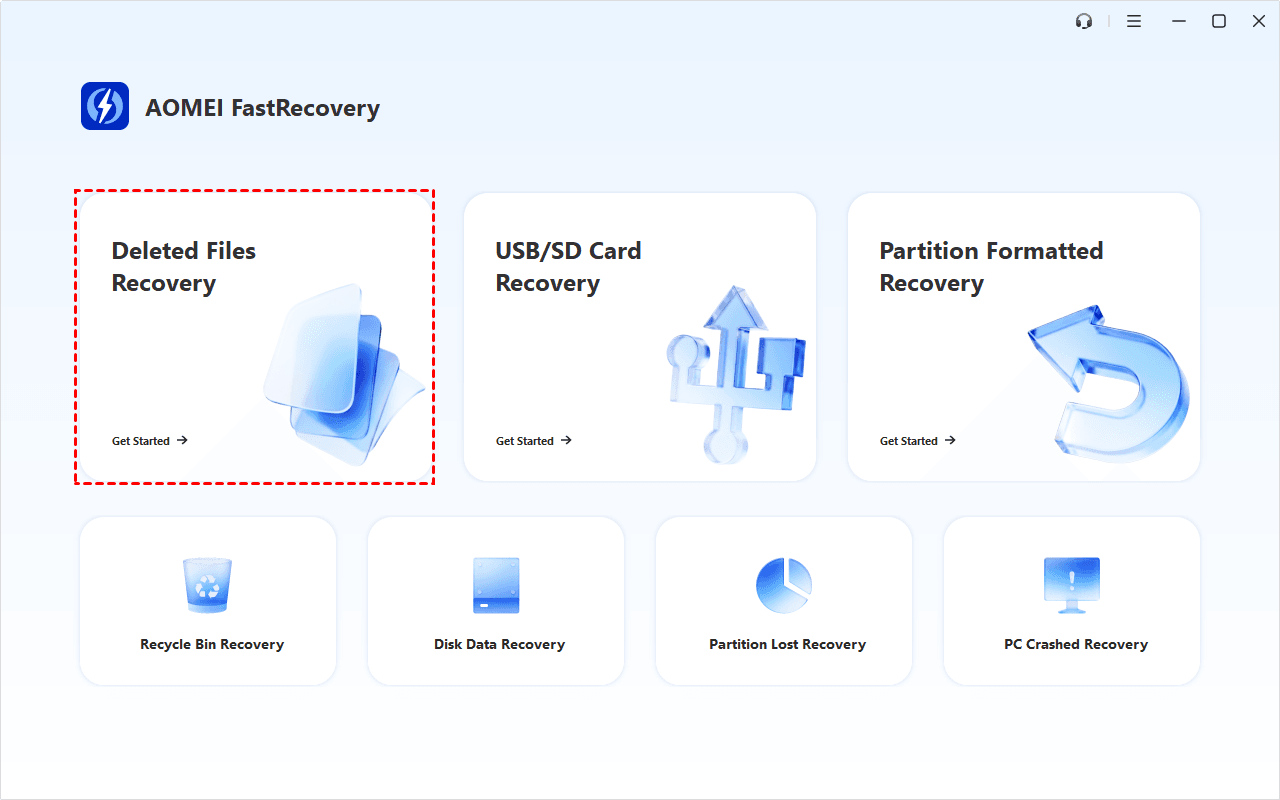
Step 1. Download and install AOMEI FastRecovery on a different drive from the one containing your deleted files, then select Deleted Files Recovery.
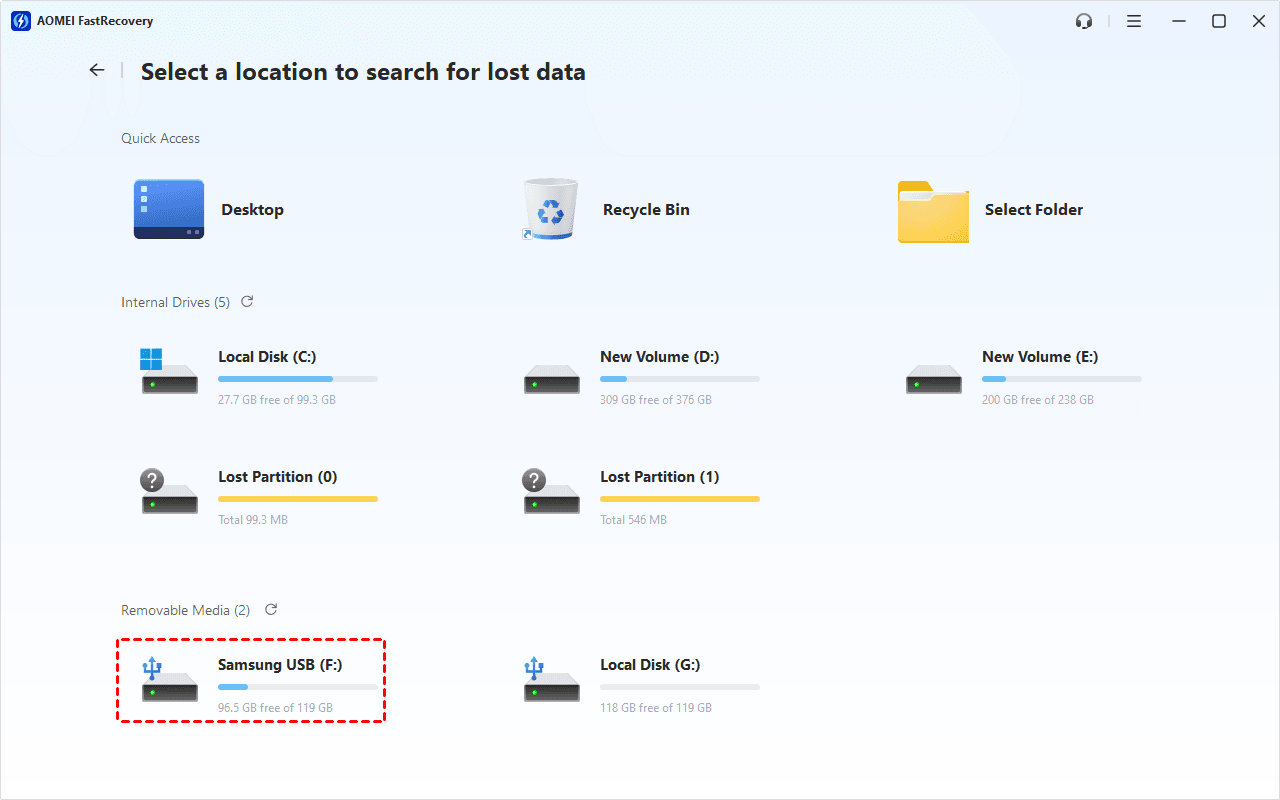
Step 2. Locate the drive containing deleted files, and click Scan.
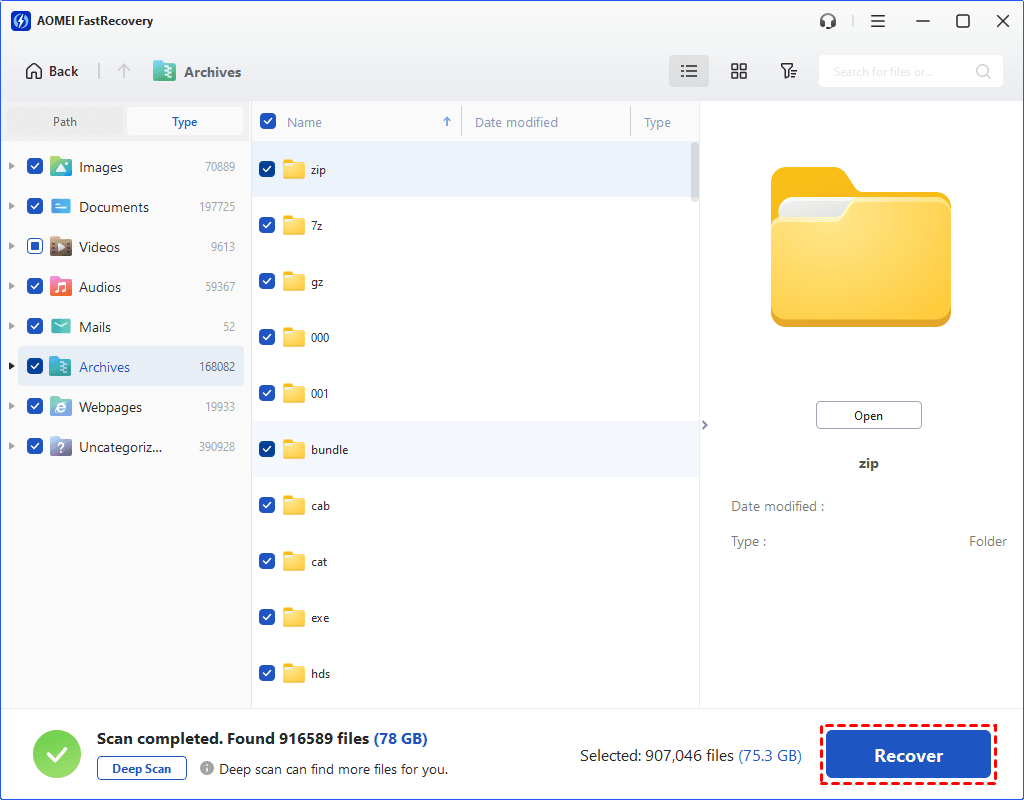
Step 3. Browse the Quick Scan results by Type (e.g., Documents, Videos, Photos, Audios, etc) or Path. Use search, filter, or sort to narrow down the list. If your files are still missing, run a Deep Scan.

Step 4. Select the required files and click Recover. Choose a different, healthy drive as the destination, not the one with deleted files.
Method 4: Retry winfr with a Command You Understand
👍 Best for: Continuing with Microsoft’s tool after checking the destination; the recovery mode must match the source.
If “winfr failed to create destination folder” persists, simplify the command and check each parameter.
Step 1. Open Windows File Recovery and approve its permission priority. Right-click the source drive in File Explorer, select Properties and identify the file system.
Step 2. For recently deleted Word files on a healthy NTFS drive (C:), with a USB drive (G:), enter:
winfr C: G: /regular /n *.docx
Here, C: is the source, G: is the destination, /regular selects the recovery mode, and /n *.docx limits the search to Word documents. Replace the drive letters before running it.
Review the displayed source and destination before pressing Enter.
For Excel files, use *.xlsx. If your problem specifically involves a permanently deleted Excel file from the desktop, confirm its original location before choosing the source.
Step 3. To search a particular folder, replace the file type filter with its source path. Enter the following command:
winfr C: G: /regular /n "\Users\Jordan\Documents\Project Notes\"
Replace Jordan with the actual user name. Keep the quotes around a path containing spaces and the final backslash for a folder filter.
Windows File Recovery creates a dated recovery folder on the destination. After recovery, open that folder and check the files.
FAQs
Do I need to create the recovery folder myself?
No. winfr automatically creates its recovery folder on the destination. The “RecoveryTest” folder above is only an access check.
Does error 0x80070356 mean my deleted files are unrecoverable?
The destination-folder error alone does not establish that. Check the output location first. File recoverability is a separate question.
What if the command runs but finds no files?
Check the source and filter. An incorrect extension or folder path can exclude the files you need. Consider Extensive mode where appropriate, but repeated scans cannot restore data already overwritten.
Why aren’t my deleted files in the Recycle Bin?
Some deletions bypass it, including files that exceed its configured capacity. If that happened, see how to recover deleted files too large for the Recycle Bin.
What should I do first when this error returns?
For “winfr failed to create destination folder,” recheck the actual destination letter and write access. Once those work, retry a verified command or select the affected source in AOMEI FastRecovery.

 as a preferred
source on Google
as a preferred
source on Google