
[Resolved] Dell SupportAssist Installation Failed on Windows 11
With 4 effective methods, you can fix the issue of Dell SupportAssist installation failed on Windows 11 without any obstacle, along with step by step instructions. Scroll down to learn more!
By Ivy Updated on January 16, 2026
Dell SupportAssist Installation Failed Error
The Dell SupportAssist installation failed Windows 11 error is rarely caused by a single issue but a combination of factors, such as compatibility conflicts, Windows update issues, and background service failures. Users experiencing this problem often report one or more of the following symptoms:
- The installer closes without completing the setup.
- Installation freezes at a certain percentage (commonly between 0- 20%).
- Error messages such as “SupportAssist cannot be installed”, “Installation failed”, or MSI error 1603.
- SupportAssist appears to install, but will not launch afterward.
- No error message at all — the setup stops responding.
These behaviors indicate that the installer is failing before the application can properly register its required services and dependencies.
How to Successfully Install Dell SupportAssist on Windows 11
Installing Dell SupportAssist on Windows 11 can sometimes fail due to leftover files, corrupted runtimes, or system conflicts. This guide walks you through 3 effective methods to ensure the installer runs smoothly and prevents installation failures.
Method 1: Clean Uninstall SupportAssist
A proper reinstall begins with completeremoval ofall existing Dell SupportAssist components. Any leftover files or services will cause the installation to fail again.
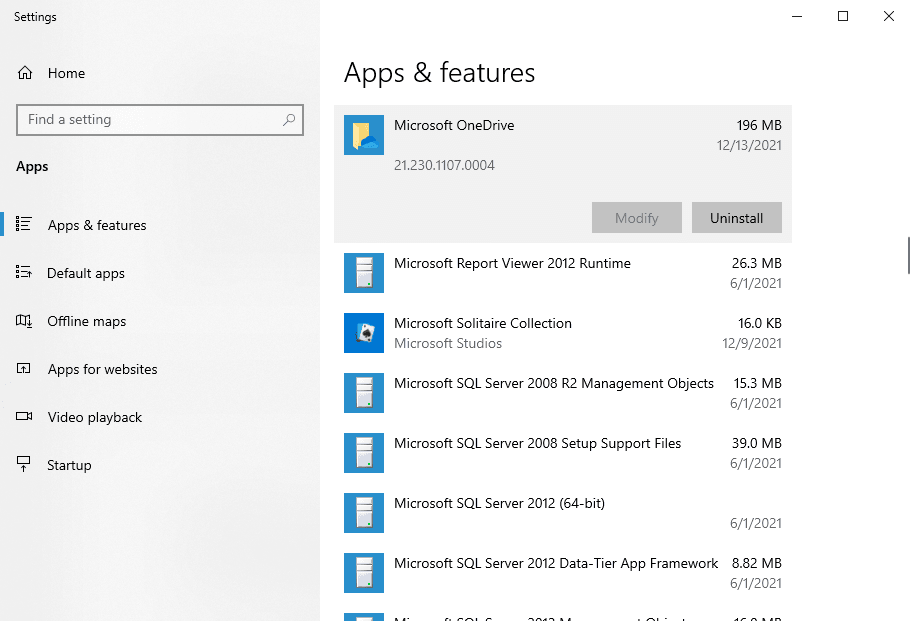
Step 1. Press Win + I to open the Settings window. Click Apps.
Step 2. In the App & Features section, find Dell SupportAssist, right-click it, and select Uninstall.
Step 3. Restart your PC and reinstall SupportAssist from the Dell website. See if the installation failed error occurs again.

⚠️Note: If the Dell SupportAssist installation failed error occurs again, try the Microsoft Troubleshooter Tool or Revo uninstaller to uninstall SupportAssist again. You need to download this app manually.
Step 3. Press Win + R, type services.msc, press Enter. Find the following services, right-click each one, and select Disable until all services are disabled.
- Dell SupportAssist
- Dell Client Management Service
- Dell Data VaultCollector
- Dell Data VaultService API
- Dell TechHub
Step 4. Open File Explorer and delete these folders if present:
- C:\Program Files\Dell
- C:\Program Files (x86)\Dell
- C:\ProgramData\Dell
- C:\Users\%USERNAME%\AppData\Local\Dell
- C:\Users\%USERNAME%\AppData\Roaming\Dell
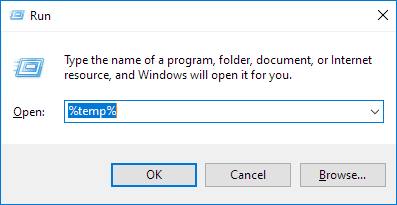
Step 5. Press Win + R, type %temp%, press Enter. Delete all contents in it.
Step 6. Go to C:\Windows\Temp and delete all contents as well. Restart your computer.
Method 2: Repair Windows & Runtime Components
Dell SupportAssist depends heavily on the correct .NET environment. Incorrect or missing runtimes will cause Dell SupportAssist installation failed on Windows 11.
Step 1. Go to the .NET Framework 4.8.1 and NET Desktop Runtime 6 (x64) official Microsoft download page. Read carefully and download the correct version.
Step 2. Double-click the installer and select Run as administrator. You need to accept the license agreement and click Install when prompted.
Step 3. Restart your PC after each installation.
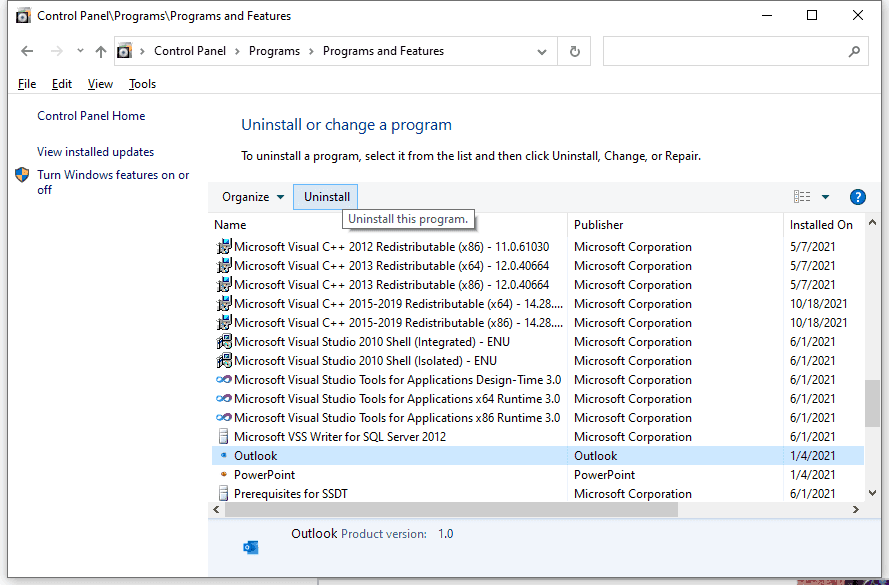
Step 4. Open Control Panel > Programs > Programs and Features and confirm both .NET Framework 4.8.1and .NET Desktop Runtime 6 (x64) are installed.
Step 5. Type cmd in the Start menu and select Run as administrator. Run sfc /scannow to ensure system stability and compatibility.
Method 3: Uninstall Windows Update KB5016629
Reportedly, Windows Update KB5016629 interferes with .NET behavior and Windows Installer functions, both of which Dell SupportAssist relies on. Removing this update resolves the installation failed error.
Step 1. Press Win + I to open the Settings window. Then, go to Update& Security and click View update history.
Step 2. Click Uninstall updates. In the new window, you’ll see a list of the update history. Look for KB5016629, right-click it, and select Uninstall.
Step 3. Restart your computer to fully remove the update and restore to previous status. You can then re-download and install Dell SupportAssist.
Method 4: Install the Latest SupportAssist Version Safely
After cleaning up old components and ensuring all Windows and .NET dependencies are in order, you need toinstall Dell SupportAssist manually. You need to use an administrator account to access the required system services.
Step 1. Press Win + R, type services.msc, press Enter. Check if the following services are running. If not, right-click it and select Start.
- Windows Installer
- Dell Client Management Service
- Dell Data Vault Service
Step 2. Download the latest version of Dell SupportAssist directly from Dell’s website. Right-click the installer and select Run as administrator.
Step 3. Complete the installation and restart the system to apply all service, driver, and runtime changes.
How to Prevent Dell SupportAssist Installation Failed Errors
Once Dell SupportAssist is installed and functioning correctly, the goal is to keep it that way. Most repeat failures occur after Windows updates, driver changes, or runtime modifications. You can choose to create a system restore or full backup strategy to protect a stable configuration on Windows 11.
#1: Create a System Restore Point to Lock in a Working Configuration
Creating a system restore point captures the current state of system files, registry settings, services, and runtime bindings. If a Windows update or software change later breaks Dell SupportAssist, you can quickly roll back to this working state.
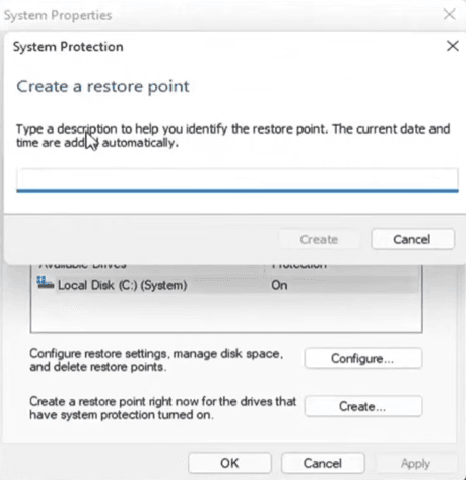
Step 1. Press Win + S, type Create a restore point, and open it. You’ll navigate to System Protection in the System Properties window.
Step 2. In the Protection Settings section, select your system drive (usually C:) and click Configure.
Step 3. Check Turn on system protection. Then, click Apply >OK.
Step 4. Go back to the System Properties window, click Create, and name it.
Step 5. Click Create again. Wait until Windows confirms the restore point was created successfully, then click Close.
#2: Create a Full System Image for Easy Rollback
In addition to restore points, maintaining a full system backup provides a safety net against major failures. This ensures that even if Windows becomes unstable or an update breaks application compatibility, you can quickly restore your system without repeating the entire troubleshooting process.
The free backup software AOMEI Backupper Standard can assist with this task. It offers a clean and intuitive interface, along with a comprehensive suite of backup features to ensure continuous data protection.
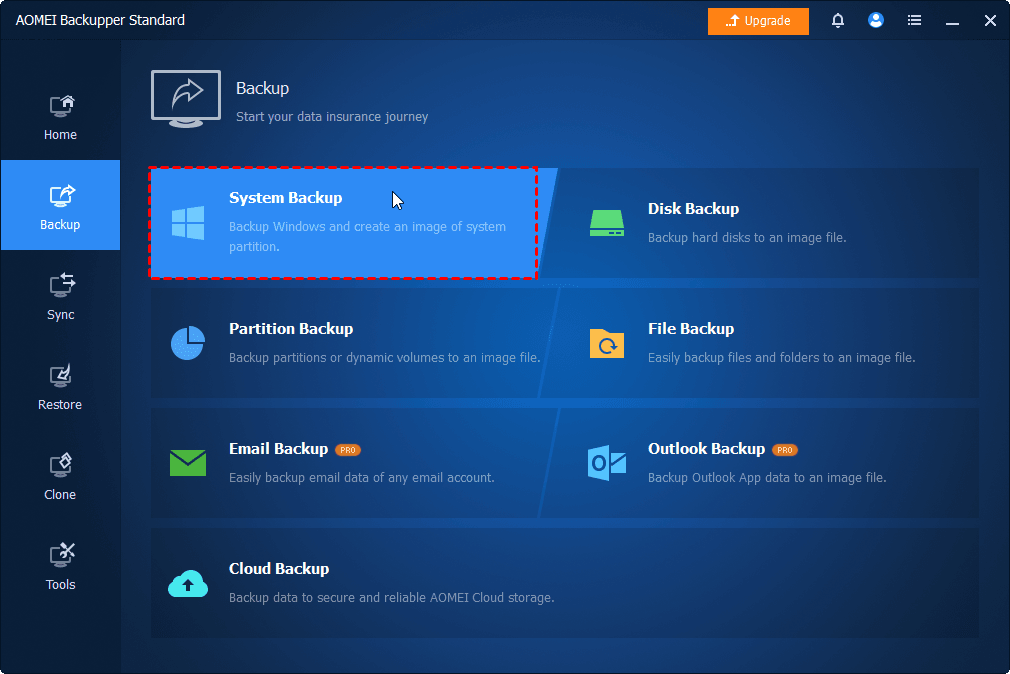
Step 1. Open AOMEI Backupper Standard. Click Backup on the left panel, then choose System Backup.
Step 2. The software will select all the boot partitions automatically. Click the PC icon > Local Drive/Network Drive/NAS to add a new destination. Or select the current location (if it exists).
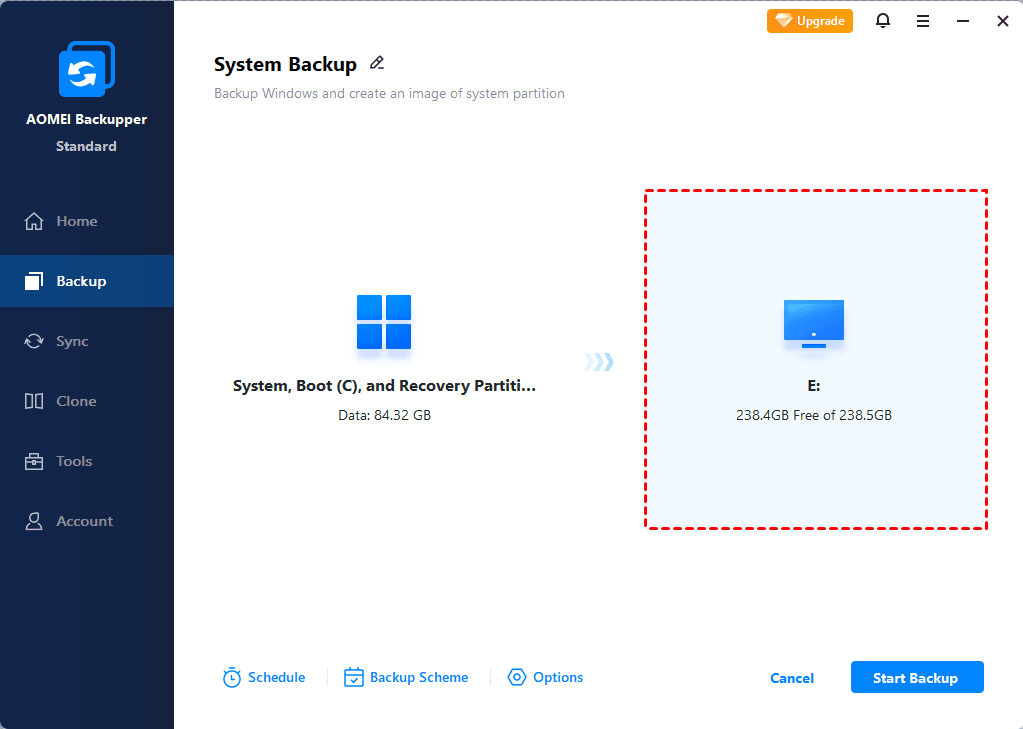
Step 3. Enable Weekly, Monthly (By week), Monthly (By date), or Event triggers to schedule backup and click Start Backup. Optionally, click Options or Backup Scheme to review or change what you want. At last, click Start Backup.
⚠️Notes:
✅ Options: Include compression, splitting, backup only used sectors of file system, VSS, etc., to minimize the image file size automatically and avoid any interruption.
✅ Backup Scheme: Incremental backup is enabled by default. You can also change it to differential backup and enable automatic backup cleanup to delete old backups automatically.
Primary Causes of Dell SupportAssist Installation Failed on Windows 11
The “Dell SupportAssist installation failed Windows 11” issue is not random. In almost every case, the failure can be traced back to one or more of the following primarycauses affecting system compatibility and installation integrity.
👉 Incompatible or Corrupted .NET Runtime Versions
Dell SupportAssist depends on Microsoft’s .NET 6 and .NET Framework 4.8 to function correctly. If you install the latest runtimes, such as .NET 8, the application may fail during installation or refuse to launch afterward.
👉 Problematic Windows Updates
Some Windows updates (e.g., KB5016629) modify core system components that Dell SupportAssist relies on, such as .NET behavior, Windows Installer functionality, and driver-related services. This can trigger minor compatibility issues and cause the SupportAssist installation failed error.
👉 Leftover Dell Services and Broken MSI Registrations
Improper removal leaves behind broken MSI registration, orphaned services, corrupted installer cache entries, etc., causing the Windows installer to mistakenly believe the program is still installed. Thus, you cannot install SupportAssist even when the installer itself is fine.
Conclusion
The Dell SupportAssist installation failed error on Windows 11 is usually caused by multiple factors, such as Windows updatesissues, driver changes, or incompatible .NET & runtime, etc. Thus, it’s advisable to try all the above solutions. You can also try one of them if you can identify the root cause.
In addition, to protect the system stability, it’s suggested to create a system restore point or full backup for quick and easy rollback, even against major failures, such as system crashes, hardware issues, etc.
