How to Perform Windows Server 2012 R2 Backup to External Hard Drive
By Owin Updated on June 26, 2026
Benefits of backup to an external hard drive
In the intricate symphony of data management and protection, the role of an external hard drive as a stalwart ally shines brightly. As the spotlight turns toward fortifying your Windows Server 2012 R2 data, it's essential to understand the myriad benefits that accompany the act of backup to external hard drive. Next, you can learn the advantages that move Windows Server backup to another drive:
- Portability and Flexibility: The allure of an external hard drive lies in its portability. Unlike traditional backup solutions confined within the server's confines, an external drive can be easily disconnected and transported.
- Isolation and Data Segregation: Backing up to an external hard drive offers the advantage of data isolation. The backup remains physically separated from the primary server, reducing the likelihood of data corruption, malware infections, or other server-related issues affecting the backup copy.
- Enhanced Data Security: With data breaches and cyber threats becoming more prevalent, external hard drives provide an additional layer of security.
- Efficient Disaster Recovery: When faced with unexpected calamities such as hardware failures or software glitches, an external hard drive backup accelerates disaster recovery.

Preparation for backup to external hard drive
In the realm of data guardianship, the choreography of a successful backup dance begins with meticulous preparation. As you embark on the journey to fortify your Windows Server 2012 R2 data by channeling it to an external hard drive sanctuary. Before you know how to backup data on Windows Server 2012 R2, you would better know the essential steps that pave the way for a seamless and secure backup process.
✤ Select the Perfect External Hard Drive
The cornerstone of your backup strategy lies in choosing the ideal external hard drive. Consider these factors:
- Capacity: Assess your data volume to ensure the chosen drive can comfortably accommodate your backup needs.
- Compatibility: Ensure compatibility between the external hard drive and your Windows Server 2012 R2 system. Verify if it supports USB 3.0 or other relevant interfaces.
- Reliability: Opt for a reputable brand and model known for its durability and robust performance.
- Portability: If mobility is a requirement, select a compact and lightweight drive for convenience.
✤ Prepare the External Hard Drive
Before your external hard drive becomes the guardian of your server's invaluable data, a few preparatory steps are essential:
- Disk Formatting: Ensure the external hard drive is formatted with a file system compatible with both Windows Server 2012 R2 and your backup strategy. NTFS is a commonly used choice for its stability and support for large files.
- Disk Allocation: Allocate sufficient space on the external hard drive to accommodate your anticipated backup size. It's prudent to leave extra room for future backups and data growth.
- Drive Labeling: Assign a clear and meaningful label to your external hard drive. A well-labeled drive facilitates easy identification and management within your backup routine.
✤ Test the Waters - Trial Backup
Before the grand performance of your backup routine, consider conducting a trial run to ensure all components are in harmony:
- Trial Backup: Initiate a small-scale backup operation to the external hard drive. This trial run allows you to validate the backup process, confirm the drive's functionality, and ensure data integrity.
- Data Verification: After the trial backup, verify that the backed-up data on the external hard drive is accessible and intact.
✤ Secure the Physical Realm
Beyond digital considerations, the physical safety of your external hard drive also demands attention:
- Storage Location: Choose a secure and controlled environment for storing your external hard drive when not in use. Protection against physical damage, theft, and environmental factors is crucial.
- Data Encryption: For an added layer of security, consider encrypting the data on the external hard drive. This ensures that even if the drive is compromised, your sensitive information remains protected.
How to perform Windows Server 2012 R2 backup to external hard drive
Performing a backup of Windows Server 2012 R2 to an external hard drive involves several steps to ensure your data is safely stored. Follow these instructions to complete Windows Server backup 2012 R2 step by step:
1. Access Windows Server Backup: Begin by accessing the Windows Server Start menu and searching for Windows Server Backup, launching the application. If it's not installed, you can add the feature through Server Manager.
2. Start the Backup Schedule Wizard: Proceed to the console and locate the Local Backup node on the left-hand side. Click on Backup Schedule... in the Actions pane, then proceed by selecting Next.
3. Select Backup Configuration: Within the Backup Schedule Wizard, opt for your preferred backup type. Windows Server 2012 R2 offers two choices: Full server backup or Custom backup, allowing specific volumes and files to be selected. Make your selection and continue by clicking Next.
4. Specify Backup Time: Adjust the backup timing according to your requirements. Tailor the backup frequency to occur once daily or multiple times throughout the day. Upon making your choice, proceed by clicking Next.
5. Specify Destination Type: Opt for the Backup to a hard disk that is dedicated for backups option. This designates an external disk for storing your Server data. Click Next to proceed.
6. Choose External Disk: Navigate to a screen where you can select the external disk previously connected. Confirm your selection by clicking Next.
7. Disk Reformatting Notice: A notification will appear, cautioning that the chosen disks will be reformatted, erasing all existing data. Take this into account and click Yes to proceed.
8. Confirmation: After diligently following the aforementioned steps and confirming the provided details, finalize the process by clicking Finish to initiate the backup.
Best practice for Windows server protection via AOMEI Cyber Backup
While the above method for Windows Server 2012 R2 backup offers a capable native backup solution, complementing it with a third-party backup tool like AOMEI Cyber Backup can enhance your server protection significantly.
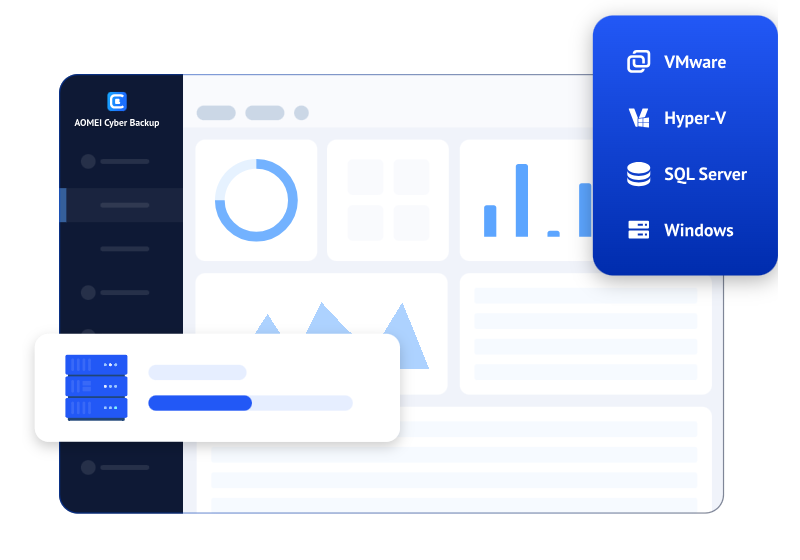
AOMEI Cyber Backup is a powerful software that can help you safeguard your critical data and ensure business continuity. To make the most of this backup and recovery solution, it's important to follow the best practice for Windows Server protection. Here are some benefits when using AOMEI Cyber Backup:
♦Perpetual Free: No time limit for AOMEI Cyber Backup Free Edition.
♦Comprehensive Strategy: You can effectively oversee backups for virtual machines, databases, and physical systems using just a single software.
♦Process Monitoring: Implement monitoring by Email Notification to stay informed about the status of your backups.
♦Disaster Recovery: Simplify the restoration process, ensuring your server is up and running quickly.
You can click the button below to download the freeware version:
Download FreewareWindows Server & PC
* Both free and paid version of AOMEI Cyber Backup support Windows Server 2016/2019/2022/11,10,8,7.
Steps to protect your Windows server system with AOMEI Cyber Backup
1. At first, please download the latest version of AOMEI Cyber Backup Agent on your computer.
2. To bind device, access to Source Device >> Windows or click + Add Windows Device to add your device by entering both Device Information and User Information.
3. Access to Backup Task >> + Create New Task, and select System Backup as your backup type.
4. Specify your backup settings - Task Name, Device Name, Target, and Schedule as you need.
5. Start Backup: You can select Add the schedule and start backup now, or Add the schedule only.
6. Restore from backup: You can easily restore the Windows system to the original PC, saving the trouble of re-configuration and reinstallation.
Conclusion
Windows Server 2012 R2 backup to external drive harmoniously blends with strong data protection measures in a dynamic environment of data management and security. You can find that protecting critical information goes beyond mere policy to a commitment to data integrity and continuity.
In parallel, the endeavor to secure data encompasses a multilayered approach that involves encryption, access controls, and Windows Server backup. By developing awareness, you can strengthen your defenses against evolving threats and make your data impenetrable.