
4 Backup Options Come with Windows 11 to Protect Your PC
Windows 11 comes with some backup options such as File History, Backup and Restore. This article will let you know which option to choose and how to get started.
By Delia Updated on December 10, 2024
If you have many precious files and information saved on Windows 11 computer, it becomes more and more important to keep your data safe - the best way to do that is to backup your files regularly. And to prevent system errors or even crashes, creating a system image is also a safe solution.
Fortunately, Windows 11 comes with some backup options that can basically meet these needs. To get started, you can navigate to Settings > System > Storage > Advanced storage settings > Backup Options, where you can see all the backup options provided by Windows 11.
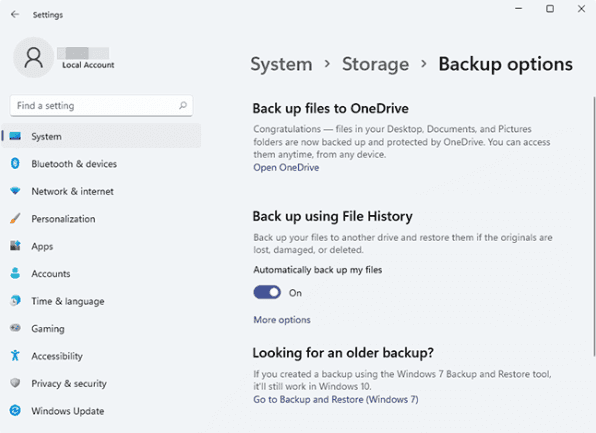
Option 1. Back up using File History
File History was originally introduced in Windows 8 and inherited in Windows 10, Windows 11. It allows you to automatically backup specific folders to another drive and is a convenient option for continuous data protection.
File History in Windows 11 hasn't changed much, but has one more widely criticized limitation - you can't select non-predefined folders for backup.
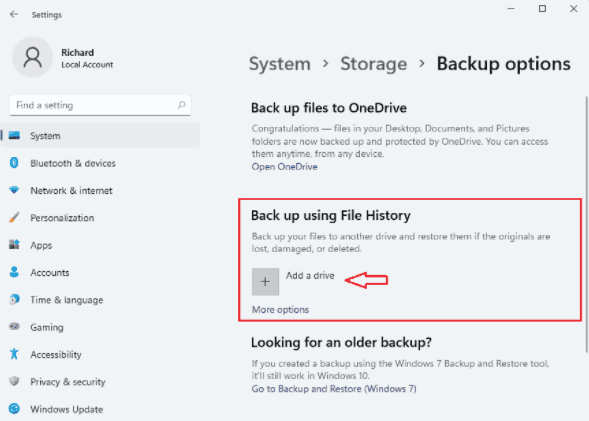
1. First connect an external hard drive to your computer. Click “Add a drive” under Back up using File History and select the drive you just connected.
2. Click the switch under the "Automatically back up my files" option to enable the backup service.
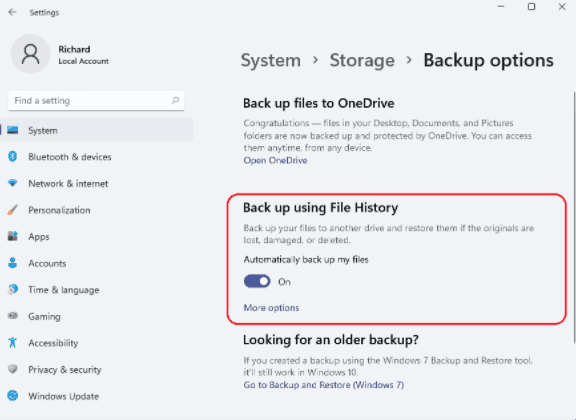
3. You can also select "More options" to configure the frequency of backups of the file history, how long to keep these backup copies, which folders to backup, etc.
When you are done, save and exit. Then click Backup Now. When you connect the drive to your computer, Windows 11 will automatically back up your files to the drive.
Option 2. Back up files to OneDrive
OneDrive is a cloud storage space and a data backup service that creates another copy of your target files/folders and synchronizes them between your local device and cloud storage. In previous systems, you usually needed to use the desktop application of OneDrive to upload files, but with Windows 11, Microsoft added a new OneDrive backup portal.
You can get started by clicking "Open OneDrive" under Back up files to OneDrive. The next steps are the same as in Windows 10.
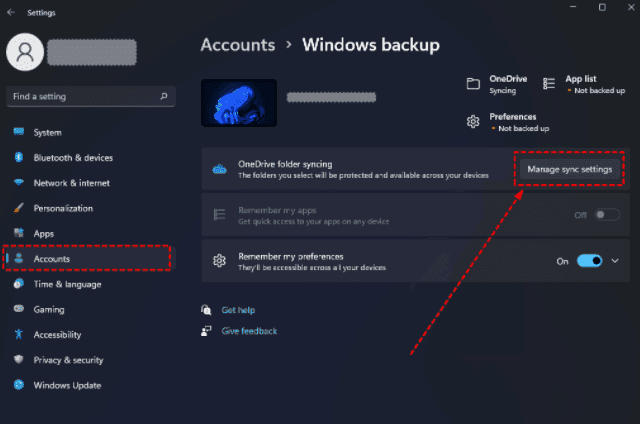
*You can also "Manage sync settings" of OneDrive by going to Settings > Accounts > Windows backup.
Option 3. Windows 11 backup and restore
The most classic way to backup Windows 11 is Backup and Restore from Windows 7. It can backup almost any data in your computer, but the disadvantage is that it is more complicated to operate and has not been optimized much since Windows 7, so the possibility of error is higher.
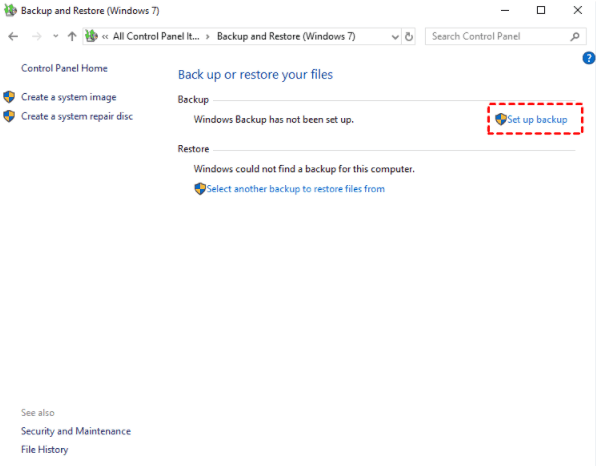
1. Select "Go to Backup and Restore (Windows 7)" on the Backup options page.
2. On the page that opens, click the "Set up backup" link.
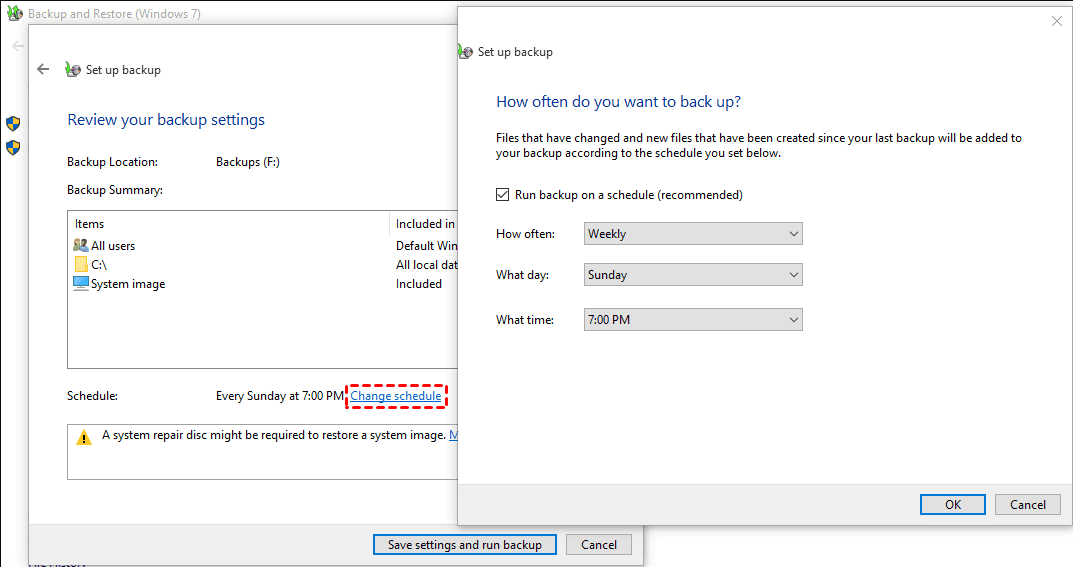
3. Follow the on-screen instructions in the wizard that opens. You will be prompted to select the external drive to back up to, as well as the specific folders and files to back up. You can also set a schedule to make the backup automatic at regular intervals.
Option 4. Create Windows 11 system image
System image backup is a more in-depth solution for backing up your entire PC, it will contain all the drives that your Windows needs to run. with it, you can make a complete recovery in case your computer crashes or fails.
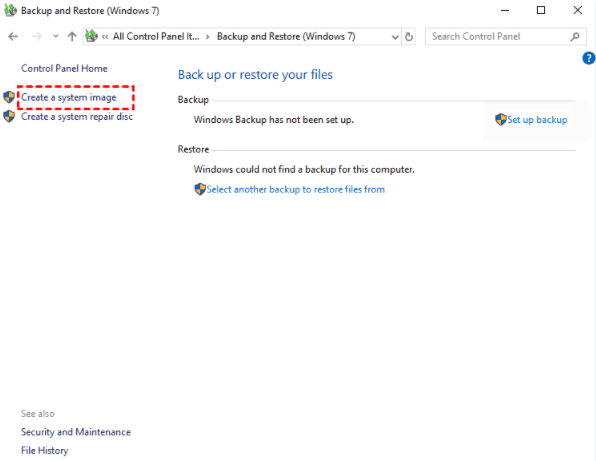
1. Select "Go to Backup and Restore (Windows 7)" on the Backup options page.
2. Click the "Create a system image" link in the left column.
3. In the wizard that pops up, select the destination for creating the system image. An external hard drive is the recommended option because it is independent of the local hard drive and is not affected by system errors or hard drive failure.
4. Then you can select the additional drives you want to back up. When you are all ready, click the "Start backup" button, the full backup may take a while, so please be patient.

Once the backup is complete, you can always restore from this system image by selecting it from the Windows 11 installer's recovery environment. Simply select the "Troubleshooting" option and click "System Image Recovery", you can choose to use the latest system image and follow the on-screen steps.
