6 Useful Shortcuts to Take Screenshots on Windows 10
If you need to take screenshot in Windows 10, besides using screenshot tools, the shortcut keys that come with Windows are also a good way. Here are 6 different shortcut key combinations to suit your different needs.
By Lucas Updated on December 10, 2024
Windows 10 is the most mainstream Windows operating system nowadays, and when using it for work or play, you may have the need to take screenshots to keep specific information and interfaces. So, can you take screenshots in Windows 10 without third-party tools? Here are 6 easy-to-use methods.
Method 1. Shortcut key PrintScreen
This shortcut is the most basic and universal screenshot method in Windows, just press the PrintScreen button in the upper right corner of the keyboard to quickly capture all the contents of the current screen to the clipboard.
This method does not save the screen to the computer after taking a screenshot, but temporarily stores it in the clipboard. As long as you open Word, PS, drawing board and other applications that support image processing, you can directly paste through Ctrl + V to edit.
Method 2. Shortcut key Win + PrintScreen
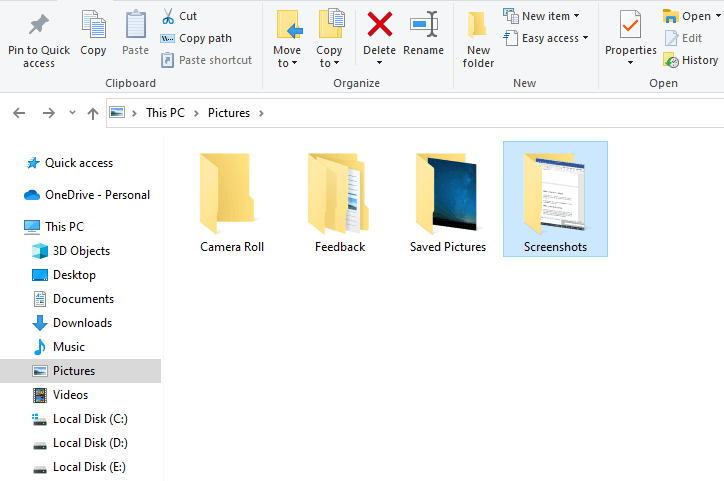
The biggest advantage of this shortcut is that it can intercept all the screens on the current screen and save them as pictures in the computer's hard disk for users to view at any time.
By default, the images captured by the shortcut Win+PrintScreen are saved in the computer's Pictures > Screenshots path.
Method 3. Shortcut Win+Alt+PrintScreen
Using this method, you can only capture the screen in the currently active window, and the contents of the capture will be saved as a picture in the Videos > Captures folder of your computer. It is named by the combination of the file name of the currently active window, the name of the application and the time of the screenshot.
Method 4. Shortcut key Win+Shift+S
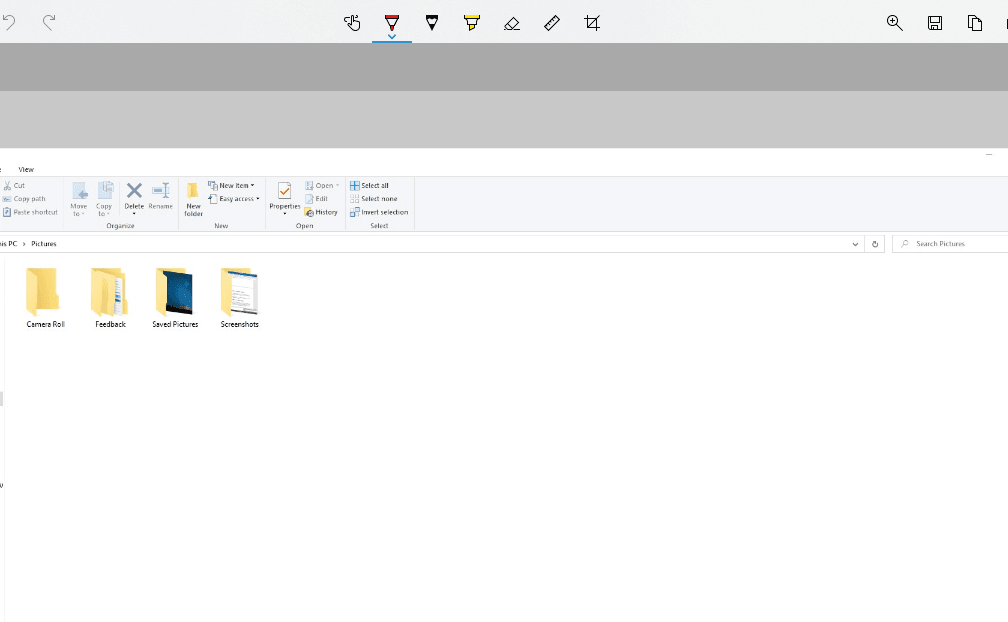
After pressing this shortcut key, the screen will turn translucent gray and then a small window that can be manipulated will appear. There are 4 different ways to take a screenshot, namely Rectangle snip, Freeform snip, Window snip and Fullscreen snip, users can choose the appropriate screenshot mode according to their actual needs.
After taking a screenshot in this way, no image file will be generated, but the content of the screenshot will be saved in the clipboard, which needs to be pasted to other image editing software by Ctrl+V.
Method 5. Shortcut key Win+W
After pressing this shortcut key, a small window will pop up in the lower right corner of the computer screen, and you can directly click "Fullscreen snip" to capture the entire screen. At the same time, it will launch the "Snip & Sketch" application and automatically import the screenshot you just took, which is convenient for users to edit.
Method 6. Built-in snipping tool
There is a good screenshot tool in Windows 10, which can be opened by the following operation.
Press the shortcut key Win+S to open the search interface of Windows 10, and type the word "snipping tool", and click "Snipping Tool" from the search results to enter.
This tool also integrates various screenshot modes, such as Free-form Snip, Rectangular Snip, Windows Snip, Full-screen Snip.
These are the 6 ways of taking screenshots in Windows 10. After you are familiar with these shortcuts, you can flexibly choose the one that suits you and improve your work efficiency.