
Sysprep Was Not Able to Validate Your Windows Installation
You’ll learn the common culprits and proven fixes to fix "Sysprep was not able to validate your Windows installation" error effectively. An easy way to deploy image is included as well.
By Ivy Updated on November 28, 2025
Error: Sysprep Was Not Able to Validate Your Windows Installation
The “Sysprep was not able to validate your Windows installation” error almost always lies in the Windows configuration itself. Sysprep is incredibly particular about what it considers a "clean" state for generalization. The Sysprep will halt and report an error if it finds any "dirty" configuration.

Below are some common culprits that break Sysprep validation:
- Lingering user profiles or accounts prevent a true factory reset.
- Non-standard applications like certain Windows Store apps (e.g., Microsoft Windows.Client.CBS), integrating deeply with the system, leave behind configuration packages that Sysprep cannot handle.
- Deep system customization, such as modify system files or use a mounted image, can break the expected "out-of-the-box" state.
- Leftover drivers (like a particular network card or graphics card) or registry entries from previous hardware installations.
- Connect unnecessary peripherals during the Sysprep process.
Fix Sysprep Was Not Able to Validate Step by Step
Here are some quick fixes to “Sysprep was not able to validate your Windows installation” in Windows 10 or 11. You check the log file to find the culprit quickly.
Immediately Check the Setupact.log File
Step 1. Navigate to C:\Windows\System32\Sysprep\Panther\ and copy setupact.log & setuperr.log for review.
Step 2. Open cmd as administrator and type the following command to search for errors.
findstr /i "error fail exception" C:\Windows\System32\Sysprep\Panther\setupact.log
💡Notes:
◾ /i: make the search case-insensitive.
◾ Searches for the keywords: error, fail, exception.
Step 3. You will only see lines containing errors. Look for entries referencing UWP AppXpackages, SIDs, pending Windows Update, services, drivers, or HRESULT codes.
- SYSPRP Package Microsoft.ZuneMusic_... failed to uninstall...
- SYSPRP Sysprep_Clean_Validate_Opk: Audit Mode package installed...
- SYSPRP Failed to remove user profiles...
- ...
#1: The AppxPackage Purge (The Most Common Fix)
One of the most frequent causes of Sysprep failure is problematic Windows Store apps, especially provisioned packages as follows. Try to identify and remove offending Appx packages.
- Microsoft Windows.Client.CBS
- Communicationsapps
- Xboxapp
- StateRepository
- Installed for a user but not provisioned
Step 1. Type cmd in the Start menu and select Run as administrator.
Step 2(optional). Identify packages mentioning client.cbs. The same applies to other entries.
- Get-AppxPackage -AllUsers *client.cbs*
- Get-AppxProvisionedPackage -Online | Where-Object {$_.PackageName -like "*client.cbs*"}
Step 3. Remove the installed package
Get-AppxPackage -AllUsers *client.cbs* | Remove-AppxPackage -AllUsers
Step 4. Remove the provisioned version
Get-AppxProvisionedPackage -Online | Where-Object {$_.PackageName -like "*client.cbs*"} | Remove-AppxProvisionedPackage -Online
Step 5. Repeat for other entries (if there are). Reboot and retry Sysprep.
#2: Orphans User Profiles and Registry File
Old or corrupted user profiles often block Sysprep. Try to clean up the user profile and registry orphans if you see these entries in the log file.
- Failed to remove user profile
- Unknown user profile
- ProfileList not valid
- Could not load profile
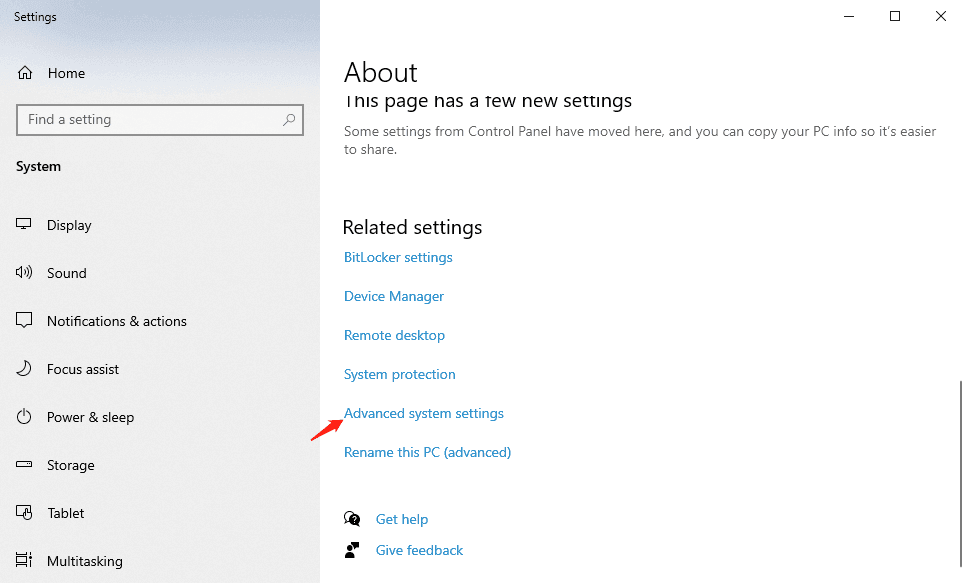
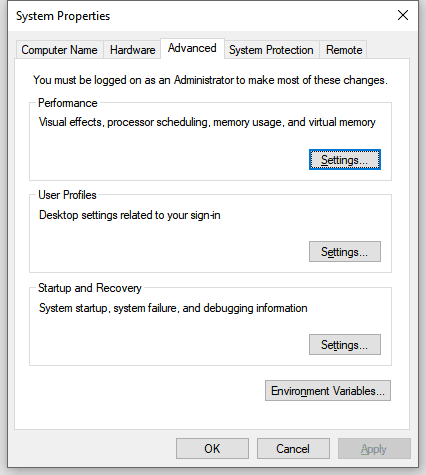
Step 1. Right-click This PC and select Properties. Click Advanced system settings at the right side.
Step 2. Scroll down to User Profiles, click Settings.
Step 3. Select unused profiles and click Delete.
Step 4. Check C:\Users for stale folders.
Step 5. Open Registry Editor. Match SIDs to folders using ProfileImagePath and delete the orphaned SID entries. If the folder does not exist, the SID is orphaned.
HKEY_LOCAL_MACHINE\SOFTWARE\Microsoft\Windows NT\CurrentVersion\ProfileList
👍 Pro Tip: Deleting the wrong SID can break logins, services, or the entire Sysprep process. So it’s necessary to backup the entire registry or a specific SID to avoid irreversible mistakes and offer a quick recovery path.
#3: Pending Update or Incomplete Service Operation
Windows is mid-update, waiting for a reboot, or the component store is inconsistent. Sysprep cannot generalize while updates are incomplete. You may see the following entries:
- Pending.xml detected
- Servicing operations are pending
- CBS_E_PENDING
- Package is in an invalid state
Step 1. Restart your computer. Open CMD as administrator.
Step 2. Type the following commands to check for pending updates and restore health.
- dism /online /cleanup-image /revertpendingactions
- dism /online /cleanup-image /scanhealth
- dism /online /cleanup-image /restorehealth
Step 3. Open Settings >Update& Security and click Check for updates.
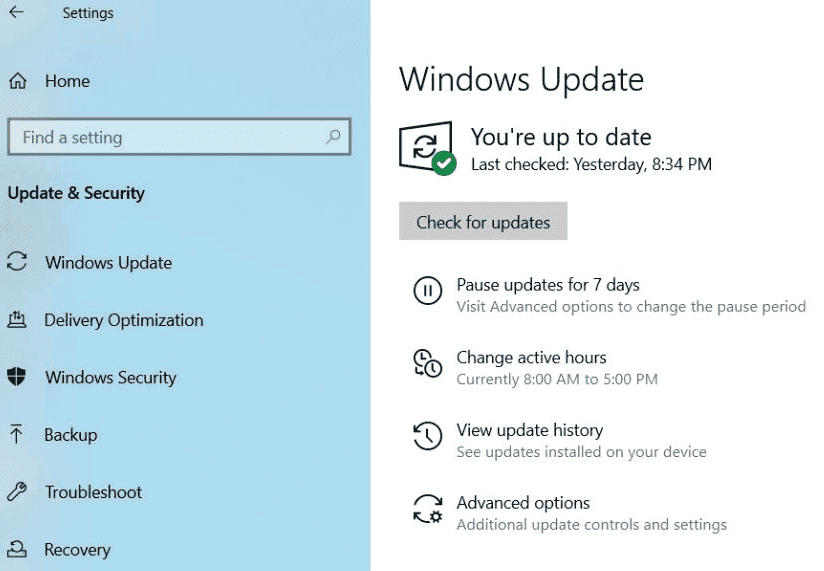
Step 5. Once found, click Download/Install Now. Click Restart now when prompted.
💡Note: If the log points to pending.xml, and DISM can’t resolve it. You can (with caution) rename the pending file and reboot.
◾ takeown /f C:\Windows\winsxs\pending.xml
◾ copy C:\Windows\winsxs\pending.xml C:\Temp\pending.xml.bak
◾ ren C:\Windows\winsxs\pending.xml pending.xml.old
#4: Drivers Blocking Sysprep
An unsupported or corrupted hardware driver (often display, storage, or vendor OEM tools) is preventing Sysprep from removing hardware-specific details .The following are some common entries:
- PnP sysprep provider failed
- Inf is invalid
- Driver package failed validation
- Device drivers cannot be generalized
Step 1. Open Device Manager. Expand Disk Drives, right-click the device, and select Uninstall.
Step 2. Restart your computer to install the disk driver automatically.
💡Note: If the log mentions oem#.inf, remove it using:pnputil /delete-driver oem#.inf /uninstall /force in the Command Prompt window.
#5: Apps Installed in Audit Mode
Some apps store user-specific data, services, or tokens that Sysprep can't generalize.You can try to uninstall the app. Here are some common entries in the log file.
- Software licensing rearm failed
- App cannot be generalized
- State store failed to unmount
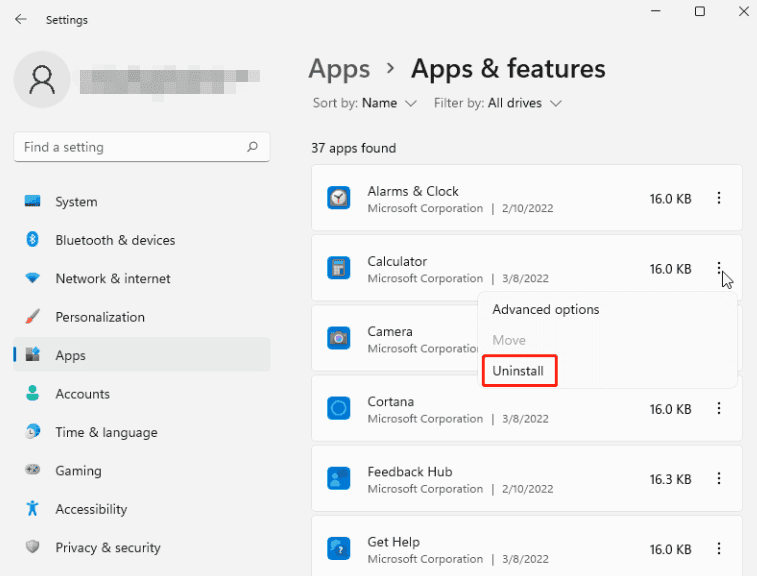
Step 1. Press Win+I to open the Windows Settings. Then, click Apps.
Step 2. In the Apps & features section, locate all the UWP apps and click Uninstall.
An Easy Way to Deploy System Image to Different Hardware
After preparing the system, you can create Windows 10 or 11 system image and safely deploy image to different hardware without conflicts. AOMEI Backupper Technician or TechPlus is a good choice as it’s fully compatible with Windows 11 and integrates all necessary features, such as AOMEI Image Deploy Tech, to streamline the entire process - for fast and efficient batch deployment.
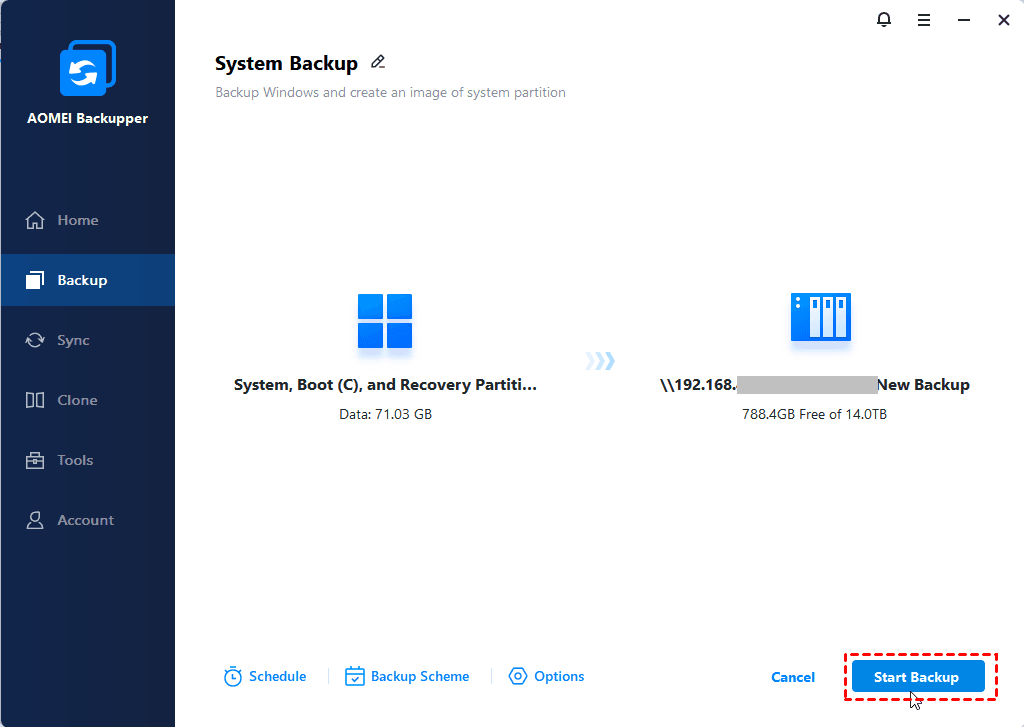
Step 1. Create a System image for Deployment (without SID)
1. Open AOMEI Backupper Technician after installing. Go to the Backup tab and click System Backup. It will select the system partition automatically.
2. Click the PC icon and then Network Share. Enter the network path and click OK.
3. At last, click Start Backup>to create Windows 10 or 11system image.
💡Notes:
◾ Click Disk Backup to backup the entire disk (if necessary). The deployment process will take longer.
◾ For data security purposes, it’s suggested to enableSchedule for continuous backup. You can also compress the image in Options and delete old backups in the Backup Scheme to free up more space.
Step 2. Set up Server and Client Computers
1. Select one computer as the server and install AOMEI Backupper Technician on it. It can be any working PC or server, preferably using Windows 7 or higher.
💡Note: Please install Windows AIK/ADK on the server computer if you are running a previous version of Windows 7, or theWindows Recovery Environment (Windows RE) is missing.
2. Ensure all the computers are on the same wired LAN segment. Meanwhile, verify the following criteria in all client computers:
- The network cards support Network/PXE Boot and are set as the primary boot device.
- The disk sequence numbers for system deployment are the same, disk 0, for example.
- Remove all the other disks to prevent you from selecting the wrong one.
Step 3. Deploy System Image to Different Hardware
1. Open AOMEI Backupper Technician on the server computer. Under the Tools tab, click AOMEI Image Deploy.
2. Check Create bootable Win PE ISO or WIM automatically. Then, click Next.
💡Notes:
◾ “Enable DHCP” means to use the AOMEI DHCP server if there is no DHCP server on your LAN, so all client computers can boot normally.
◾ “Create bootable WinPE ISO or WIM manually” allows you to add custom drivers to WinPE.Try it if WinPE fails to boot client computers.
3. Wait until the bootable WinPE is created. Power on all client computers to boot from PXE or network when you receive the following message: "The service has started, waiting for connect...".
It will load the WinPE environment and display local IP, Server IP, and Connection status.
4. On the server computer, you’ll see all the client computers on AOMEI Image Deploy Technician. Check I confirm all the client computers that need to be deployed are online and click Next.
5. Click Browse to select a Windows 11 system image or ISO file from network share or NAS. You need to click Add Network Share/NAS and enter the network path to access it.
6. Tick All to select all client computers for image deployment, enter the disk number (probably disk 0), and set the number of deployed computers (3-5 computers is recommended). The more client computers, the slower the speed of the deployment will be due to the limited LAN bandwidth.
7. Click Settings to set a unique name, batch preset IP addresses, or enable Universal Restore, especially useful for deploying images to different hardware. Confirm all the settings and click Start Deploy.
FAQs
1. Can I run Sysprep more than 3 times?
Technically, yes, but only up to a hard limit. Windows has a built-in "rearm count" that typically allows Sysprep to generalize a system only 3 times. Once you exceed this limit, you will encounter an error, and Sysprep will refuse to run unless you reset the rearm count (temporarily and limitedly itself), or more reliably, start over with a fresh Windows installation
2. Is there a way to bypass Sysprep validation?
The short answer is “no, and you should not try”. The validation process exists for a critical reason: to ensure your Windows image is stable and portable.
If you bypass it, you are likely creating a corrupted, unstable image, causing mysterious crashes, failed deployments, and persistent errors on every computer it's installed on. It's better to fix the root cause than to create a larger problem.
3. Does this error only happen with Windows 11?
No, the error “Sysprep was not able to validate your Windows installation” is very common in both Windows 10 and Windows 11. The most common causes (like problematic Windows Store apps, user profiles, and drivers) and solutions to fix them are identical across both systems.
Conclusion
While encountering the "Sysprep was not able to validate" error can feel like a major setback,it is actually a resolvable issue. Always check the Setupact.log file for specific clues first and then try to fix the issues mentioned within.
After preparing the system with Sysprep, you can then create a system image backup in Windows 10 or 11 and deploy image to multiple computers over network. AOMEI Backupper Technician integrates all necessary features to streamline the entire process. Try it if you want an easier method!
