5 Ways to Open Disk Management in Windows 11
Disk Management is an useful utility that comes with Windows 11, 10. It is mainly used to initialize hard disks, create, resize or delete partitions, change drive numbers, and so on. You can launch it in Windows 11 via following approaches.
By Delia Updated on December 10, 2024
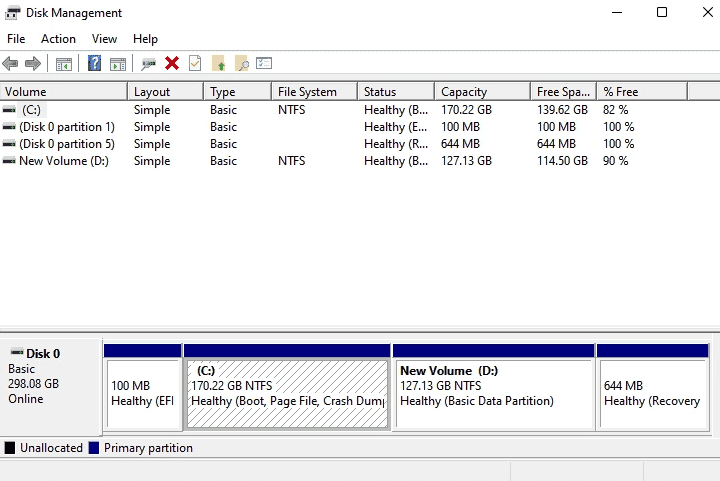
Disk Management is a utility that comes with Windows 11/10 and is mainly used to initialize hard disks, create, resize or delete partitions, change drive numbers, and so on. If you want to allocate your computer's hard drive space wisely, here are five ways to open Disk Management in Windows 11.
1. Computer Management Menu
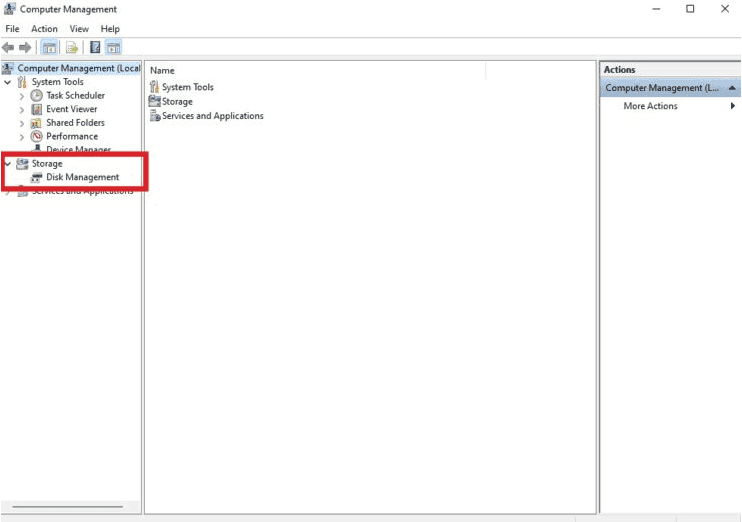
To access Disk Management through the Computer Management utility, click the Start button, type "Computer Management" in the search bar, and then press Enter or click Open.
If the Computer Management window is not expanded, click “Storage”, and then click “Disk Management”.
2. Windows Search
There are some differences between the user interface of Windows 10 and Windows 11, but the procedure is the same, so don't worry too much.
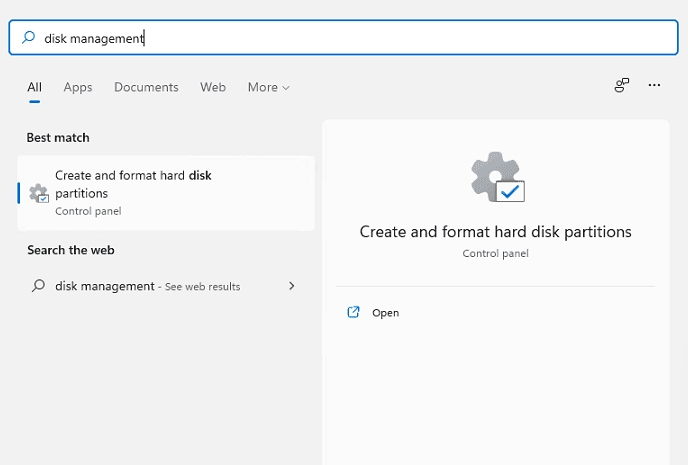
Click the Start button, type "Disk Management" in the search bar, and then press Enter or click “Open”.
Note: The search result displayed will not be Disk Management, but "Create and format hard disk partitions".
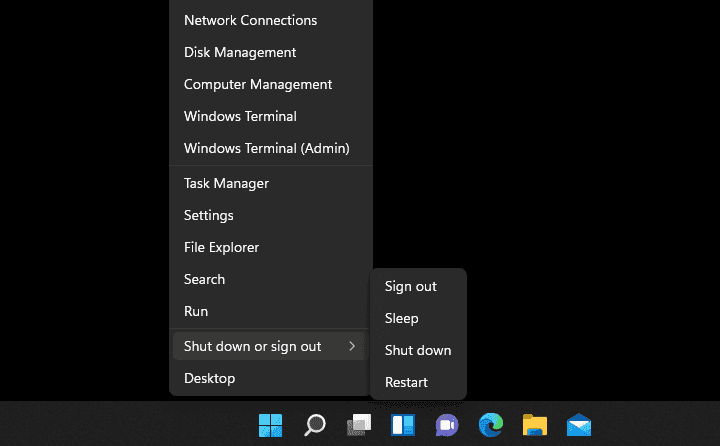
3. Win + X menu
If you want to use the Advanced User Menu to access Disk Management, you can press the Windows + X key or right-click the Start button and then click “Disk Management”.
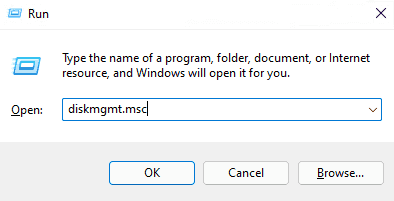
4. Run Window
Disk Management can also be started from the Run window. Click Windows + R, type "diskmgmt.msc" in the input box, and then click “OK”.
5. Command Prompt or PowerShell
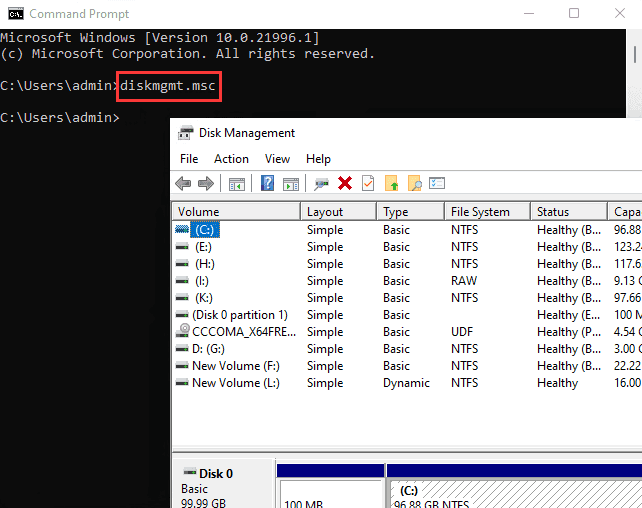
If you want, you can also start Disk Management from the command line. Click the Start button, type "cmd" or "powershell" in the search bar, and then press Enter (you can also use Windows Terminal on Windows 11).
In the Command Prompt or PowerShell window that opens, type “diskmgmt.msc” and press Enter, and Disk Management will open immediately.