
How to Open Microsoft DirectX Diagnostic Tool in Windows 11
In general, the DirectX diagnostic tool allows you to better understand your computer's hardware information. If you can't find this feature in Windows 11, you may try the method in this article.
By Delia Updated on December 10, 2024
What is DirectX Diagnostic Tool
If you are a PC gamer, then you should know a classic way to check your PC configuration and DirectX version, which is to call up the DirectX Diagnostic Tool. This method is very simple: find “Run” in the Start menu (or press Win+R), then type “dxdiag” and press Enter, thus the DirectX Diagnostic Tool will appear.

This tool will display system information (including the detailed version and status of DirectX), device information, drivers information, etc., which is very useful for gaming enthusiasts or users who value computer performance. However, you may find that you can't use this tool in the latest system Windows 11 as you did before. Does Windows 11 still contain this tool?
How to enable DirectX Diagnostic Tool in Windows 11
First of all, it should be clear that DirectX Diagnostic Tool is still supported by Windows 11, it is just not installed by default, but as an optional feature. So if you use a fresh installation of Win11, you cannot make use of it directly. If you upgrade from Win10 to Win11, then the DX Diagnostic Tool will remain installed.
For a new Windows 11 computer, or a fresh Windows 11 installation, you need to take a few extra steps to enable this feature.
First, open the Settings panel, find “Apps”, and open “Optional features” in it.
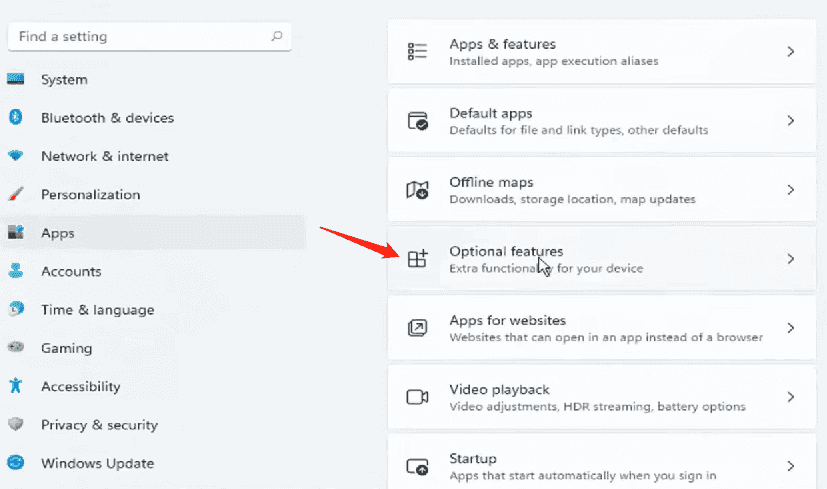
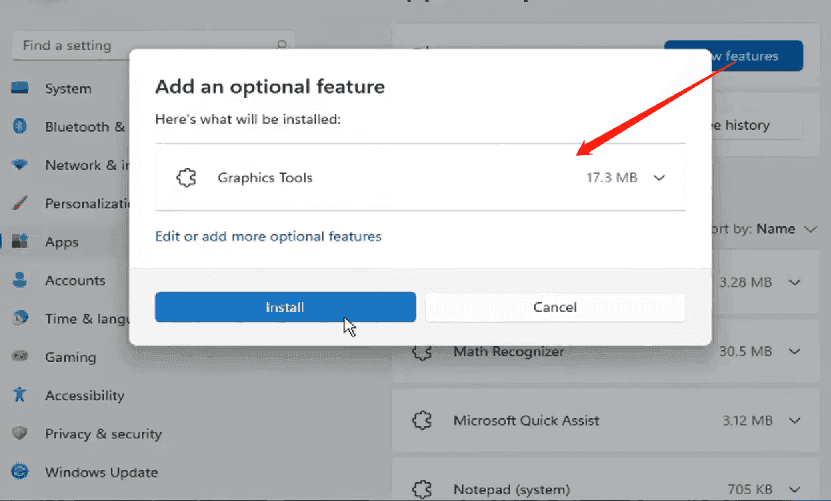
On the Optional Features page, tap the button next to “Add an optional feature” and then find “Graphics Tools” to “Install” it.
Once installed, you will be able to open the DirectX Diagnostic Tool in Windows 11. The approach is as simple as Win10, just type the “dxdiag” command in Run window and press Enter.
As you can see, the DirectX version and BIOS version information of this computer are clearly presented.
In general, the DirectX diagnostic tool allows you to better understand your computer's hardware information. If you can't find this feature in Windows 11, you may try the method in this article.
