
5 Tips to Fix Low Game FPS on Windows 11
Some users find the game frame rate drops severely after upgrading to Windows 11. Why does this happen and what should you do when you encounter this situation?
By Delia Updated on December 10, 2024
Many users expect a better gaming experience after upgrading to Windows 11, only to find that the frame rate drops severely under the same device and the gaming experience is rather reduced. So what should you do when you encounter this situation? Here are a few ways you can try to boost Windows FPS.
1. Update the graphics card driver
If your computer has a dedicated GPU but is using outdated or corrupted drivers, it is not uncommon for Windows 11 to experience an unexpected drop in FPS. If you find yourself in this situation, you should be able to fix the problem by uninstalling the current GPU drivers and physical modules and then replacing them with the latest equivalents available.
The steps to perform this will vary depending on the manufacturer of your graphics card. You will need to use dedicated update utilities (such as NVIDIA Experience and AMD Adrenalin) as appropriate for your situation.
The following instructions use NVIDIA as an example.
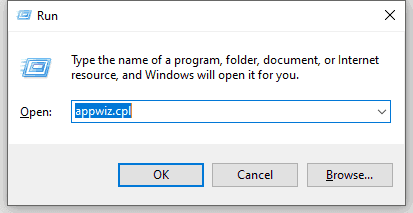
Press the Windows key + R to open the Run dialog box. In the text box, type "appwiz.cpl" and press Enter to open the Programs and Features menu.
Look for the whole list of NVIDIA-related products (they should all be grouped together). Right-click on each entry published by NVIDIA Corporation and select Uninstall them.
After uninstalling all relevant NVIDIA drivers, restart your computer and open your browser after the restart.
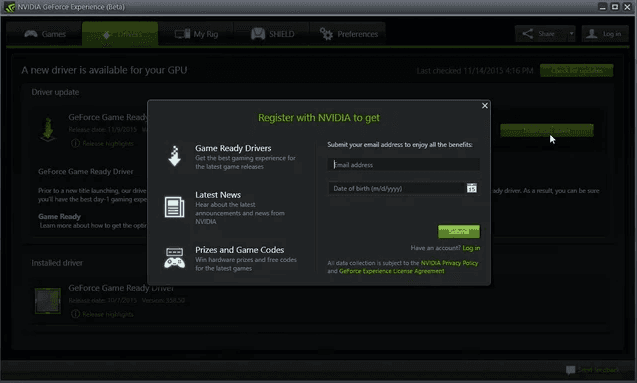
Next, visit the official NVIDIA Experience download page and get the latest version of NVIDIA Experience.
Once the download is complete, double-click the installer and follow the on-screen instructions to install the latest version of GeForce Experience on your computer.
Once the installation is complete and you have logged in, visit the Drivers tab and click Check for Updates. If you find a new driver version, click Download and then follow the on-screen instructions to install the new driver version plus physical module.
After installing the new driver version, restart your computer and then check to see if the FPS issue on Windows 11 has been fixed after the next boot completes.
2. Update the audio, network, and USB connectivity drivers
If you have recently migrated from an older Windows system to Windows 11, it is a good idea to make sure that each utility driver is updated to the latest version available. Windows Update is usually responsible for updating these drivers automatically, and you can verify that your system is updated to the latest version first. If a new public Windows 11 version has not yet been released, you can also best handle the update yourself via Device Manager.
Using Device Manager to update audio, network adapter, and USB connection drivers should help stabilize your system, according to many of our previous users who experienced frame lag.
Follow the following guide for step-by-step instructions on how to do this.
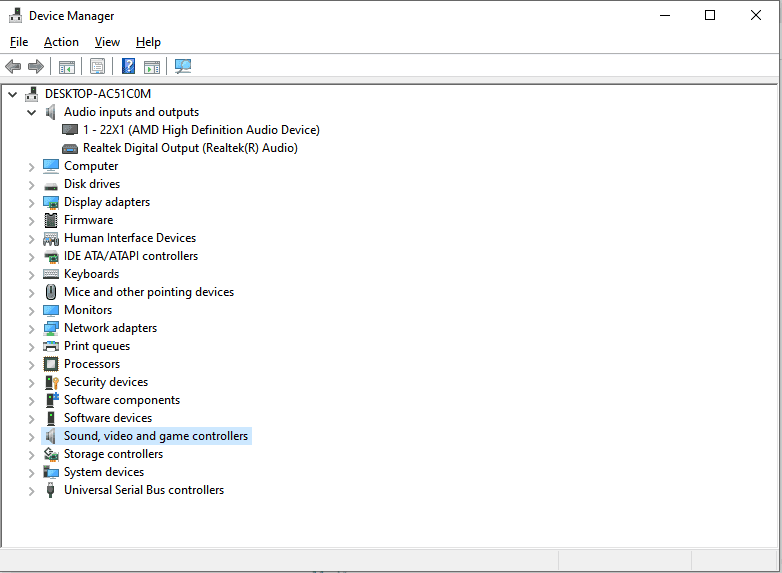
Press Windows + R to open the Run dialog box, type "devmgmt.msc" in the text box, and then press Enter to open Device Manager.
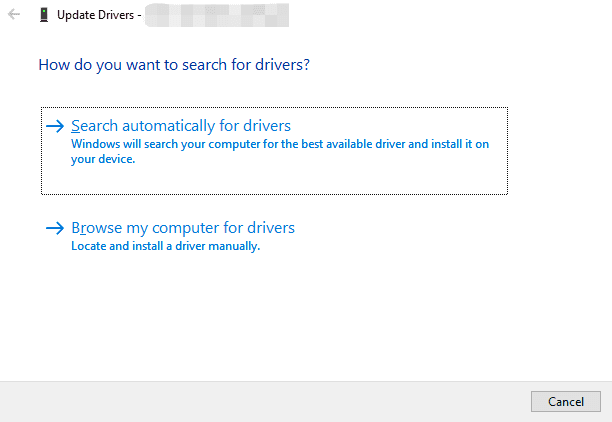
Once in the Device Manager utility, expand the Audio inputs and outputs, Network adapters, etc. menus, right-click on the currently active device, and then select Update driver from the context menu.
On the next screen, click on "Search automatically for drivers" and wait for the initial driver scan to complete.
After updating each relevant driver, restart the computer to allow the new driver equivalents to be installed, then launch the game that previously experienced a drop in FPS and see if the problem is improved.
3. Turn on the High Performance power plan
Some devices will lower the temperature by down converting when the temperature is too high, and therefore cause the low FPS issue. In this case, you can switch to the high performance power plan.
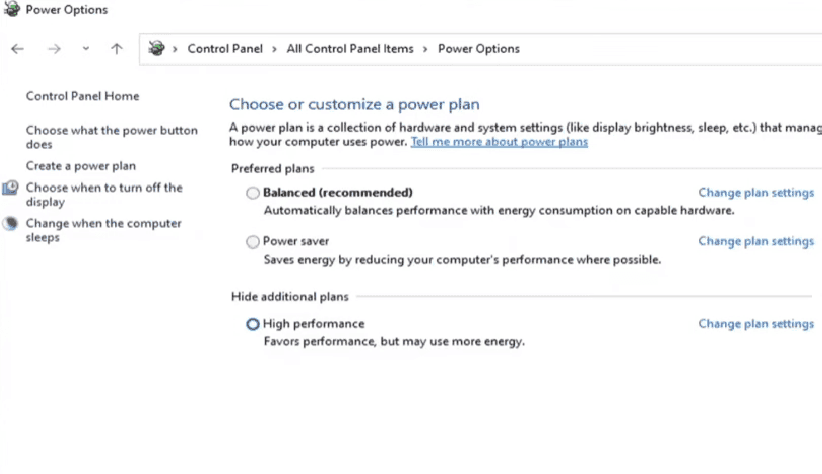
Open Control Panel, and select Power Options.
Select the power plan you want to use by default for your account. Here you can check High performance (or Ultimate performance for high-end PCs).
Then open your game to check again.
4. Enable Windows 11 Game Mode to improve FPS
Game mode will prioritize your game and let it run at the best FPS your hardware can support. Enabling Game Mode in Windows 11 will provide you with the best gaming experience.
Press the Windows button to open the menu and click on Settings.
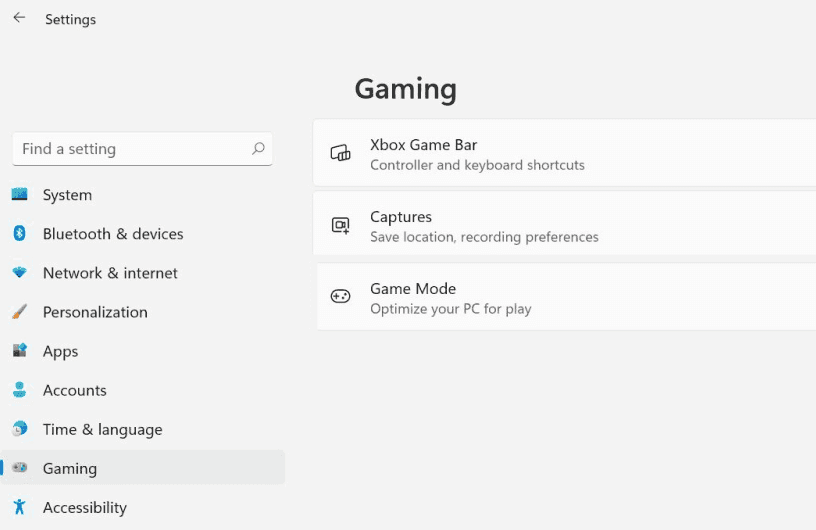
Select Gaming tab from the left menu of the Settings app.
Then you can find Game Mode on the right side. Click on it and turn the switch on, then the Game Mode is enabled.
Hope it can help you solve the low FPS on Windows 11.
5. Disable Game DVR to fix low FPS
Game DVR comes to Windows 11 as a native Windows component designed to help automatically record video of PC games in the background, as well as save it at your option. If the Game DVR records something you don't recall, it will simply discard it and continue recording in the background. The point is that game DVRs are very resource intensive. Therefore, if you are using a low to mid-range PC and you don't care about game logging at all, disabling Game DVR will significantly improve your FPS count.
Press Windows + R to open the Run dialog. Next, type "regedit" at the text prompt, then press Enter to open the Registry Editor.
Then use the left pane to navigate to the following location.
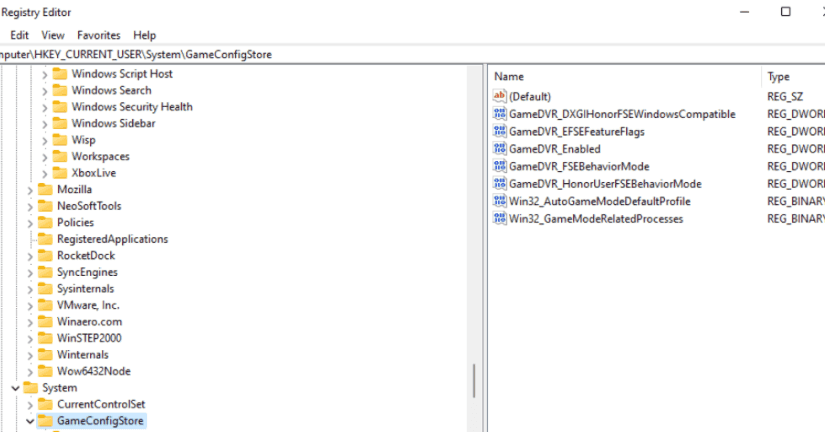
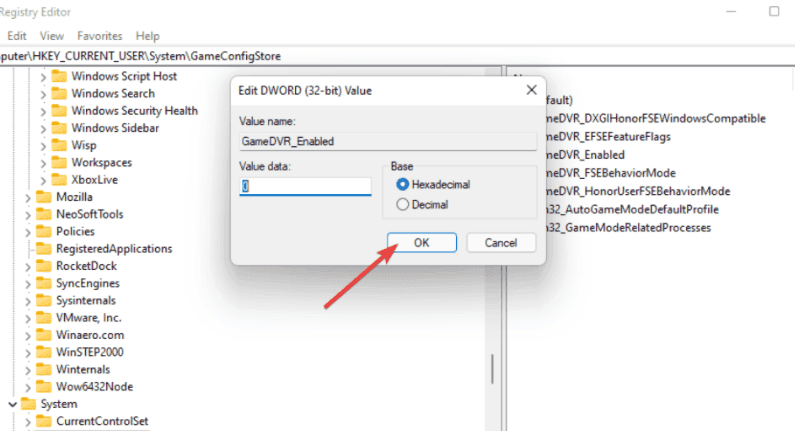
Select the GameConfigStore registry entry from the left menu, and then double-click the GameDVR_Enabled key in the right pane.
In the Edit screen that pops up, set Base to Hexadecimal, then set the value data to 0 to enable the main components of the Game DVR, then click OK to save the changes.
Next, also in the GameConfigStore registry entry, double click on GameDVR_FSEBehaviourMode and set Base to Hexadecimal, set the Value data to 2 and click OK to save the changes.
Now that you have completed the changes in the GameConfigStore, use the same Registry Editor interface to navigate to the following location:
Select the AllowGameDVR key from the left-hand menu, then move to the left-hand menu and double-click the DWORD value in the right-hand menu.
Next, set the value's base to hexadecimal, then change the value data to 0, and click OK to save the changes.
After you have forced all these changes from the Registry Editor, you can safely close the utility and restart your computer. After restarting your PC, launch the game that was experiencing FPS drops and screen lag to see if the problem has improved.
