
6 Tips to Fix 0x8007012a Update Install Error on Windows 11/10
0x8007012a is a rather specific error that prevents your computer from downloading and installing new updates. If you encounter this install error, try following methods to fix it.
By Delia Updated on December 10, 2024
If you are a veteran Windows user, you are probably no stranger to blue screens of death, disk failures, and system file errors. One of the serious errors that affects the normal operation of Windows is the infamous 0x8007012a installation error. This is a rather specific error that prevents your computer from downloading and installing new updates.
Below are 6 tips you can try to get rid of the 0x8007012a installation error.
Solution 1. Restart your computer
Some problems can be solved without too many complicated operations. In fact, you will be surprised how rebooting your device can save you from all kinds of trouble.
So, in general, it's best to try restarting your computer before diving into more complex fixes, unless the restart itself won't happen.
Solution 2. Run Windows Update Troubleshooter
As the name suggests, Windows Update Troubleshooter is a troubleshooting program that helps users fix all the errors they may encounter during the download and installation of Windows updates. It is a built-in tool for Windows and is available for free.
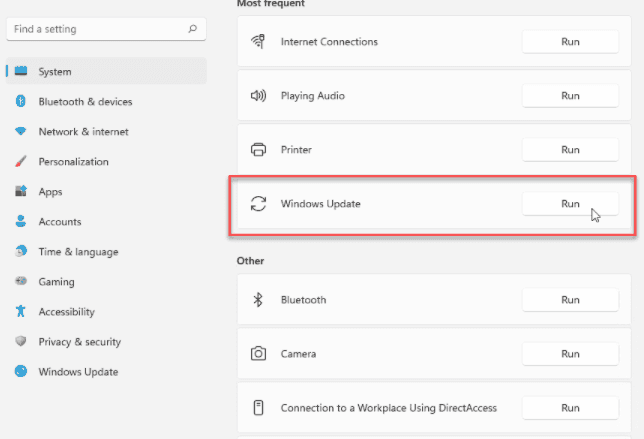
1. Click Start > Settings.
2. In the Settings menu, go to System > Troubleshoot > Other troubleshooters.
3. Run the "Windows Update" troubleshooter.
After doing this, a new dialog box will pop up and restart the PC after all checks and scans are completed.
You should now be able to ideally resolve the 0x8007012a installation error. To check if it works, go to Windows Settings again and from there select Windows Update > Check for updates. If everything went well, then you should not have any problems installing the update now.
Solution 3. Check the Background Intelligent Transfer Service
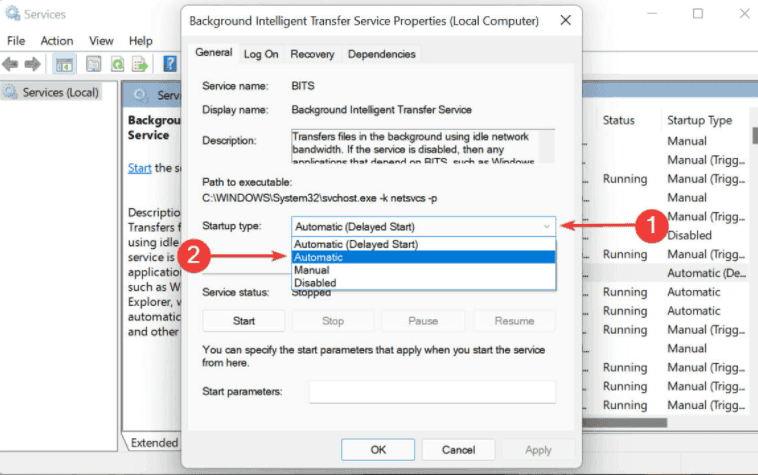
Background Intelligent Transfer Service (BITS for short) is a Windows tool that allows you to download or transfer files between computers over the Internet, so if this component is turned off, then you will naturally have problems downloading new updates.
1. Press Windows + R to open the Run dialog box.
2. Type "services.msc" and press Enter, the Services management console will start.
3. Locate the Background Intelligent Transfer Service, and then double-click it. In the new dialog box, set the startup type as Automatic, and click Start to set the service status as Running.
4. Then locate Windows Update service and enable it in the same way.
Now restart the PC to check if the changes have been made and if the 0x8007012a installation error has been fixed.
Solution 4. Download the update manually
1. Press Windows + I to launch Windows Settings.
2. Click Windows Update.
3. Then click Update history.
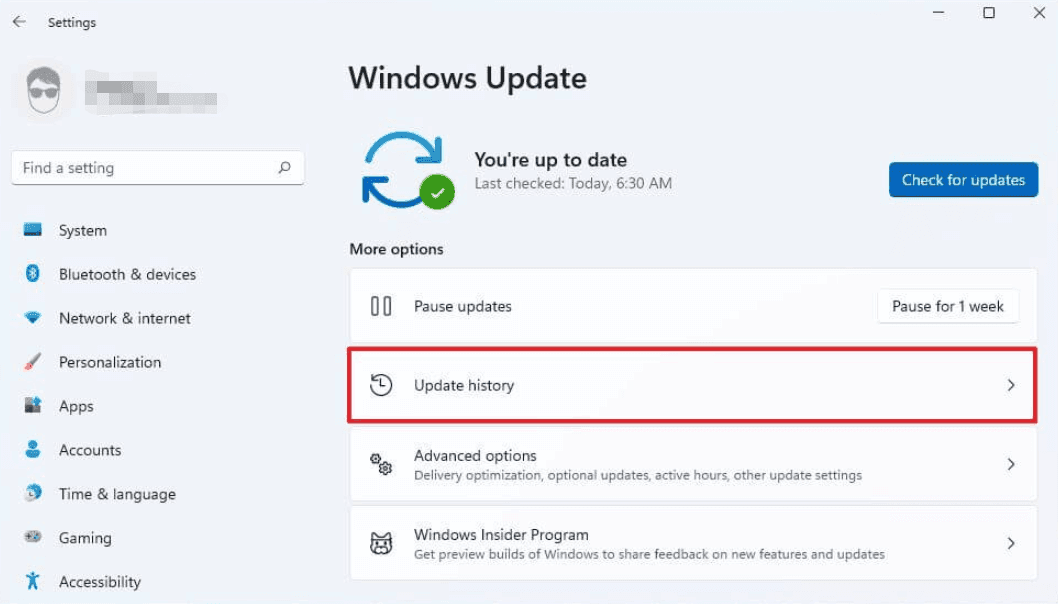
4. Make a note of the KB number of updates that could not be installed.
5. Go to Microsoft Update Catalog, paste the KB number into the search box, and click Search.
The relevant update directory will be provided, now click Download and install it manually.
Solution 5. Run SFC Scan
SFC Scan, which stands for System File Check, is a command line utility built into the Windows operating system to help repair corruption problems in your PC.
1. Go to the Start menu search bar, type "cmd", and then run the command prompt as administrator.
2. At the command prompt, type “sfc /scannow” and press Enter.
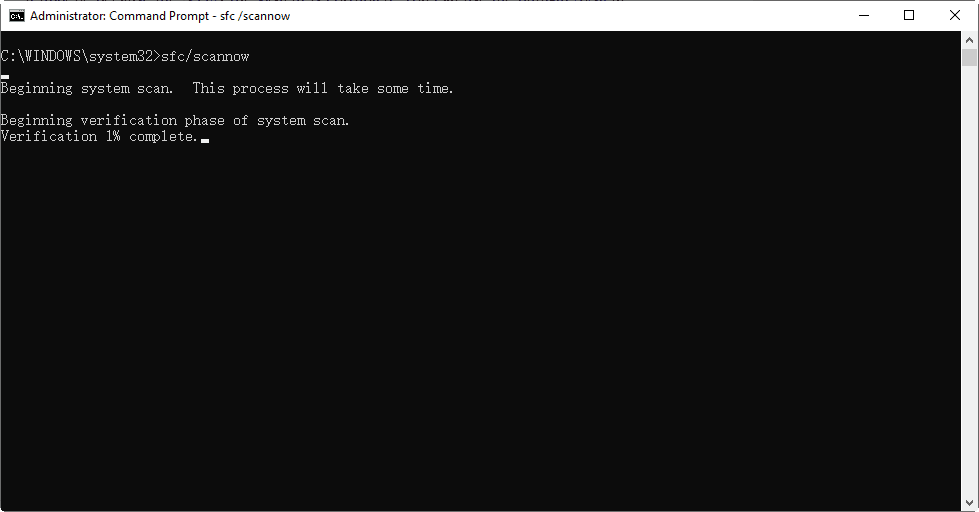
The computer will be thoroughly scanned and if there are any errors in the scan, they will be resolved at the end and may also fix the 0x8007012a installation error.
Solution 6. Restore factory settings
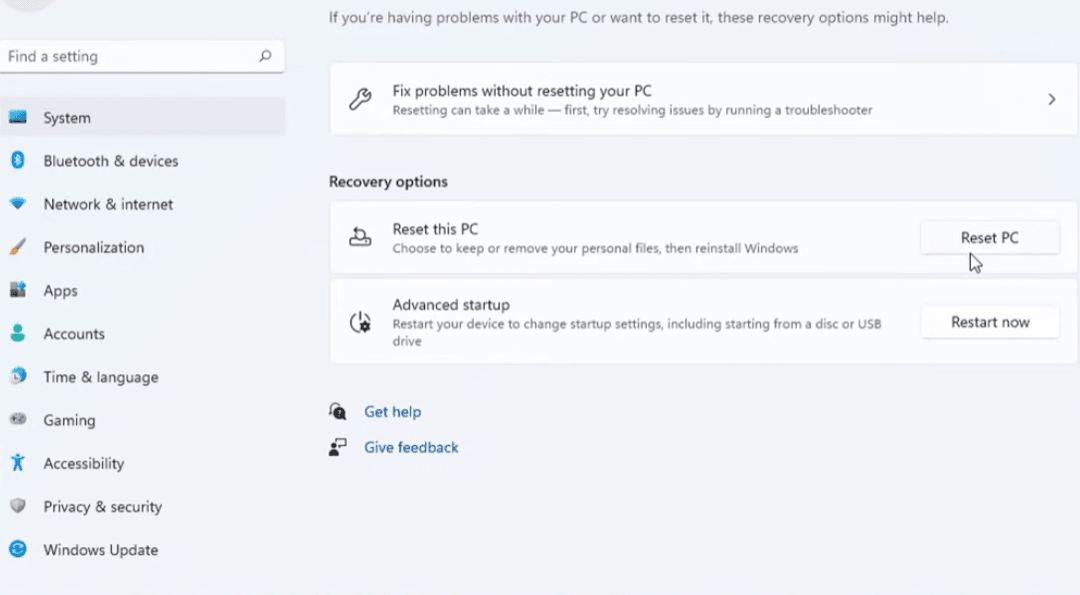
1. To restore computer to factory settings, go to the Start menu search bar and type "reset". Or you can navigate to Settings > System > Recovery to find Reset this PC.
2. Click on Reset PC.
3. Now you can choose Keep my files or Remove everything.
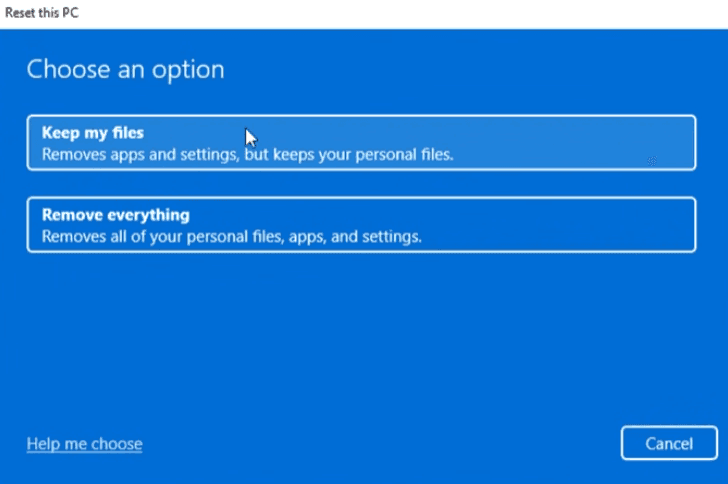
4. Then follow the on-screen instructions to complete the operation.
After the above process is complete, your computer should be completely free of 0x80070112a installation errors.
