
How to Disable Windows 11 Defender Real-time Protection
Though it's recommended to keep the real-time protection feature enabled, at some point, you may want to turn off Windows Defender in Windows 11. Here's how you can do it.
By Delia Updated on December 10, 2024
Windows Security in Windows 11 (formerly known as Windows Defender) is Microsoft's built-in virus and malware protection suite. Just like in Windows 10, it protects your computer from malware and virus threats. We also recommend that you keep its real-time protection feature enabled. But at some point, you may need to turn off Windows Defender - when you want to run a test on your computer; when you need to access an unknown security file and it's marked as a threat; when you want to use a third-party security suite, etc.
Note that Windows Defender is automatically turned off when you install another antivirus application, so you don't have to go back and turn it off manually. However, if you want to turn off the virus and threat protection feature for other reasons, please refer to the following method.
Temporarily turn off Windows Defender in Windows 11
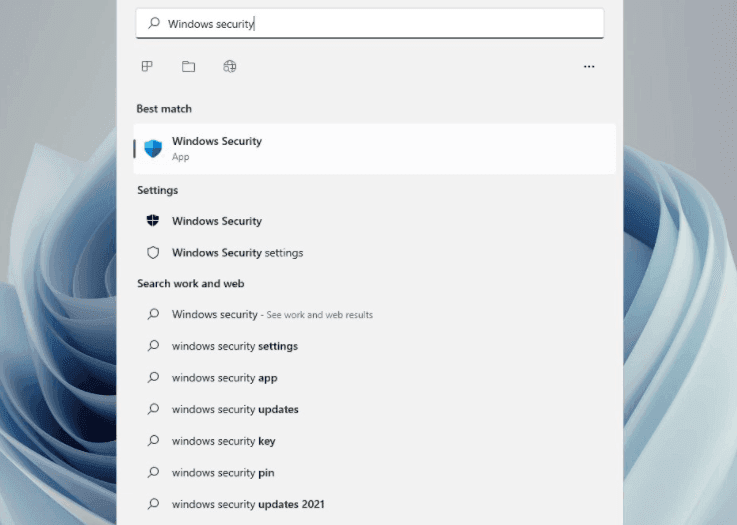
1. First of all, open Windows Security. You can click its icon on the right side of the taskbar, search for "windows security" in the start menu, or navigate to Settings > Privacy and Security > Windows Security.
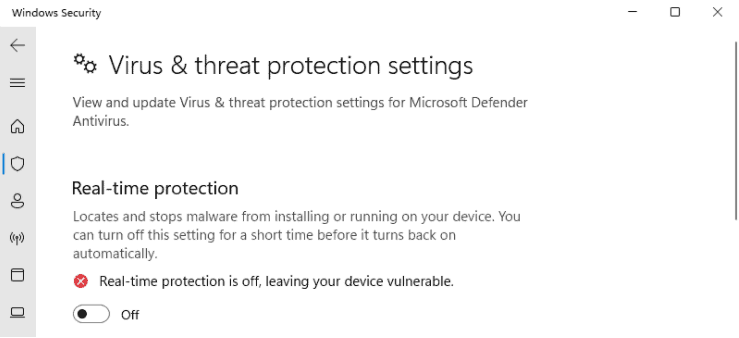
2. Next, select "Virus & threat protection", which will open a settings screen. Click on the "Manage settings" button under Virus & threat protection settings.

3. Then find the "Real-time protection" section and click on the toggle switch below to turn it off. Real-time protection is an important part of Windows security - when you turn it off, you will receive a warning and simply click “Yes” to disable Windows Defender.
*You can also disable or enable other parts of the suite, like Cloud-delivered protections, Automatic sample submission, Controlled folder access, etc.
Note that this disablement is not permanent. Real-time protection will be automatically turned back on after a short period of time. If you open Task Manager, you will see that the Microsoft Defender Antivirus service is still running. Also, when you restart your computer, the process will automatically start again.
In any case, you should already be able to do normal operations such as testing or accessing files during the period when the real-time protection is temporarily closed.
But is there a way to permanently turn off the Windows Defender service and keep it disabled after a restart?
Permanently disable Windows Security via Group Policy
If you are running Windows 11 Professional Edition, you can use Group Policy to permanently disable antivirus software. In order to keep Windows Security from automatically restoring changes the next time you start your computer, you need to turn off "Tamper Protection" in the Windows Security application first.
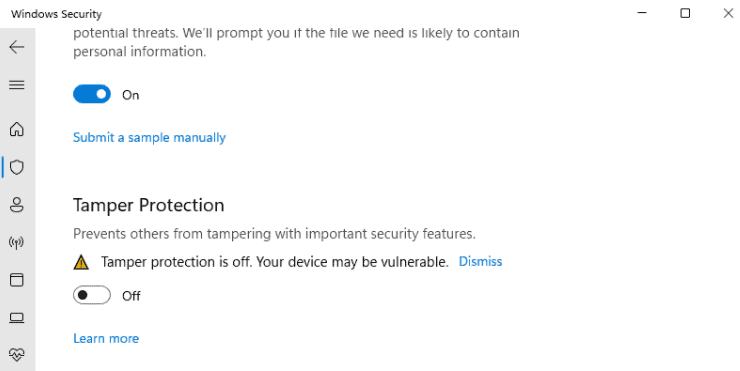
1. Open Windows Security using Windows Search, and click on "Virus & threat protection" > "Manage settings".
2. Scroll down and find "Tamper Protection" and toggle it to off.
Then go ahead and modify Group Policy and permanently disable Windows Security virus protection.
3. Press Win + R to open the Run dialog box, type "gpedit.msc" and press Enter to open the Local Group Policy Editor.
4. Then navigate to the following path:
5. Double click on the “Turn off Microsoft Defender Antivirus” policy listed on the right.
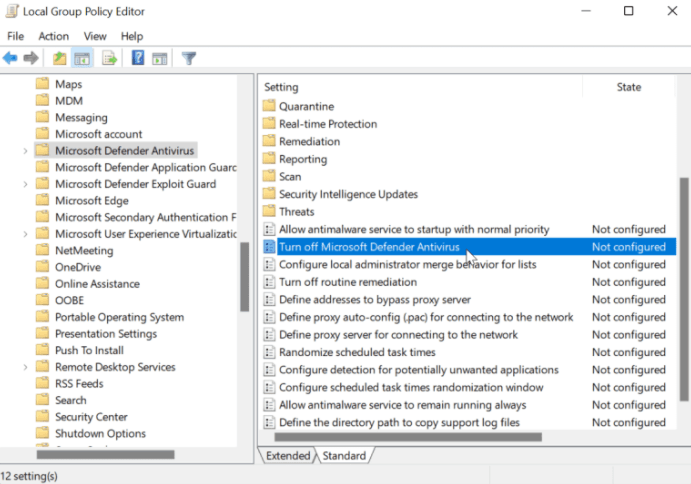
6. Set the policy to "Enabled" to disable it, and then click "Apply" > "OK".
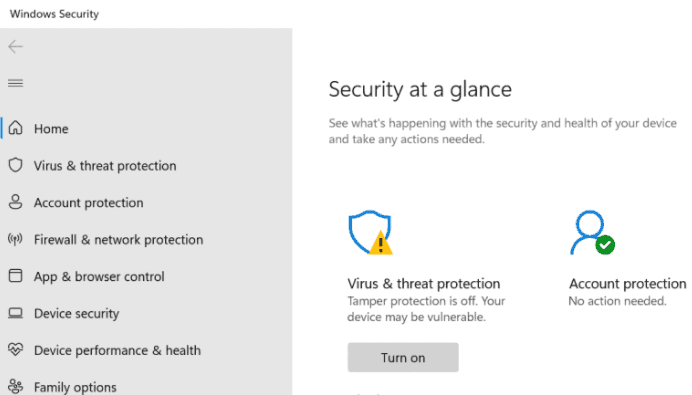
You will need to restart Windows 11 for the changes to take effect. When you open Windows Security Center again, you will see that virus and threat protection is turned off. To re-enable it, just click the "Turn on" button below.
Remember that without the antivirus application you are vulnerable to virus and malware infections, so it is not recommended that you permanently disable it without an alternative.
