
How to Cancel the Startup Login Password in Windows 10
Setting a login password in Windows 10 is for information and privacy security, but it also makes many operations a hassle with an extra login step. If you are using a private computer in a confirmed secure environment, you may want to cancel the startup login password.
By Delia Updated on December 10, 2024
Setting a login password in Windows 10 is for information and privacy security, but it also makes many operations a hassle with an extra login step. If you are using a private computer in a confirmed secure environment, you may want to cancel the startup login password. So how should you do it?
Method 1. Cancel in User Accounts
1. Right-click the Windows 10 Start button and select "Run" in the pop-up menu (or just press Win + R).
2. In the Run dialog box, type "netplwiz" and click OK.

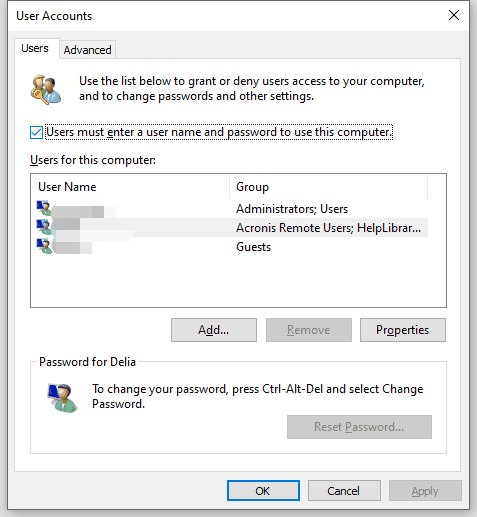
3. After clicking it, you will see that "Users must enter a user name and password to use this computer" is checked in the user account dialog box.
4. Deselect this option and click "Apply".
5. After that, an automatic login dialog box will pop up to verify your permission, enter your user name and password and click OK, then you won't need a password to login next time.
Method 2. Cancel in Accounts Settings
1. Click on the Start button, and choose "Settings".
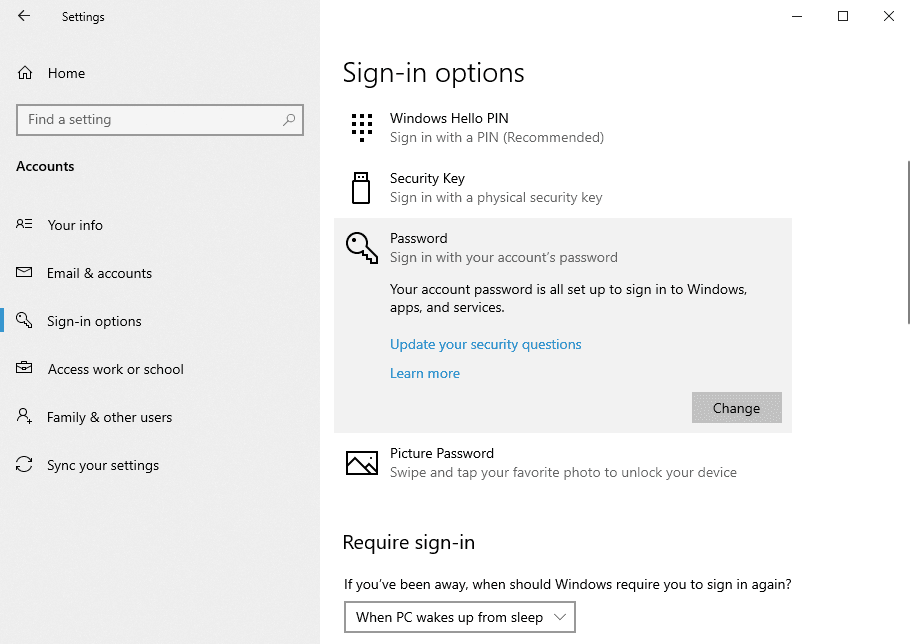
2. After entering, click on "Accounts", then choose “Sign-in options” on the left panel.
3. Once inside, click on the "Password" account and click "Change".
4. Then, you will be asked to enter your current password. Type it correctly and click “Next”.
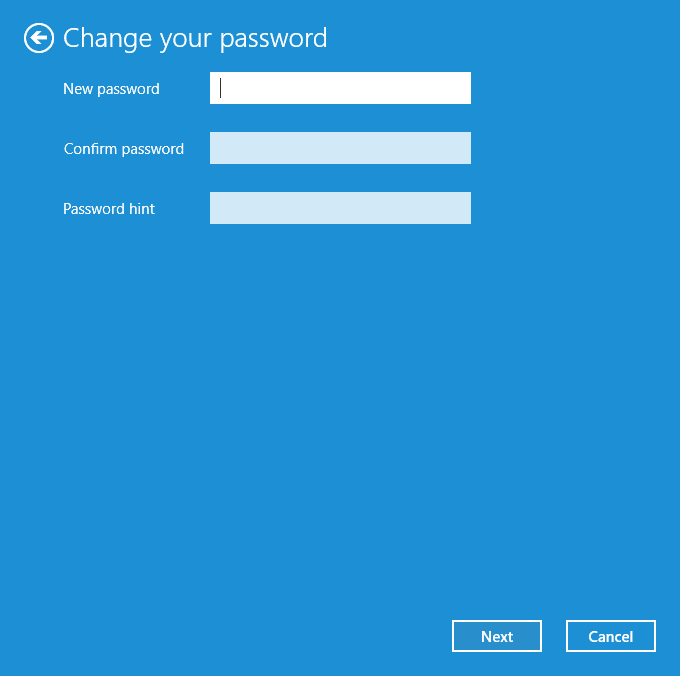
5. On the next page you can enter your new password. To cancel the password, just click “Next” without entering any password.
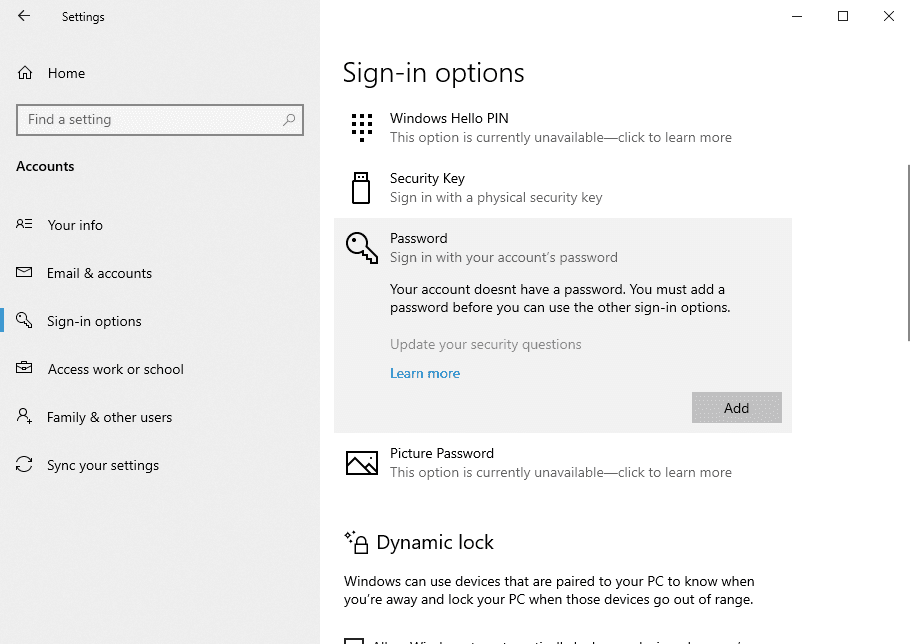
You will need to wait for a while till the password is all set. Then you will find the prompt reads “your account doesn’t have a password”, and you don’t need to sign in with a password next time.
Both of the above methods can be used to cancel the startup password of Windows 10 computer, but please do so only after you have fully confirmed the privacy and security of your environment.
