
How to Turn Off Windows 11 Automatic Updates
Do you want to know how to turn off Windows 11 automatic updates via Settings? You can find the answer from this article.
By Dervish Updated on December 10, 2024
We all know that Microsoft will release system update files from time to time to improve the problems in the system. Some friends feel that their win11 computer is very good to use and do not want to update it all the time, so how can the win11 system turn off automatic updates? Let's look down with me.
How to Turn Off Windows 11 Automatic Updates via Settings
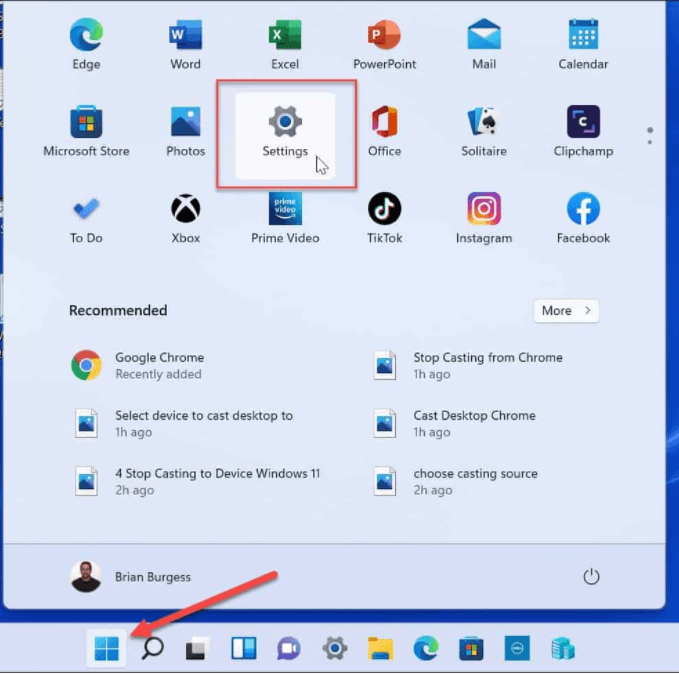
1. Hit the Start button or press the Windows key and click Settings. Alternatively, use the keyboard shortcut Windows key + I to open Settings directly.
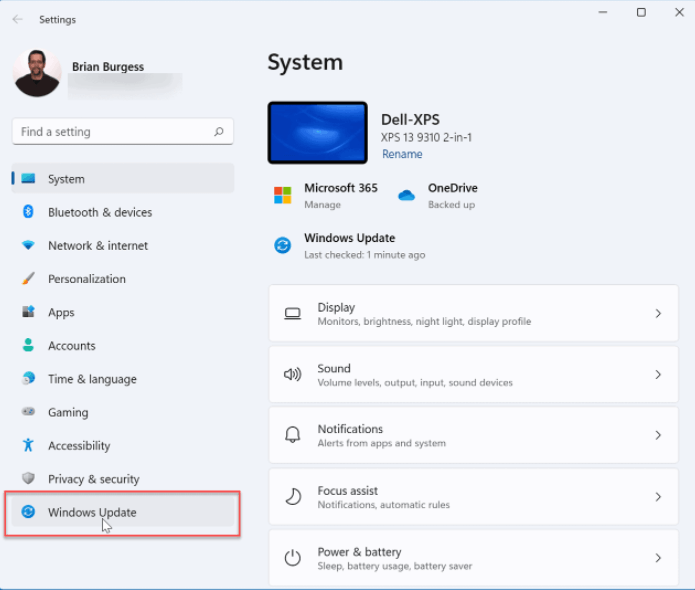
2. In Settings, select the Windows Update option on the left.
3. In the Windows Update menu, click the drop-down menu next to the Pause Updates option. Choose the amount of time to pause automatic updates, from one to five weeks.
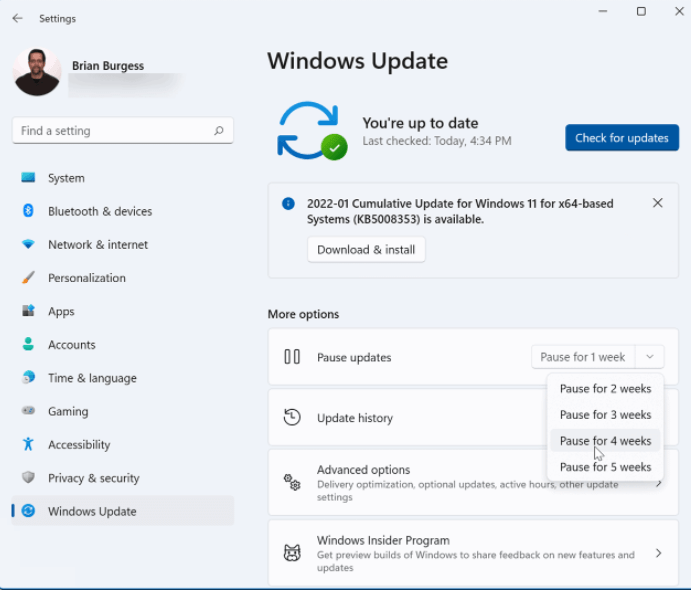
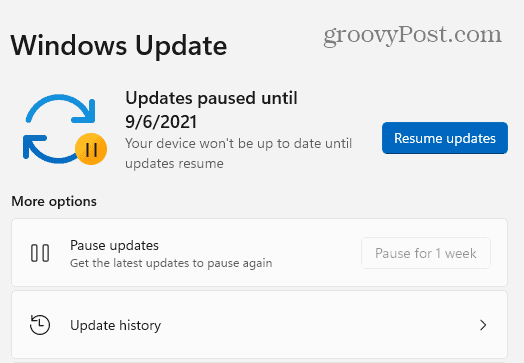
Once you select an option, Windows will pause updates for this period of time. If you want to resume updates before that period ends, go to Start > Settings > Windows Update and click the Resume Updates button.
How to completely disable Windows 11 automatic updates
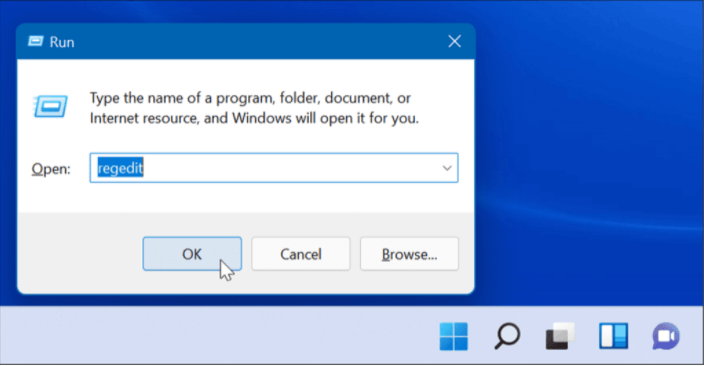
1. Windows key + R to launch the Run dialog, type regedit, and click OK.
2. Navigate to the following path – you can copy and paste it into the Registry Editor address field at the top:
HKEY_LOCAL_MACHINE\SOFTWARE\Policies\Microsoft\Windows
3. Click the Windows folder and select New > Key from the submenu.
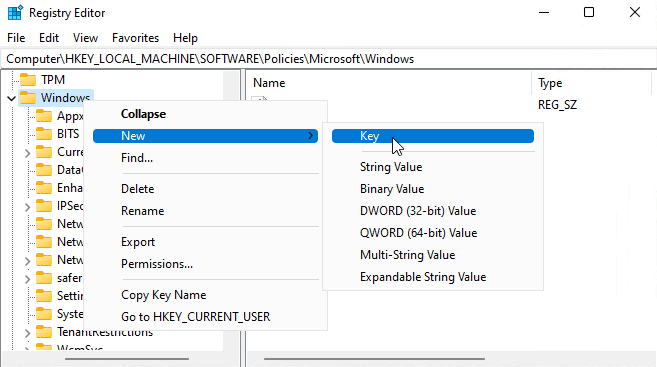
4. Name the new key Windows Update, right-click it, and select New>Key from the submenu.
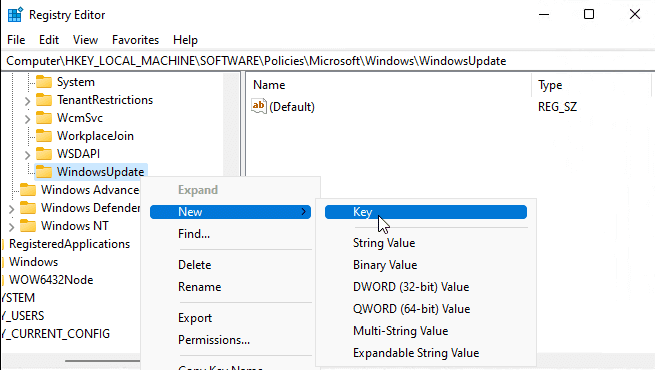
5. The new key folder is named AU.
6. Click AU, then select New > DWORD (32-bit value) from the menu.
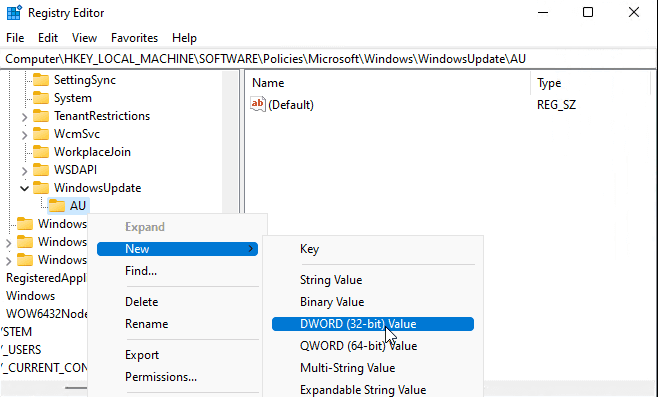
7. Name the new DWORD key NoAutoUpdate, double-click it, and change its value data to 1.

8. Click OK to save.
After performing the above steps, you have successfully turned off Windows 11 automatic updates, but you can still manually update the system through Windows Update in Settings.