9 Ways to Change the Manner in Which You Utilize Your Windows 11 PC
This article provides 9 ways to change the manner in which you utilize your Windows 11 PC.
By Dervish Updated on December 10, 2024
We've gathered a lot of Windows 11 hacks, from setting up taskbar easy routes to taking a screen capture on your PC.
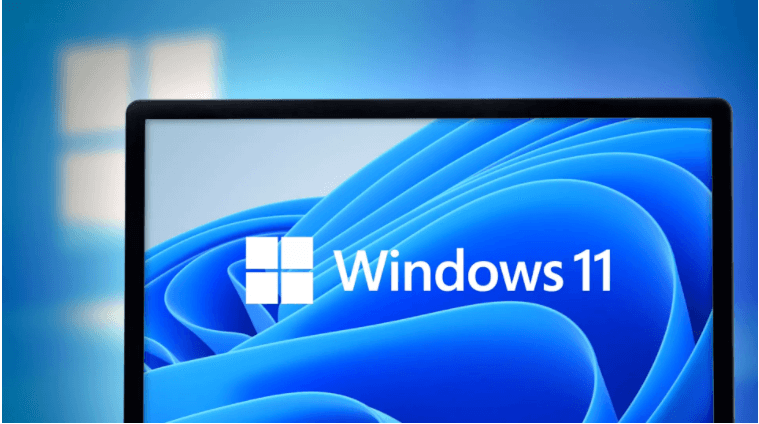
Microsoft's most recent working framework, Windows 11, begun its deliberately eased rollout to viable gadgets in October, and Windows 10 got its own update recently. So far just certain individuals have been provoked to refresh to the fresher OS of the two, and numerous others consider in case they ought to download Windows 11 in any case. Yet, assuming you introduced Windows 11, you'll find there are huge loads of tips, deceives and secret elements that are not difficult to learn and can make dealing with your PC smoother.
Regardless of whether you're utilizing your PC for work or your own life, it's a fun chance to dominate a portion of Windows' efficiency highlights. These inherent stunts can assist you with doing everything from set up Taskbar alternate routes to save battery control and capitalize on your machine. Microsoft doesn't commonly expose its secret highlights similarly that, say, Apple does. This can make it more hard to tell how to exploit all that Windows brings to the table. Be that as it may, we have you covered.
So regardless of which Microsoft, Dell, HP or different Windows viable apparatus you have, these shrewd tips will assist you with remaining coordinated and accomplish more. Additionally, here's beginning and end you really want to have some familiarity with about Windows 11, how to avoid the stand by and download the OS now, the best highlights in Windows 11 and how it analyzes to Windows 10.
1. Minimize each window aside from the dynamic one
Assuming your work area screen has become excessively busy with open windows, you can rapidly limit them all aside from the one you are as of now working in. You'll have to turn this on in Windows 11 by going to Settings, then, at that point, System, then, at that point, Multitasking and turning on Title bar window shake
Simply click the title bar of the window you need to stay open to choose it. Then, at that point, hold the mouse down and move the window to and fro rapidly - shaking it, basically. After two or three speedy shakes, any remaining open windows will limit, leaving just the one you've shaken open. Flawless, huh?
2. Open the 'secret' Start menu
You realize that to get to the Start menu, you hit the Windows symbol at the base over on the left of the screen or on your console. However, Windows 11 incorporates a lesser-known second Start menu that makes getting to significant elements like the Command Prompt, the Control Panel and the Task Manager a lot more straightforward. You can get to it two unique ways, either by squeezing the Windows key + X, or right click the Windows symbol/Start button.
3. Take a screen capture on Windows 11
I know, it's an essential one - however it's astonishing that it is so natural to fail to remember how to take a screen capture on your PC or work area when you don't do it regularly.
There are no less than eight distinct ways you can take a screen capture with Windows. Assuming you need to catch and save an image of your whole screen, the simplest way is to hit the Windows key + Print Screen key, and that picture will be saved to the Pictures > Screenshots folder.
To catch only one piece of your screen, hit the Windows key + Shift + S to open an apparatus called Snip & Sketch, which permits you to snap and haul to make a screen capture, which is saved to your Clipboard.
4. Open pinned things from your Taskbar with shortcuts
Assuming you've stuck projects to your Taskbar at the lower part of your screen to make an alternate route, you don't need to tap the symbols to open them. All things being equal, utilize the console easy route Windows key + [Number key], with the number key comparing to the situation of the nailed program to the Taskbar. For instance, Windows key + 2 will open the second nailed thing to the Taskbar.
This is particularly valuable assuming you're composing angrily and don't have any desire to lift your fingers from the console. It might feel more normal to go after the Windows key.
5. Figure out how many space applications are taking up
PCs begin running more slow as they develop short on space. One fast method for speeding them up might be to dispose of applications that occupy more room than they ought to, particularly assuming you don't routinely utilize them.
To perceive how many space applications, transitory records and reports are taking up, explore to Settings > System > Storage. Tap Show more classes to see a full rundown.
To find out about what to throw, tap Cleanup proposals to see what Windows 11 recommends. You likely will not dispose of your program, however you may observe that a game you haven't played in years is some great extra weight to drop.
6. Close down foundation applications to save battery
Applications that altercation the foundation can get information, send notices, and remain refreshed, in any event, when you're not utilizing them - which can be valuable, yet can likewise suck your battery and your information.
To control which applications are running behind the scenes and save some battery power and information, go to Settings > System > Power and battery. Tap Battery saver and afterward change when battery saver goes on to restrict a few warnings and foundation movement.
7. Use background scrolling for multiple windows
With Windows 11, you can look all over on any window - regardless of whether it's not the one you're straightforwardly working in. This is a valuable instrument when you have a great deal of windows open that you need to glance through simultaneously - for instance, assuming you need to open new sub-menu choices in new windows to save you time clicking back and forward in total agreement.
Have a go at opening two projects - say, a web program page and a scratch pad or Word archive. Organize both on the screen so you can see at minimum a portion of the text on each. While you are in one window, drift your mouse or utilize the touchpad to move to the subsequent window, and parchment. Despite the fact that you're not dynamic in that window, it ought to permit you to go here and there is the page.
The component ought to be on naturally, yet in the event that it isn't, go to Settings > Bluetooth & devices > Mouse, and toggle Scroll inactive windows when I hover over them to On. Then, at that point, you can put your mouse over a window that is behind the scenes and utilize the parchment wheel to scroll.
8. Show document augmentations in File Explorer
Microsoft conceals document augmentations naturally, which causes problems for individuals who need to search for explicit kinds of records, as JPEGs and JPGs. To see record augmentations in File Explorer, do the accompanying:
1. Using Search in the task bar, and type File Explorer Options, and click it.
2. In the window that springs up, click the View tab.
3. If it's checked, uncheck the box that says Hide extensions for known file types. Click Apply, and OK. You should now see file extensions for all files in the File Explorer.
You can likewise utilize the File Explorer Options menu to decide to show void drives, stowed away records and organizers, and that's only the tip of the iceberg.
9. Limit interruptions with Focus help
It's disappointing to attempt to finish work when you continue to get hindered with warnings. You can decide the number of you get with Focus help.
Set it up by going to Settings > System > Focus assist. Look over three choices: Off (get all warnings from your applications and contacts), Priority just (see just chosen notices from a need list that you alter, and send the rest to your activity place), and Alarms just (conceal all notices, with the exception of alerts).