How to Transfer Photos from iPhone 6/6s to Mac 3 Ways
Want to transfer photos from iPhone 6 to Mac? This guide will show you 3 methods on how to download photos from iPhone 6, 6s to Mac computer.
By Dylan / Updated on May 23, 2023
Now, everyone might have taken a picture with a mobile phone at least once, and iPhone has been able to capture memories with images of higher quality and also easy to use. However, as the number of photos gradually increases, iPhone’s capacity will be unexpectedly full occupied. In the sense of organizing and backing up photos at that time, it's necessary to transfer photos from iPhone to computer.
Here in this guide, we will focus on how to download photos from iPhone 6/6s to Mac computer. You can choose one of the three methods to transfer iPhone 6/6s photos to MacBook Air, MacBook Pro, iMac, iMac Pro, etc.
-
Method 1. Transfer Photos from iPhone 6/6s to Mac via Photos App
-
Method 2. Transfer Photos from iPhone 6/6s to Mac via AirDrop
-
Method 3. Transfer Photos from iPhone 6/6s to Mac via iCloud
-
Bonus Tip. Easy Way to Transfer Photos from iPhone to Windows PC
Method 1. Transfer Photos from iPhone 6/6s to Mac via Photos App
1. Connect your phone and unlock it. Then click Trust and type the password if you are asked to Trust this computer.
2. Click Import and select From A USB device. After that, it will automatically detect your photos on the iPhone, you just need to wait for a few minutes.

3. Select the photos you don’t want to import because all the new photos will be checked by default. Then, click Import Selected. After the operation is 100% completed, you can see it in your Pictures folder.
Method 2. Transfer Photos from iPhone 6/6s to Mac via AirDrop
The next way to transfer photos is using AirDrop feature that exists both on iPhone and Mac.
If you know how to use AirDrop, it would be easier to transfer photos than other ways like email, etc. because it is a function that allows you to exchange photos wirelessly.
Step 1. First, swipe the screen from upper-left corner to bottom on the iPhone to open the setting screen for Wi-Fi functions such as on / off and volume. From among them, enable AirDrop function and at the same time, select "Everyone" for the data exchange setting.
Step 2. And enable AirDrop function on Mac, the next step is to launch the Photos app on iPhone and select photos to transfer to Mac.
Step 3. If you tap the icon on the bottom left of the screen of the photo, you will see your Mac as a sharing destination, and then transfer the photo to the Mac.
It allows you to transfer photos from your iPhone to your mac, and view and save the photos you receive on your Mac.
Method 3. Transfer Photos from iPhone 6/6s to Mac via iCloud
Did you know that there is a way to transfer photos from iPhone to Mac using iCloud? Here are the steps.
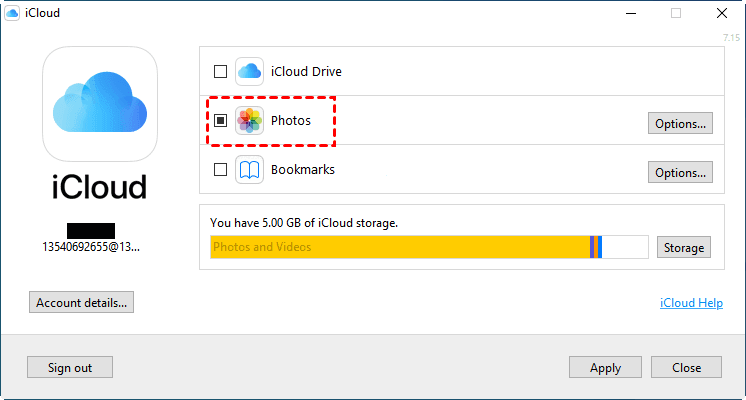
Step 1. First, open iCloud setting screen from the environment setting item on Mac, check the “Photos” part, and proceed to “Options”. There, check "My Photo Stream" item, enable iCloud and Mac integration, and you're done on your Mac.
Step 2. Next, go to the iCloud settings screen on iPhone, turn on the "Photos" item, and enable the "My Photo Stream" item as on the Mac.
Bonus Tip. Easy Way to Transfer Photos from iPhone to Windows PC
FoneTool is an iPhone to Windows PC transfer software allows you to easily transfer not only photos, but also messages, music, videos and contacts to your PC with Windows system on a simple pane. It gives you flexible selection to meet your needs. It is an ideal and extremely useful solution to protect your important iPhone data from loss or damage. If you use Windows PC, FoneTool is your best choice.
Now we will show you how to transfer photos from iPhone 6s to computer with FoneTool.
Step 1. Launch FoneTool > Connect your iPhone to computer.
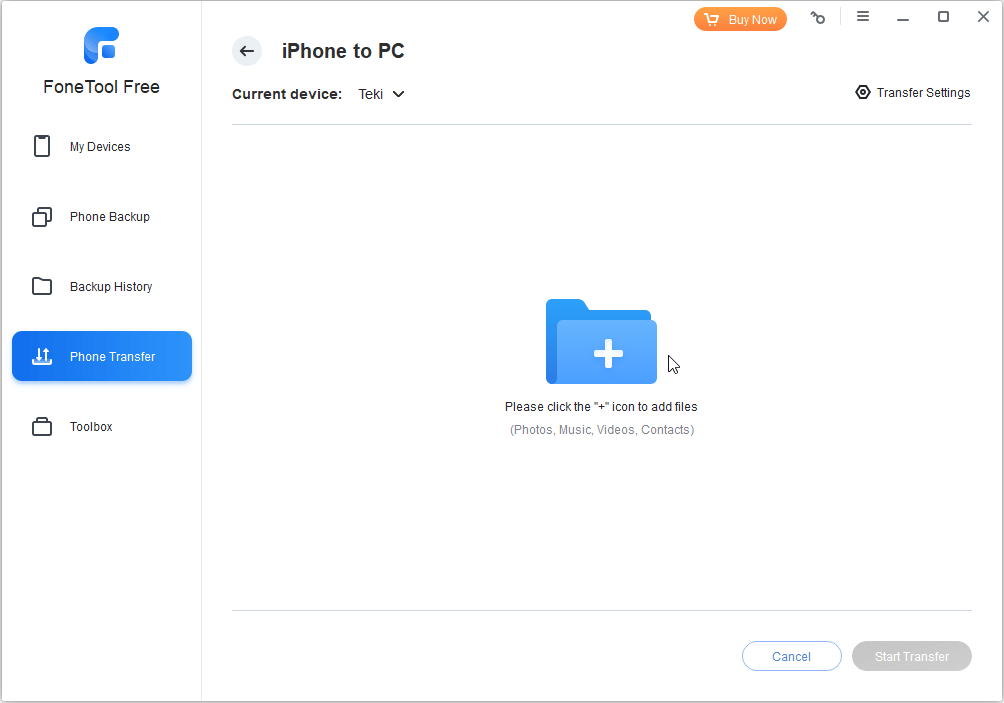
Step 2. On the Home screen, click Phone Transfer option. Go to iPhone to PC and click Start Transfer.
![]()
Step 3. Click the "+" icon.
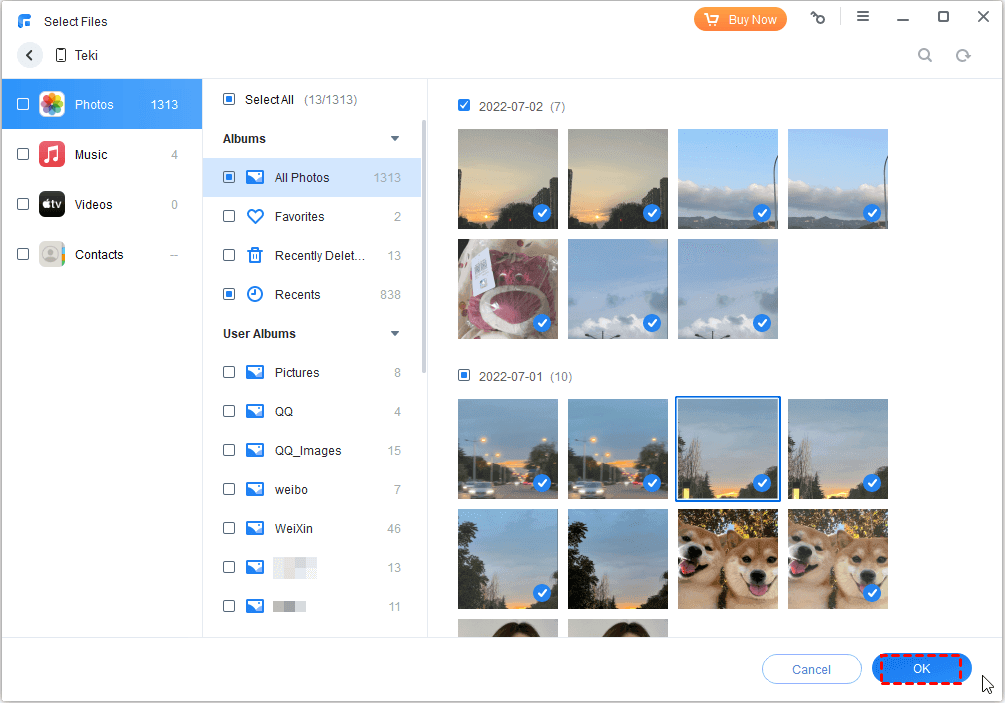
Step 4. Select the pictures you want to transfer and click OK.
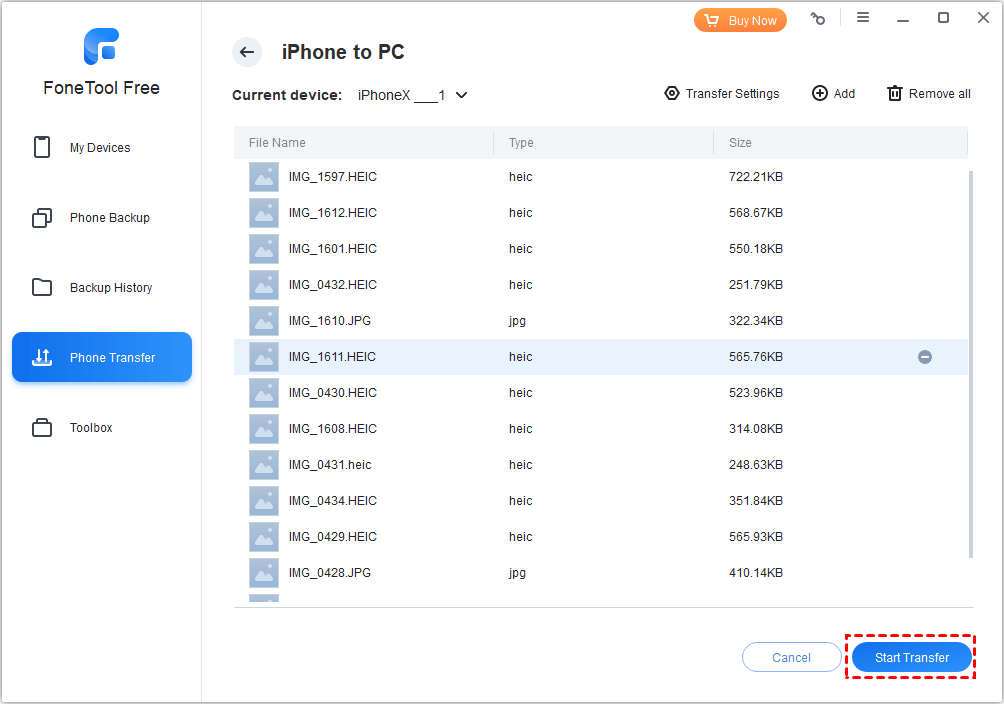
Step 5. Click Start Transfer > Choose a destination to save the pictures and adjust other settings > Click Transfer.
Conclusion
That’s all for how to transfer photos from iPhone 6/6s to Mac. Does this passage solve your problem? You could share it to help more people.
