How to Upload Photos from iPhone to Google Photos in 2 Ways?
To solve the problem “How to upload photos from iPhone to Google Photos”, you have normally two ways. You can compare them which one is more convenient according this article.
By Dylan / Updated on June 7, 2023
Need to upload iPhone photos to Goole Photos?
Google Photos is a photo management application with 15GB free storage. It has features like automatic classification, automatic backup, and conveniently sharing photos. It can automatically classify pictures according to time, load picture content, and also isolate private pictures.
Google Photos is pretty kind to users for it provides unlimited space of photo storage without charging a penny. It’s completely free.
The new Google Photos solves three main problems: search, classification, and cloud storage. Google Photos provides a great search function (which is originally Google’s strength). With the feature image recognition, users can search for related photos by inputting description.
Why choose Google Photos to save photos?
We all know that everything has two sides. Now, let’s make a comparison between Google Photos and iCloud.
◆ Settings: iCloud backs up photos faster than Google Photos for its an iPhone built-in tool and its main advantage is that it doesn’t require you to allow it to access photos. You could just toggle on the option. Google Photos couldn’t perform so well as a third-party software.
◆ Storage: Google Photos provides unlimited free storage space for every Google Photos’ user. Compared with iCloud, it is a huge advantage. With this point, it can become a better choice for many people who have a lot of photos to save.
◆ Application: iCloud has succeeded the strict rule of iOS. You could backup your photos, while you are not allowed to view them on iPhone unless you download them. However, Google Photos allows you to view photos and even search them. If you have such need, Google Photos could be a better choice for those who want to quickly locate photos.
◆ Summary: If you don't have a strong inclination to Apple product, then Google Photos is the one you should choose. First of all, it is compatible with both iOS and Android platforms, so even if you change your phone, you don't need to do cumbersome photo transfer. At the same time, Google Photos' powerful features like search, highly intelligent face recognition and photo integration would also bring you convenience. Of course, completely free and unlimited storage are the most attractive place.
How to upload photos from iPhone to Google Photos efficiently?
Storing your photos to Google Photos will let you save iPhone space and keep your photos safe. Read on and learn how to upload photos from iPhone to Google Photos.
In fact, there are two efficient ways to upload photos on your iPhone:
Way 1: Use Google Photos App on your iPhone
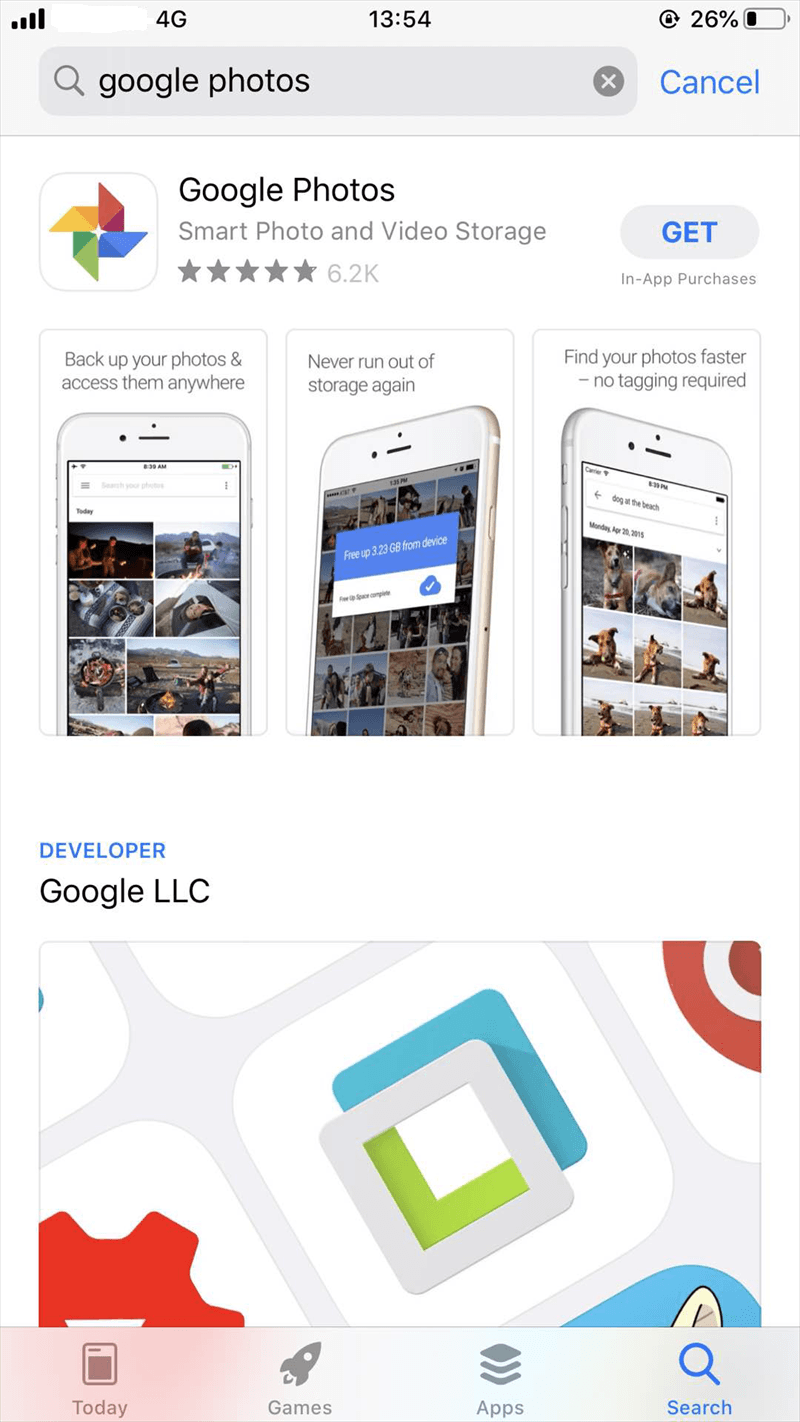
Step 1. You should download Google Photos in the app store, install and open it.
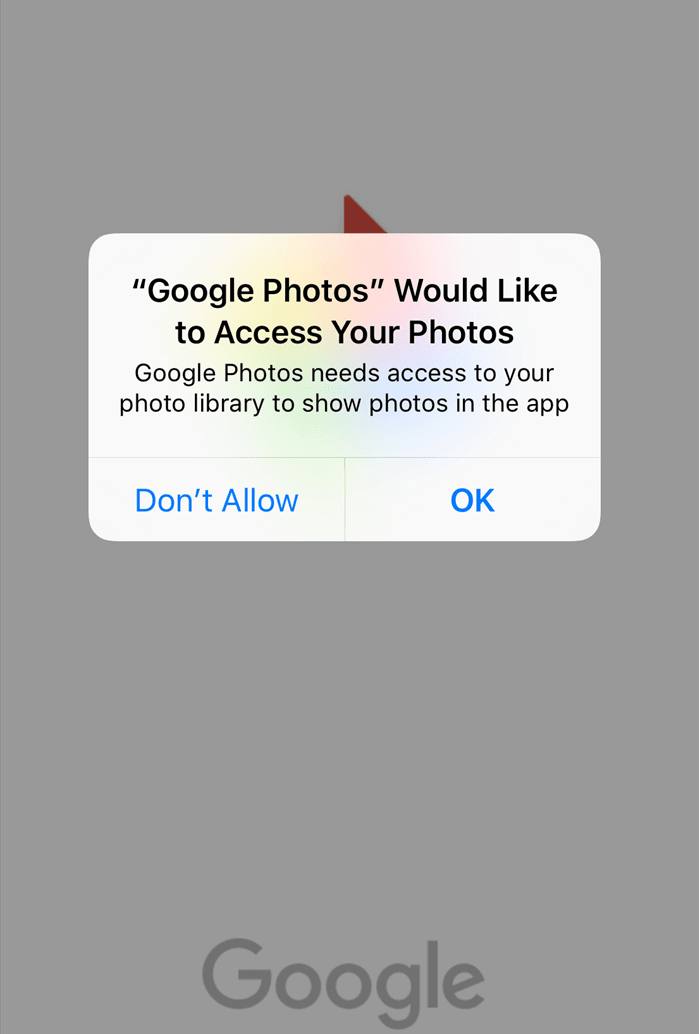
Step 2. Now, Google Photos would like to access your Photos, click “OK” to allow it.
Step 3. Then you are asked whether you allow Google Photos send you notifications, actually, don’t need to allow it!
Step 4. Then you have two options to choose which image quality to save.
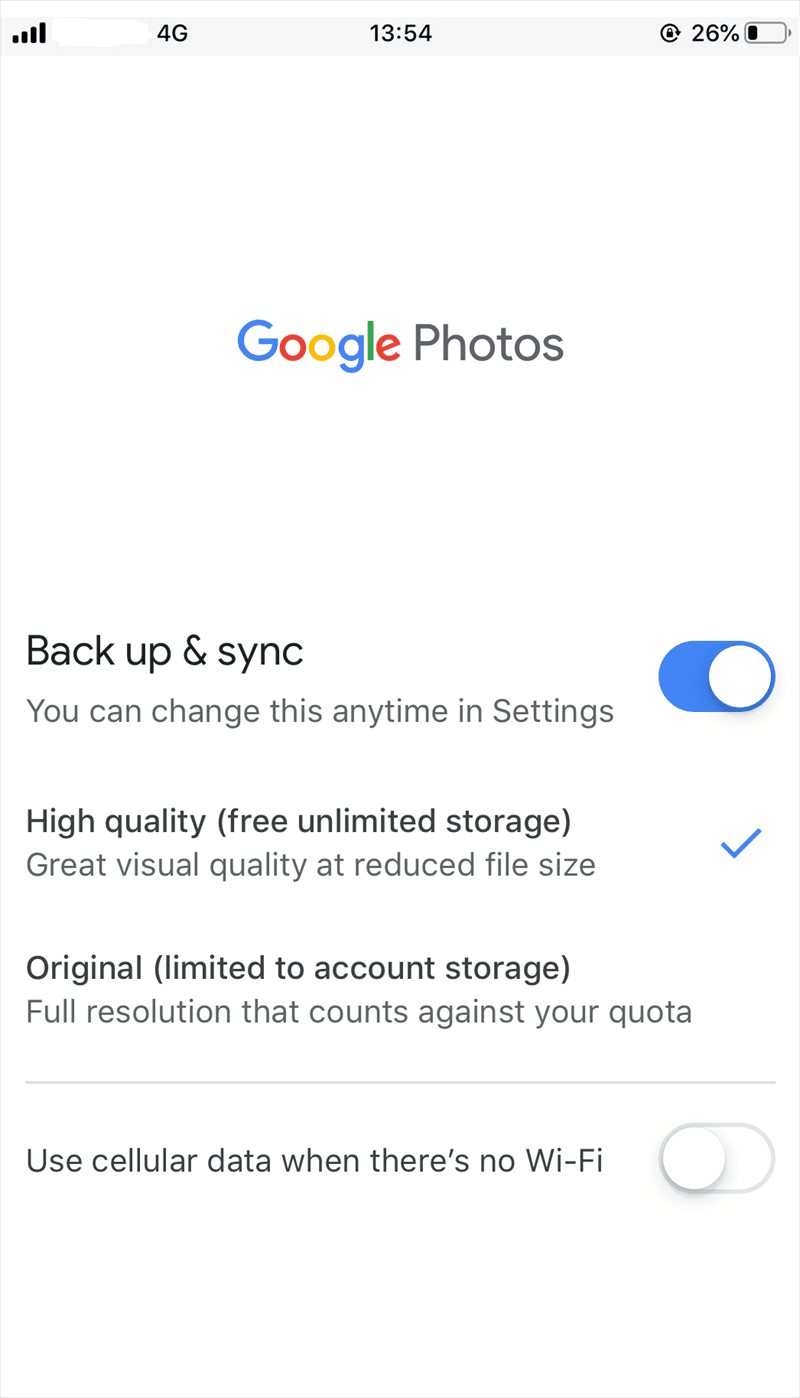
Notes:
● If you choose “High quality”, you will have free unlimited photos and video storage (Recommend) because Google Photos will compress the files.
● If you choose “Original”, that means you’ll have a storage limit of 15GB as same as iCloud.
Step 5. Finally, log in with your Google account. If you don’t have one, you need to create one firstly.
Way 2: Manually upload photos from iPhone to Google Photos with FoneTool
Sync photos between iPhone and computer via Google Photos is a good way. But it does now allow you to select photos or albums to sync. If you want to do so, you can turn to a professional transfer tool - FoneTool. With this tool, you can transfer all or selected pictures/albums from iPhone to Google Photos. Connect your iPhone via a USB cable to computer, and then you can enjoy the fast backup speed and convenient operation.
With the help of this software, you don’t need to install Google Photos on your iPhone. Just log in it on your computer directly. Let’s show you the details.
Step 1. Download and install FoneTool. Connect your iPhone with USB cable.
Step 2. Tap “Trust This Computer” on your iPhone. Click the "Phone Transfer" option on FoneTool > Locate "iPhone to PC" and click "Start Transfer".

Step 3. Click "+" icon. Then you can check the Photos to transfer all pictures on iPhone. Or select any album or photos you want.

Step 4. Then you can choose a storage path from "Transfer Settings", and click "Start Transfer" to send photos to computer.

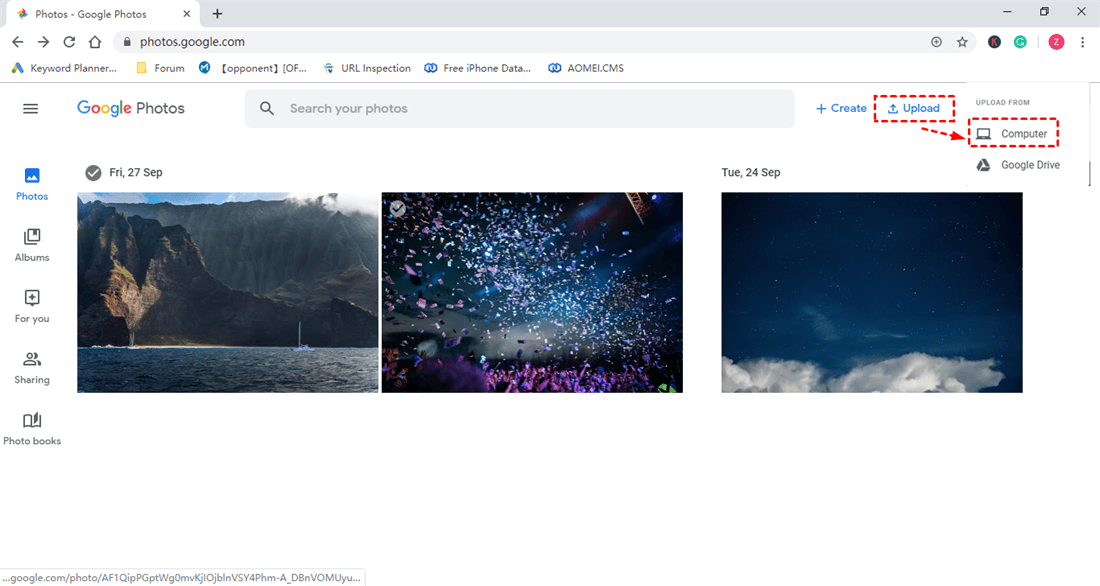
Step 5. Then log in Google Photos with your Google account. Click “Upload” in the top right corner. Now you have two options to choose where do you want to upload your photos from. Because I have saved my photos on PC, I should choose “Computer” here.
Step 5. Select the folder of backup file, click “open” to choose the photos, and then Google Photos will upload all your selected photos automatically.
Conclusion
You have normally two ways to resolve the problem how to upload photos from iPhone to Google Photos. You can sync photos using Google Photos app or manually transfer photos from iPhone to your Google Photos with FoneTool.
Besides, FoneTool is a comprehensive iOS management tool. If you tool some photos in HEIC format with iPhone, and they do not work well with your Android photos, it helps you convert HEIC photos to JPG.
